Since the last post I have made many more experiments regarding the Z-issue on Elegoo Mars.
First, I tried to mount an indicator to the Z-axis. I mounted it in the middle of the arm carrying the print bed and printed my test model. To analyze the results, I aimed my phone camera to the printer to capture the measurements. I performed both dry and an actual print run. You can find the whole, uncut footage of the experiment here (warning, it is really boring):
Then I took the footage and put the numbers in a table (direct link to the table):
The blue rows signal nearly filled layers, yellow rows signal nearly empty layers. You can clearly see the issue here – the print bed is in the wrong height! Therefore the problem is not caused (only) by the shrinkage of the resin as many people on Facebook claims. What is interesting that layers squashing beings 0.1 mm above the change in the layer type.
Also what can be seen from the footage – the lead screw itself is good withing 0.015 mm and it has a backlash of 0.03 mm. However, the backlash does not cause a problem as the bed always moves to the final height in the same direction (i.e. the same side of the screw is used) – it can be seen from the footage. One note on the posts in the Facebook group of Elegoo Mars Owners – your lead screw is precise, do not change step per mm ratio of the printer setting – you just make your prints more imprecise.
Last if I compare the dry and resin run you can see the resin gives some resistance to the print bed. After moving to the final position by the lead screw it takes roughly 4 seconds for the bed to settle in the correct position – but it settles. It has to push away the viscous resin. I validated this hypothesis by printing a piece with a layer height of 0.01 mm – the hypothesis is that each layer will get thicker as it will be cured before the bed moves to the final position. An indeed, the test piece was 4 mm thick instead of 1.5 mm. When I introduced the delay (time-off in the ChiTuBoX) I got the nearly correct height. This also shows the Z-Axis of Elegoo Mars is quite flexible.
To explain the layer squashing 0.1 mm above a filled layer I assume there has to be some kind of force pushing the bed down. It could be a capillary force which occurs only in a certain resin layer height. And something between 0.1 and 0.3 mm seems like the number where this force occurs. If the printer stucs here it prints many undersized layers until it overcomes it and can continue printing. I tried to validate this hypothesis by printing a piece with a layer height of 0.1mm. The problem with layer squashing was mitigated, however, it did not disappear completely. Unfortunately, I have no experiment to prove the capillary forces are the root of the problem.
My next experiment was with trying different resins. It seems the layer height distortion depends on the resin and just by looking it seems thinner resins have less distortion than thicker resins. However, I have no tool to measure the resin viscosity, therefore no real science here.
As the error I observe seems like absolute and not relative (the upper layers do not compensate for the squashed layers), I wanted to test if the stepper lose steps. Therefore I mounted an optical encoder (as you can see the footage above) to the top of the lead screw and connected an MCU to the step/dir signal on the board. I showed estimated height and measured height from the lead screw on a display and again, I recorded the print. You can find the CAD model of the 3D printed encoder mount here.
Well, there are many more experiments to try, however, I struggle to find time and money for the wasted resin on the experiments. What would be really interesting to test if I could produce and arbitrary distortion – by printing a test piece with 1 mm of solid layer, 1 mm of support and again 1 mm of solid and so on and on. My experiments only test small distortion which could be hidden in FEP film bending or something else. However such experiment would be quite costly. Sponsorship welcomed 😀
To eliminate the FEP film bending I tried to build an acrylic VAT for the resin and sprayed the bottom with dry PTFE lubricant. However, this experiment ended unsuccessfully as after a few layers the print stuck to the acrylic. The model of the VAT is available here.
I also tried to applied fix by Elegoo, which can be found in this thread: https://www.elegoomars.com/forum/showthread.php?tid=40. Basically, they say the homing sensor detects the build plate too late and therefore it pretentions the Z-axis. However, it did not help.
I have to admit I can mitigate the problem by tilting my models by roughly 30 degrees so there are no horizontal surfaces and the layer cross-section is smaller. However, I consider this only as mitigation, not solution as it prevents me from printing directly on the bed and leveraging its flat surface. When you introduce the supports, you ruin the surface finish. Also, from my observation the problem is still preserved, it just might not be as noticeable.
Recent news: My open letter to the 3D-printing community
I love the 3D-printing community, but I think there is room for improvement. Let's get better in 2023! Read the full letter.
Support my work!
If you like my work (these blog posts, my software and CAD models) and you would like to see more posts on various topics coming, consider supporting me in various ways:
- You can become my sponsor on Github.
- If you prefer, you can also become my Patreon.
- You can buy me a coffee on Ko-fi,
- or you can buy something from my Tindie store (also see below),
- Or you can just share my work!
If you are interested in knowing what I am up to and recent sneak-peaks, consider following me on social media (Twitter, Instagram, Facebook).
My store offers
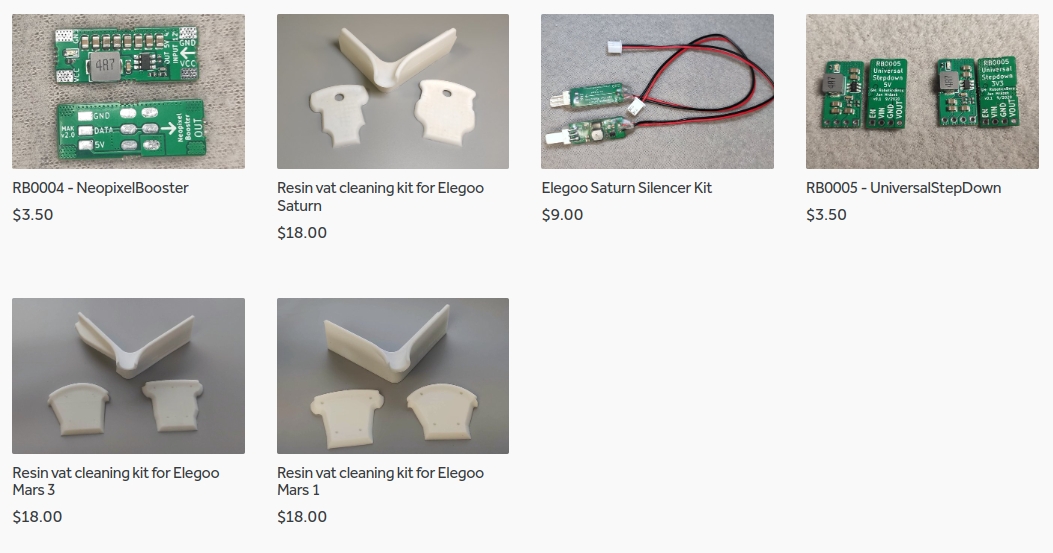
I launched new tank cleaning kits for Elegoo Saturn, Saturn S, Mars 1, and Mars 3. You can find them in my store.
One thought on “Testing the precision of Elegoo Mars – Volume 4: More observation, no solutions”