A few months ago there was a tweet discussing printing solder paste stencils on a 3D printer. Someone suggested we should try it on an SLA printer. After two months I did the experiment.
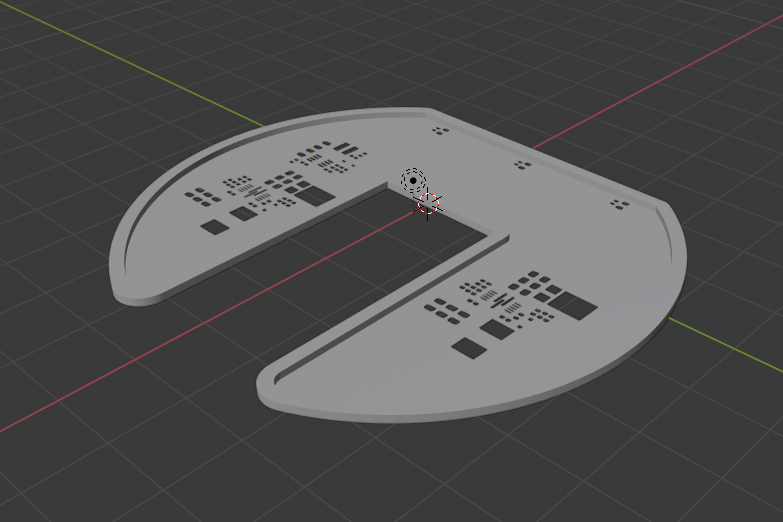
First of all, I struggled a little to get the 3D model of the stencil. There is a service https://solder-stencil.me/ which is supposed to generate the models of the stencils from gerber files. Unfortunately, when I uploaded the gerbers of my board, the model I got was completely broken. So I decided to write a custom tool. The easiest way was to use OpenSCAD (and finally an opportunity to learn it!).
So I wrote a short OpenSCAD script which takes two DXF files on the input – one for the outline and one for the holes. It also takes information on whether to generate a front or a backside stencil. You can also supply custom thickness, frame thickness, etc. If you use KiCAD I also wrote a simple Python script to export all the necessary files (which allows you to use Makefile to generate all the manufacturing data!) For the reason to me unknown, sometimes OpenSCAD produces corrupted STL files. Therefore I use admesh to post-process the STL files.
Then I started printing on Elegoo Mars – without much success. The holes were not good enough – I wasn’t able to print 0.2 x 0.5 mm pads. Then I discovered, let’s call it “a room for improvement”, on my printer. I wrote a full blog post about it (if you have not read it I recommend to read it first and then to continue reading). After the modification, I got usable results. What works for me the best it to use Siarya Fast grey resing, 1 bottom layer with a 15-second exposure and normal exposure of 7 seconds. No supports and to print it directly on a build plate. I also do not post-process the stencil (i.e., cure them under UV lamp) – I am afraid of curving them. As they are not mechanically stressed a lot, I think it is fine. They also stay nicely flexible. The nice thing about printing the stencils – one stencil is printed in 4 and a half minutes.
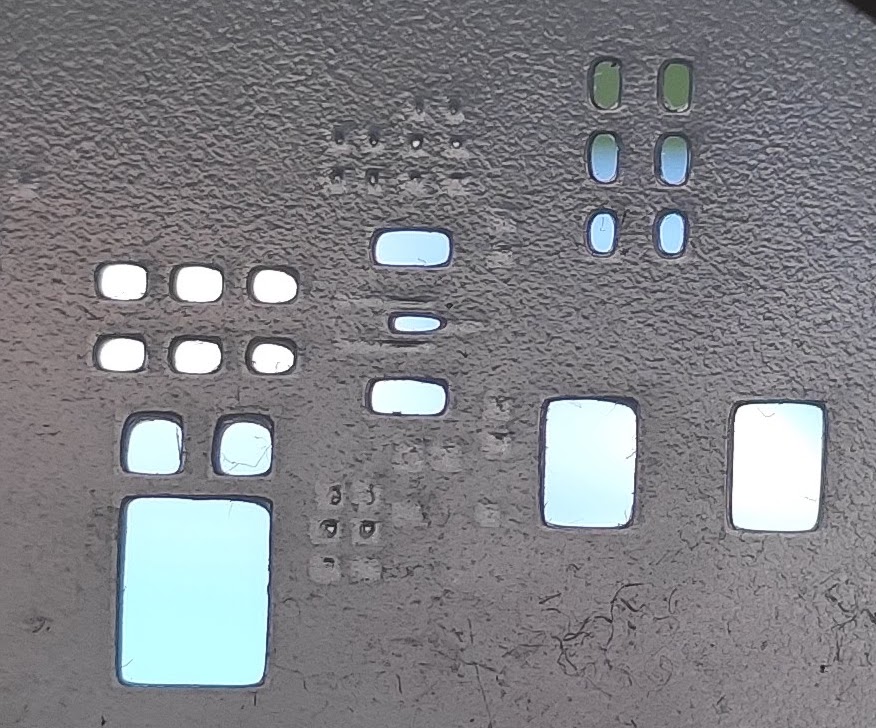
First, unsuccessful print
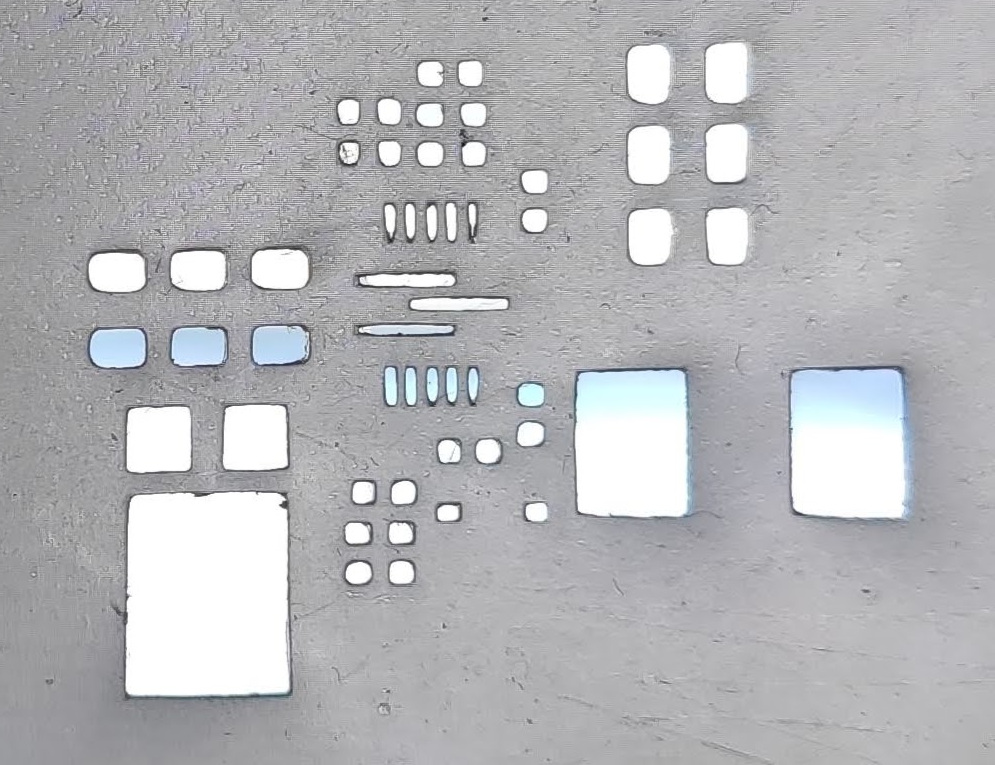
The successful print
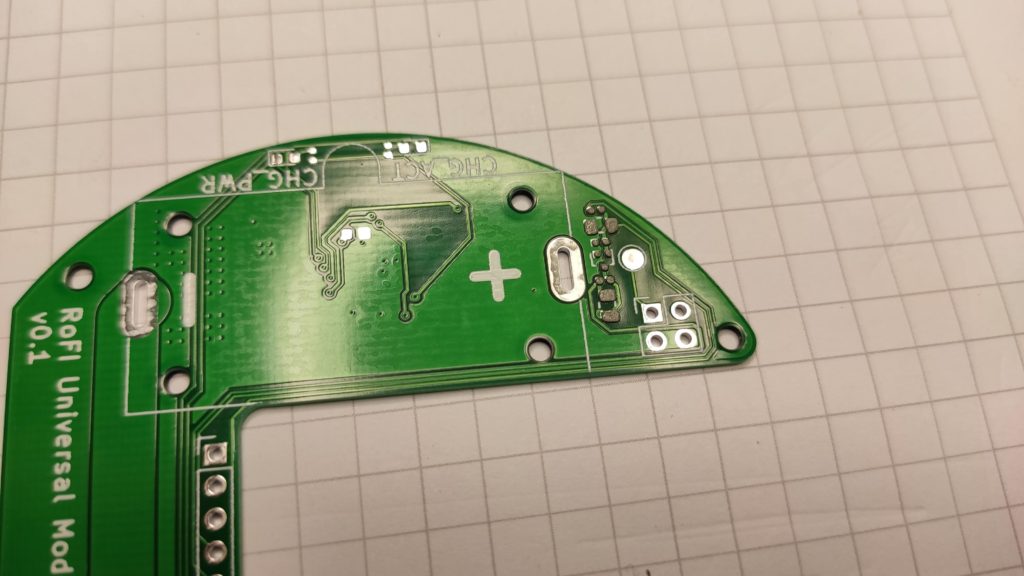
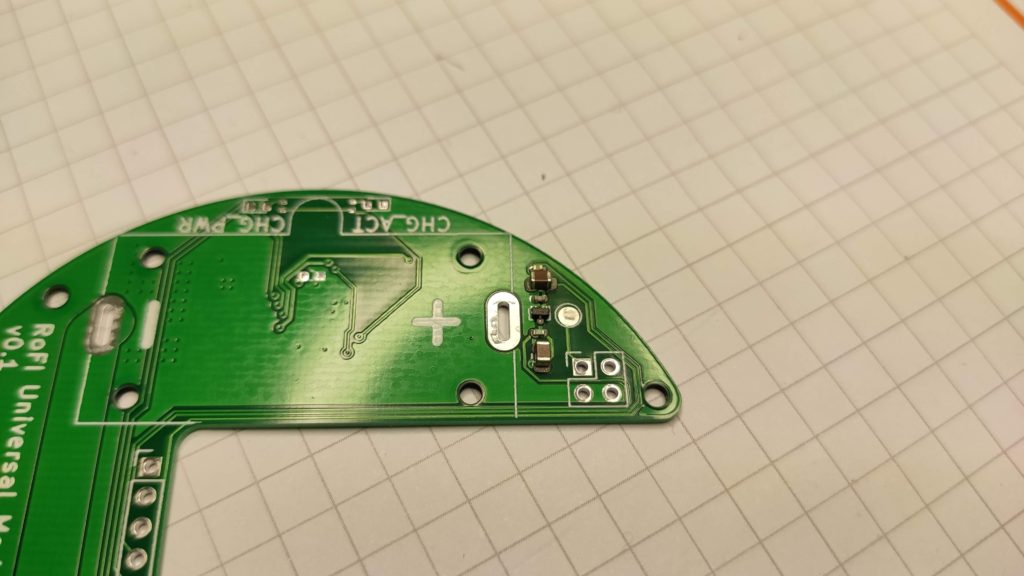
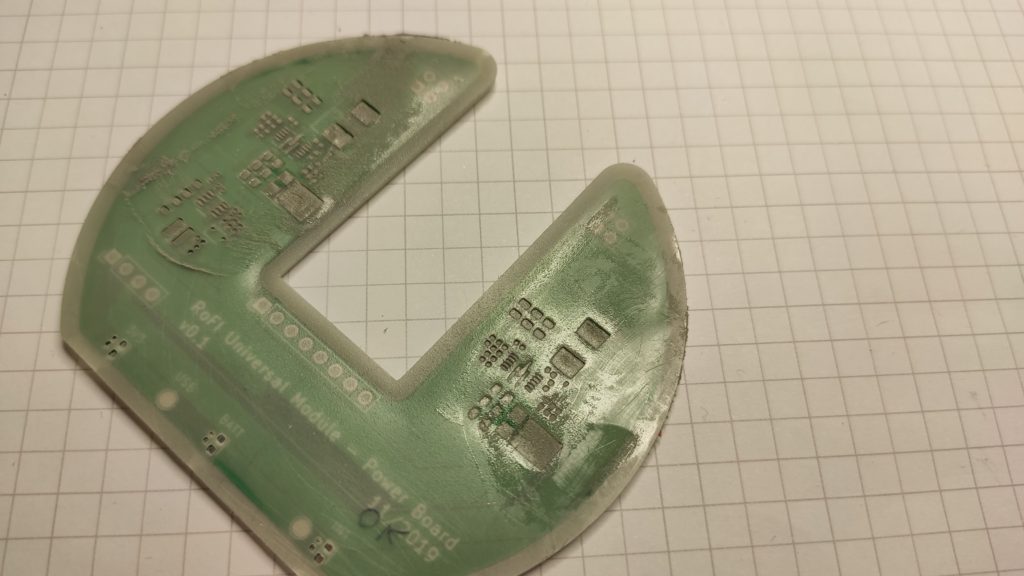
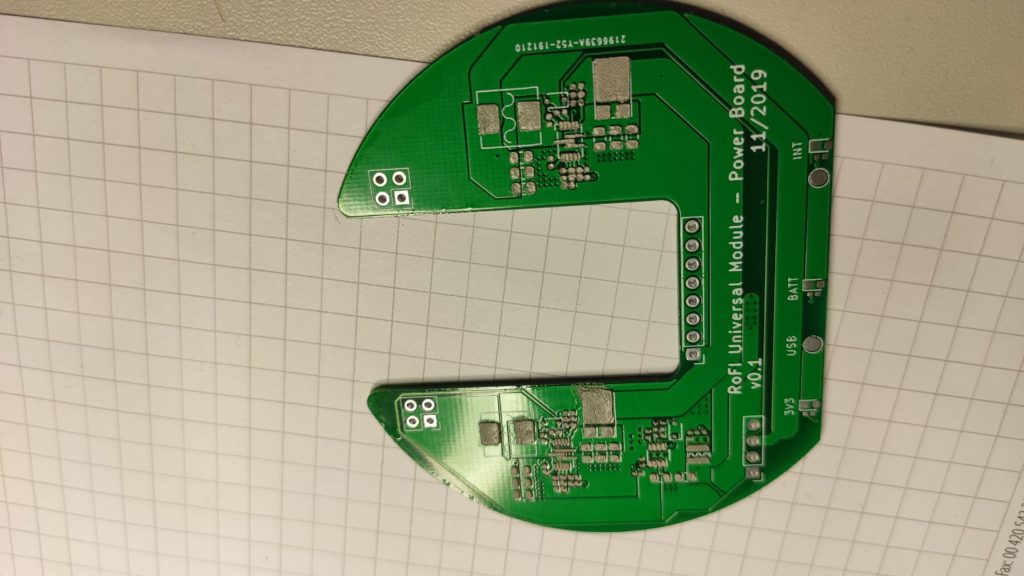
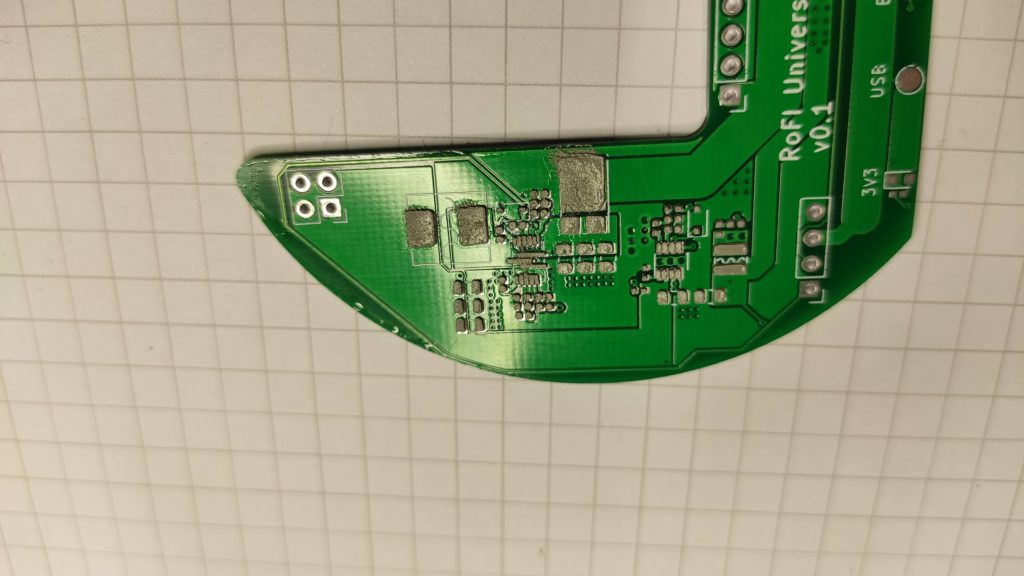
Then I tried to populate some boards using this stencil. I used Microprint 2006 solder paste. I think the pictures below speak for themself. All resistors are 0402, the ICs usually have a pitch of 0.5 mm.
I am excited about the results. I know I stress the printer a lot and I was able to easily populate a board with ICs with a pitch of 0.5 mm with the stencil. I have to admit there were few defects, but otherwise, they serve just like the metal ones.
Since the price of a professional-grade stencil is roughly 10$ it does not make much sense to not buy them and print them. To print them it is actually more work and slightly worse results. However, what I like about printed stencils is that they are self-aligning. Also, you can customize them easily without thinking much in advance – if you buy the metal one, you have to wait at least a week to get it. With a printed stencil you are ready to go in less than 10 minutes. I see potential here for repairs – you can easily print a partial stencil to, e.g., put paste only for one IC and then to reflow the whole board.
Did you enjoyed the post? Consider supporting me on Kofi:
Recent news: My open letter to the 3D-printing community
I love the 3D-printing community, but I think there is room for improvement. Let's get better in 2023! Read the full letter.
Support my work!
If you like my work (these blog posts, my software and CAD models) and you would like to see more posts on various topics coming, consider supporting me in various ways:
- You can become my sponsor on Github.
- If you prefer, you can also become my Patreon.
- You can buy me a coffee on Ko-fi,
- or you can buy something from my Tindie store (also see below),
- Or you can just share my work!
If you are interested in knowing what I am up to and recent sneak-peaks, consider following me on social media (Twitter, Instagram, Facebook).
My store offers
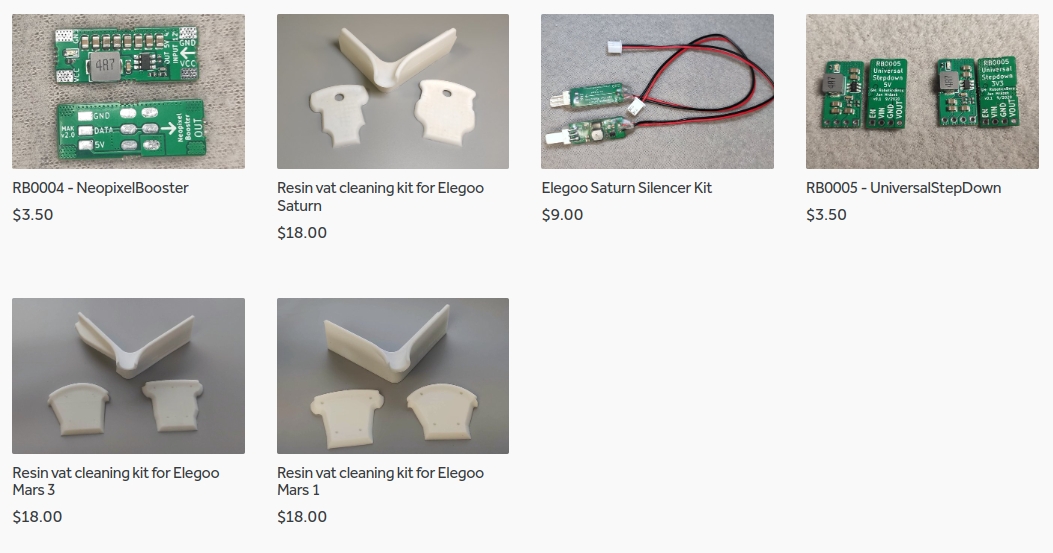
I launched new tank cleaning kits for Elegoo Saturn, Saturn S, Mars 1, and Mars 3. You can find them in my store.
Did you try printing it upside down – first the ledge and the actual surface as the last layer? This way you should be able to achieve thinner layer.