Today, I want to talk about an interesting phenomenon I noticed when printing hollow objects. A simple procedure can drastically improve the surface finish of your prints:
Extreme case of blooming

What is “blooming”?
When you print on your SLA machine, you might have noticed the effect people often call “blooming”. It is a quite-well known phenomenon, however, it is not well studied and understood. The guys from Photonster started to recently investigate this phenomenon more in-depth. Read their great Facebook post about blooming.
One possible explanation of blooming is that when you print large crossection of the model, the curing reaction catalyzies itself and runs more aggressively. Therefore, it cures some of the resin on over the exposed edge of the model. The other explanation is that when you cure resin, it slightly expands and, therefore, squishes some partially-cured resins to the sides. When printing small areas, the effect is not noticable, however, when you have a large cross-section it becomes noticable.
What is the true cause (at least for me) is unknown. The guys from Photonsters have successfully applied pixel dimming via UVTools to mitigate the effect. Follow their FB page for further details.
Blooming on hollowed models?
However, recently, when I was testing Resione M58 (surprisingly tough, flexible, and overall durable resin) my first prints were total failures:
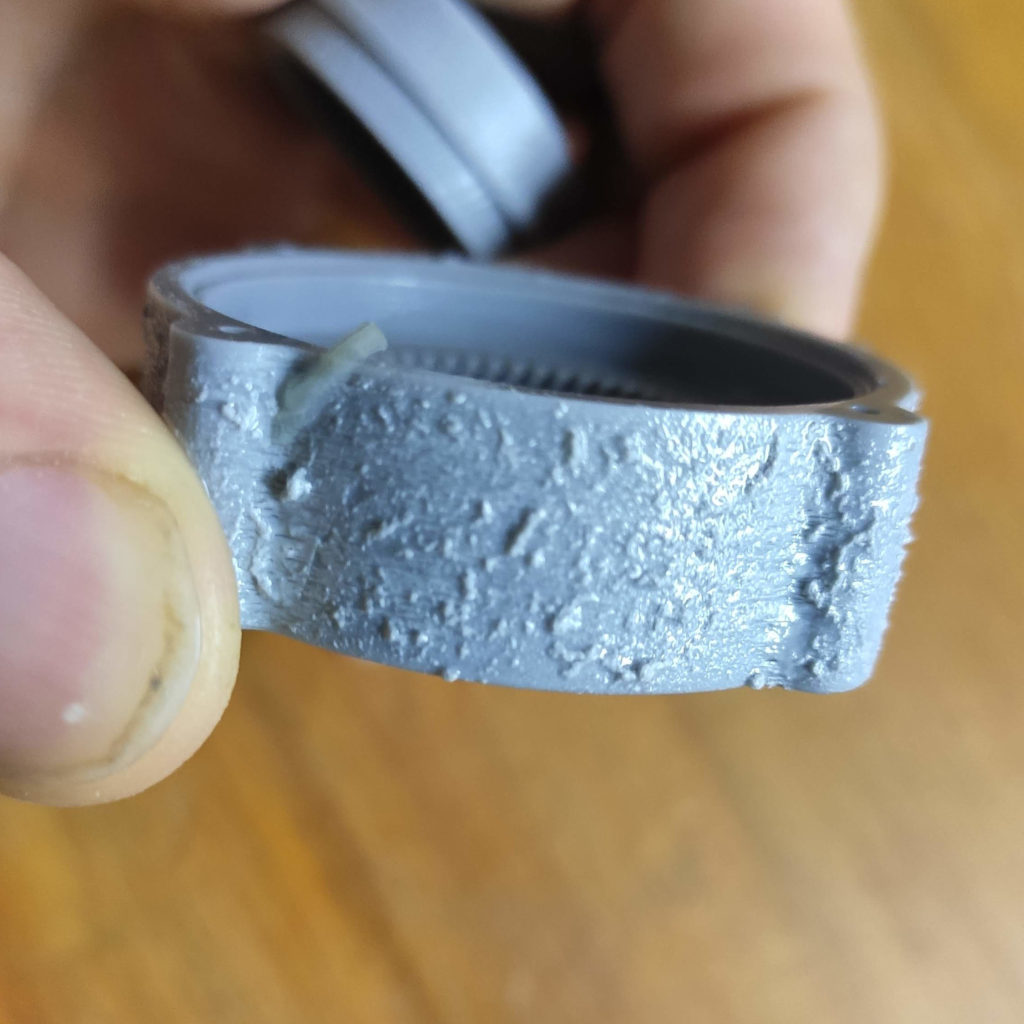
Extreme case of blooming
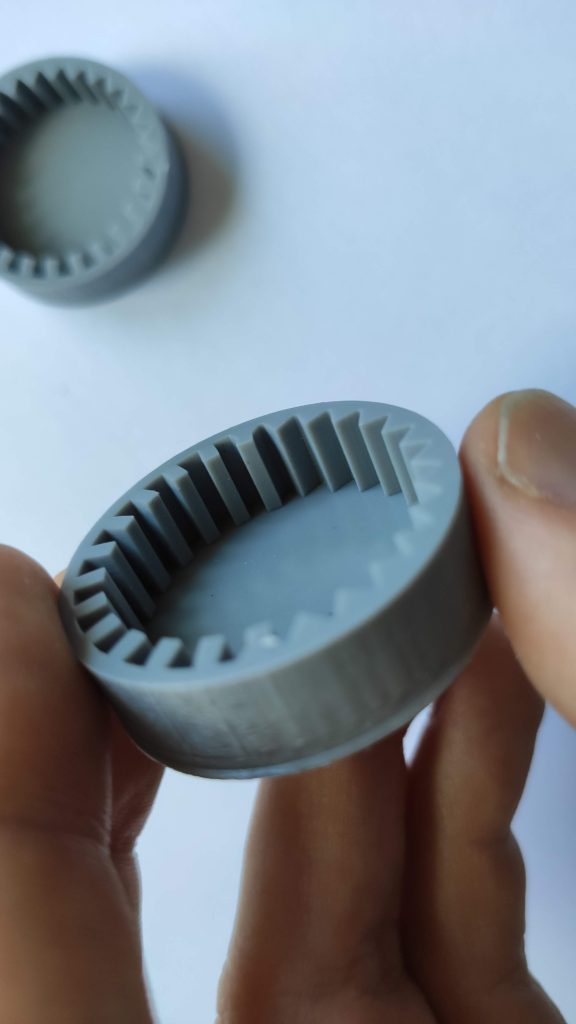
This was strange. It looked like an enormous blooming, however, the walls of the models are thin – around 5 mm. What was even more strange, that the insides of the models were perfect!
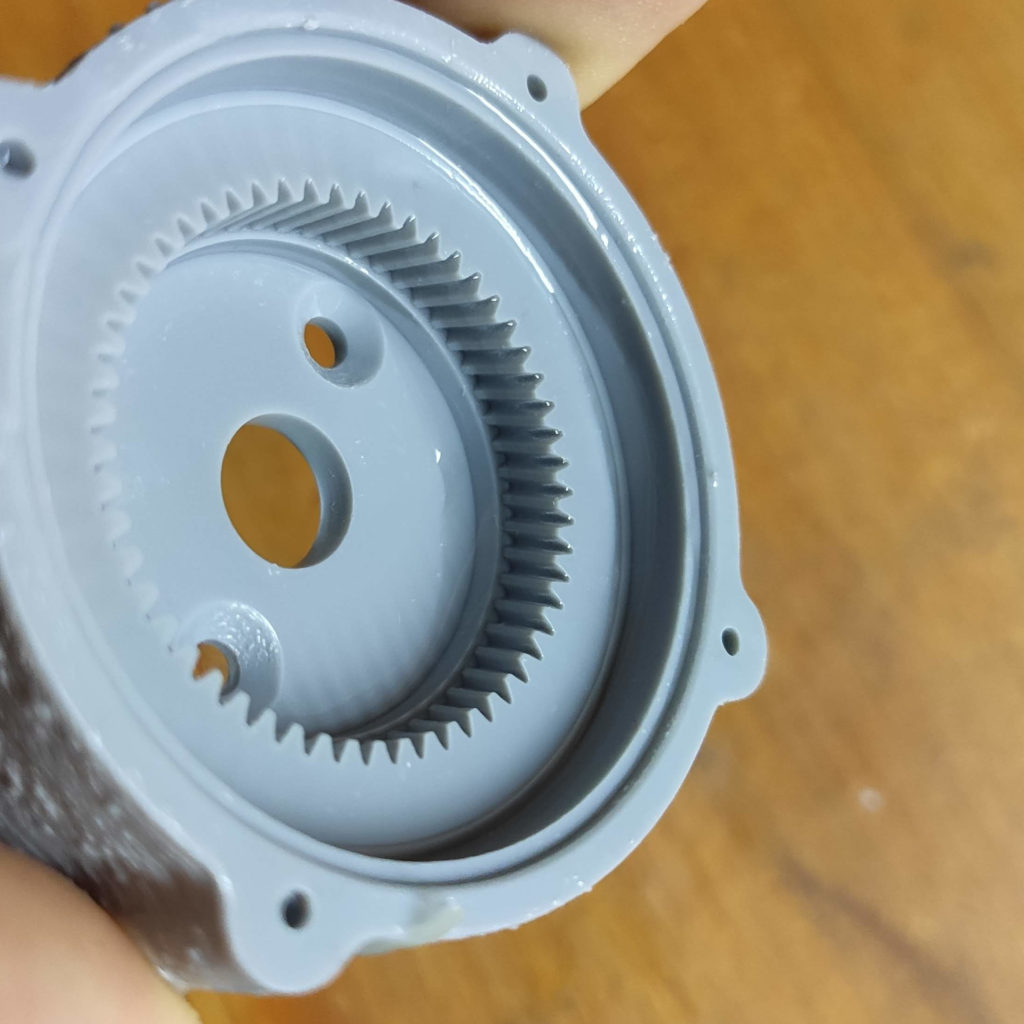
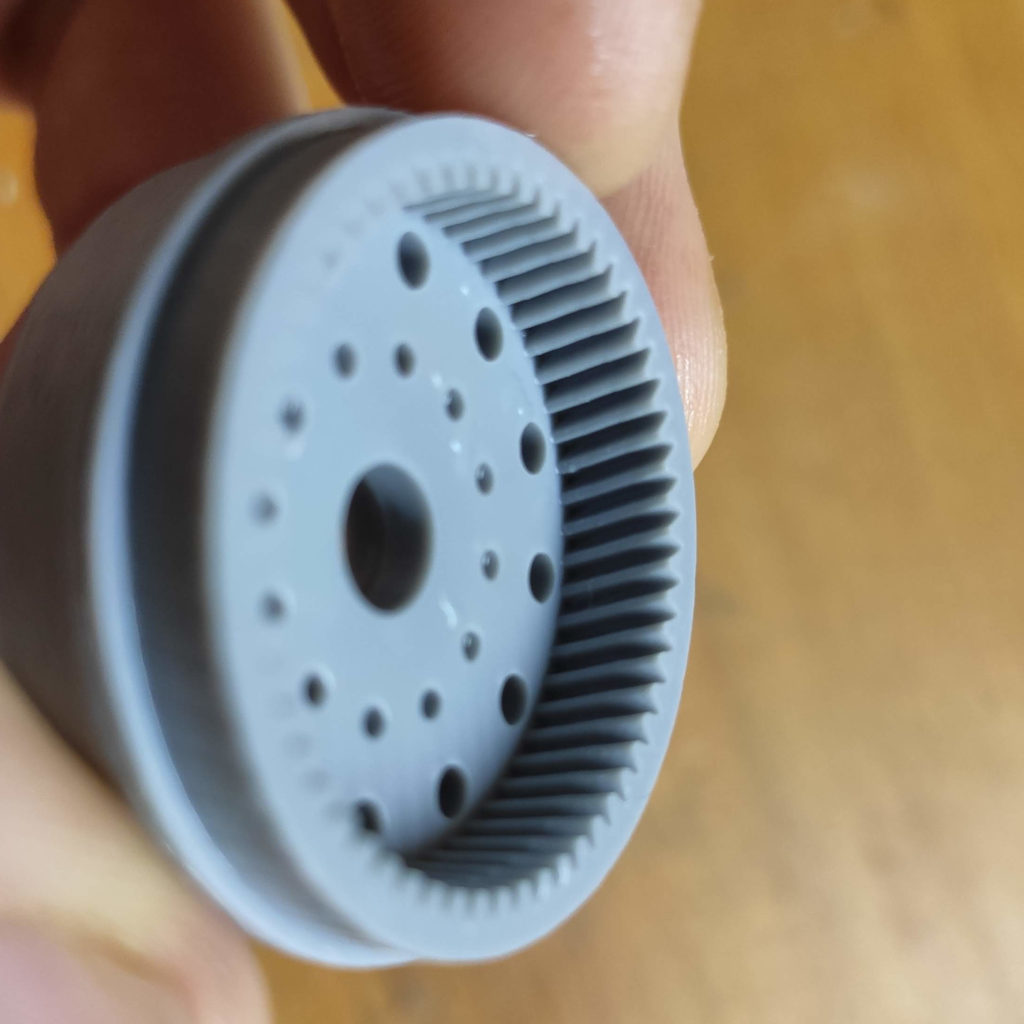
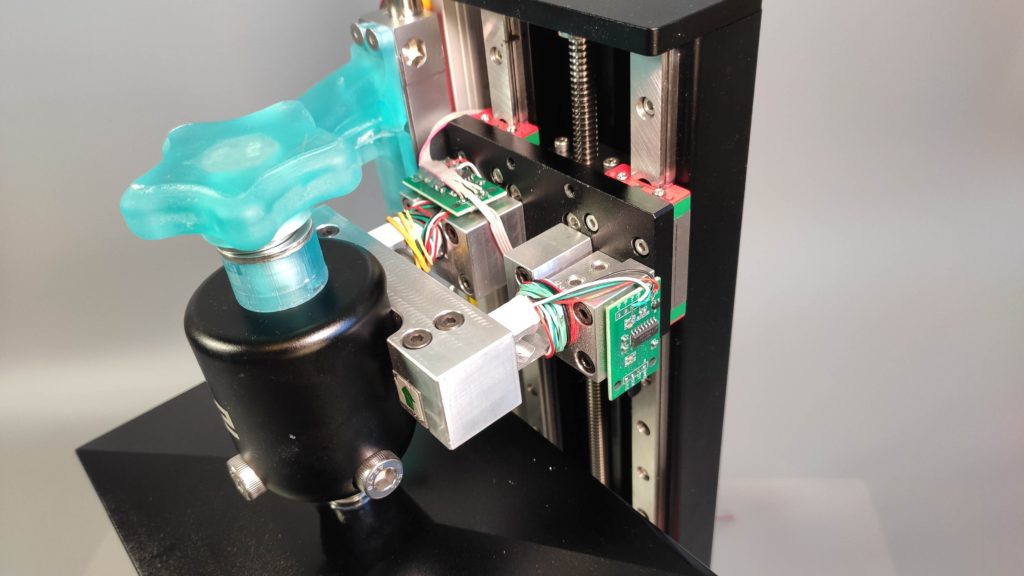
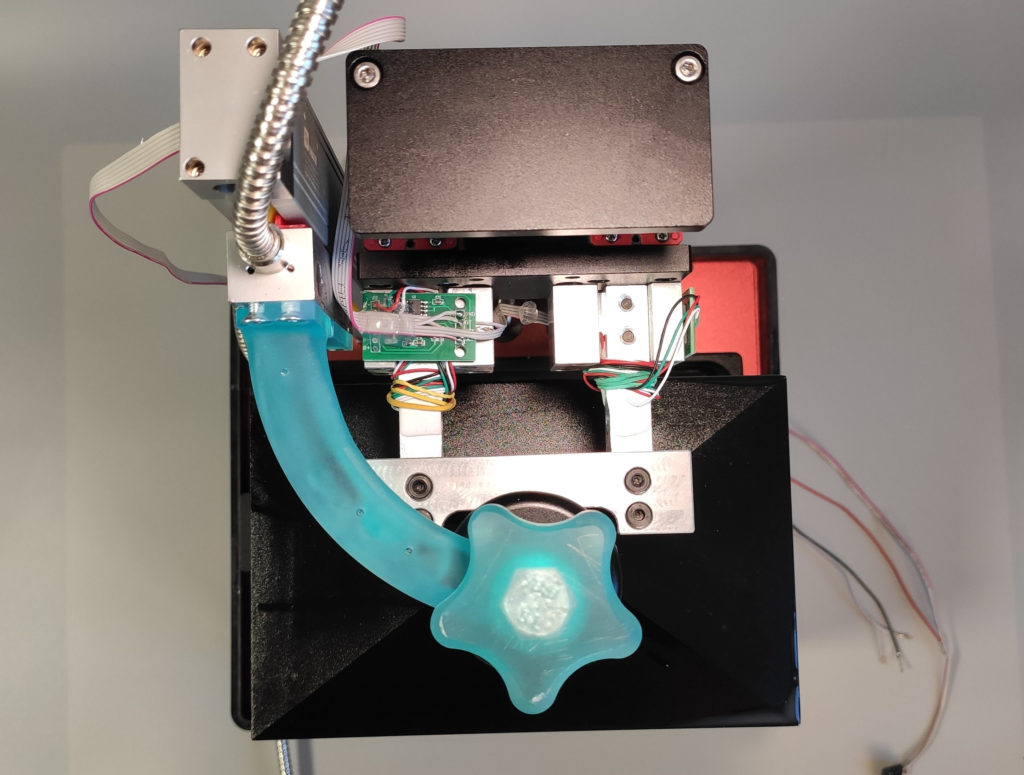
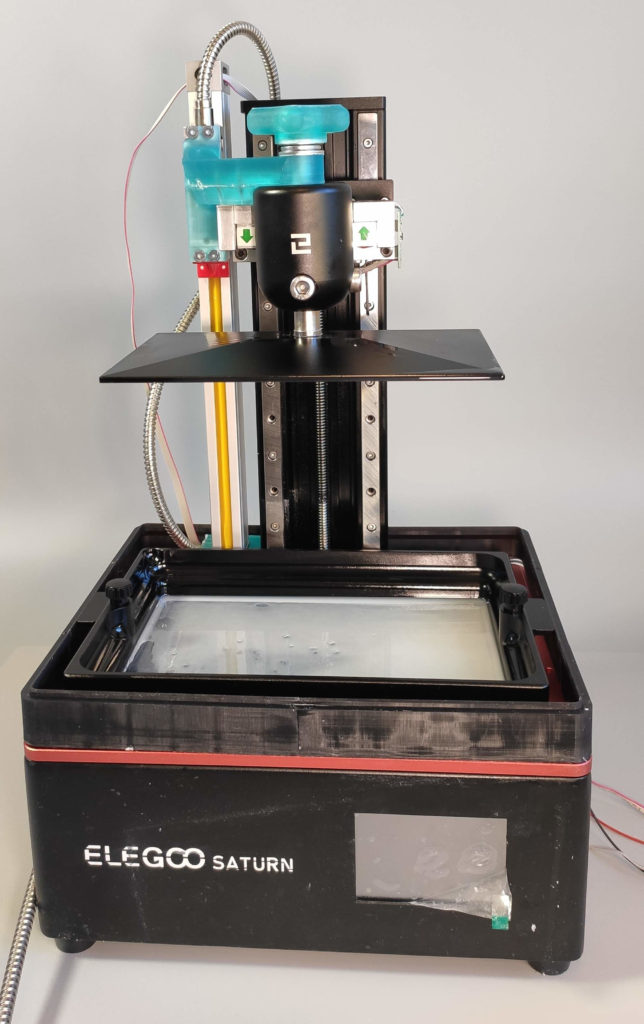
The models were printed flat on the bed. Therefore, both of them form a suction cup when printing as there are no ventilation holes. Therefore, I propose a hypothesis. Resione M58 is a really thick resin. From my (still unpublished) experiment I know that Elegoo Saturn’s Z-column is really flexible and it bends extremely when printing. Often, it does not manage to squish all the resin when printing before it starts to cure the resin. Therefore, I think what I observe on the outside of the models is a partially cured resin that was squished by the build plate during the exposure. I have confirmed with my measurement setup (see photos below, it allows me to measure build plate position and forces acting on it), that the build plate settles in the position for about 10–20 seconds. That means, that during a normal exposure (2–4 seconds), the build plate never settles! During the exposure, the build plate settles down for roughly 0.1–0.3 mm (that is 2–6× the layer height). Why is the inside perfect? Well, I think it is because of the air/liquid cavity inside the model. It counteracts the squishing to the inside and allows it only on the outside.
The modification of the Saturn
The modification of the Saturn
The modification of the Saturn
Therefore, there are two fixes:
- make Saturn more rigid (just like I made my Mars more rigid). This is complicated and laborous. Also, quite invasive.
- just use a long enought ligt-off delay in your slicer that allows you the build plate to fully settle before starting the exposure.
This time, I decided to go with the easy fix, that is, introducing a light-off time. One detour: ChiTuBox’es “light-off” parameter has unintuitive semantics. It defines the minimal time, that the light will be off between two exposures. That includes the movement. For our purposes, we need to set it to “duration of the build plate movement” + “large enough constant to settle the printer).
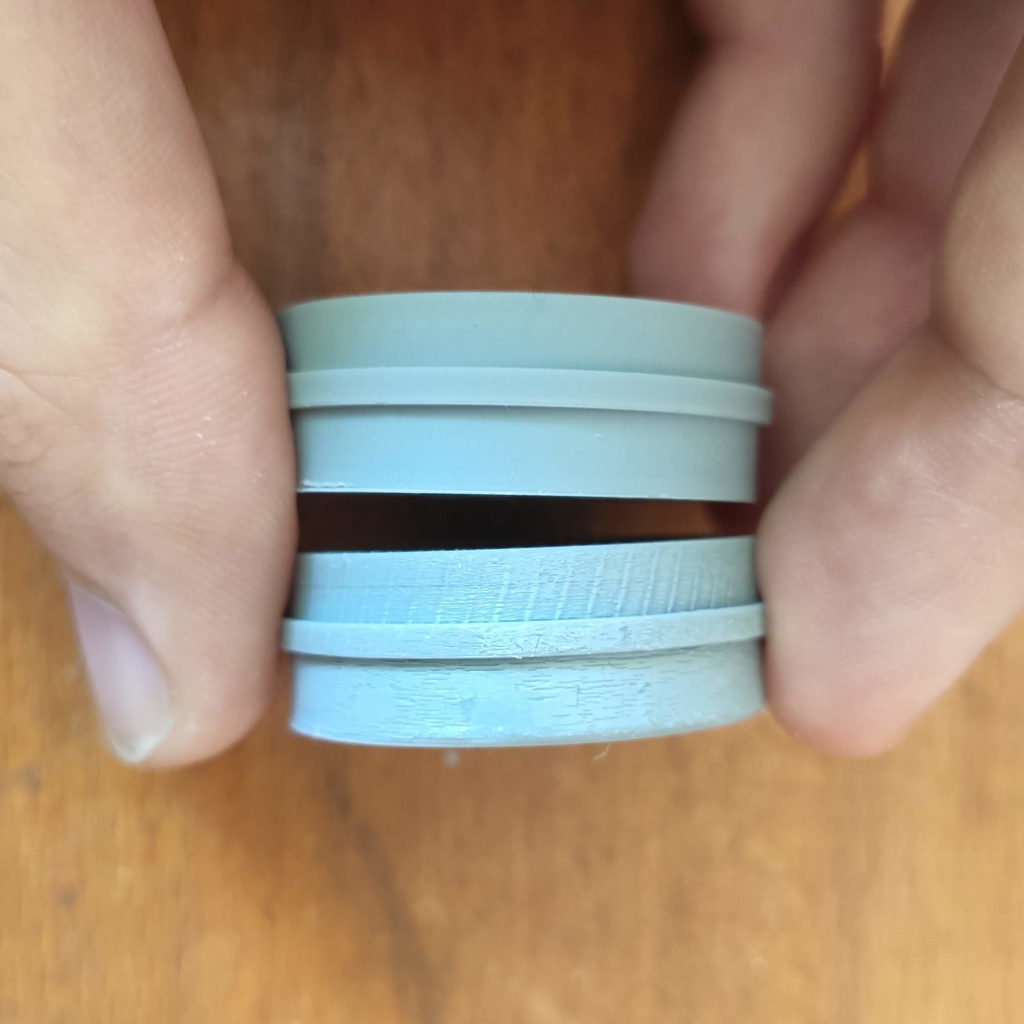
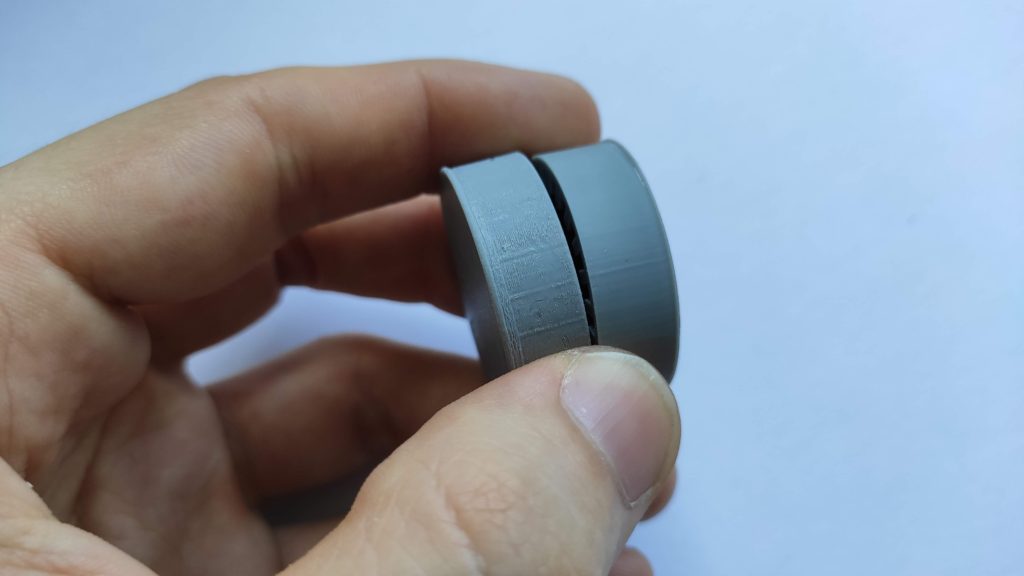
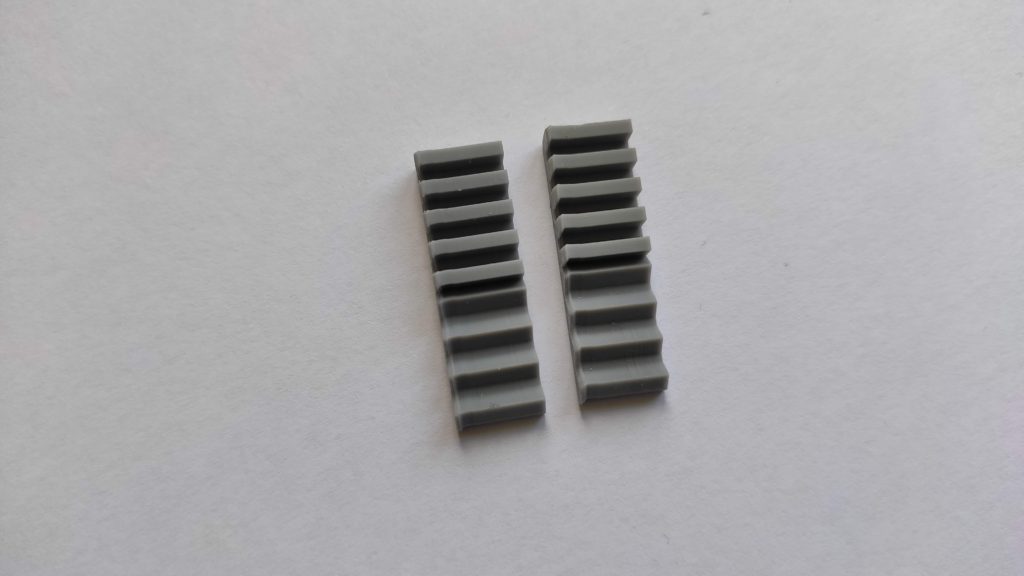
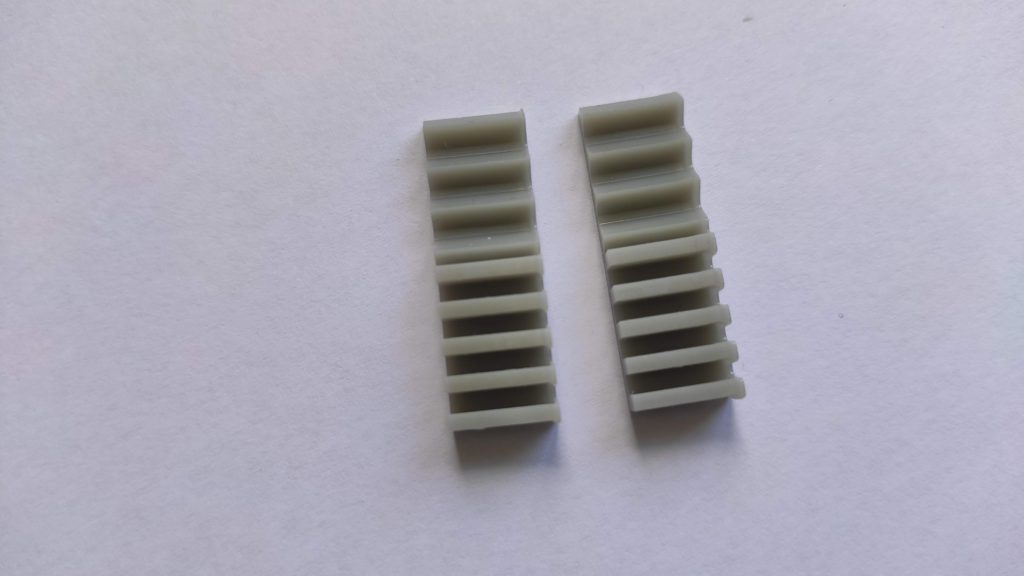
As you can see from the pictures in the intro, the light-off helps a lot. I used 20 seconds in this particular case. To further verify my hypothesis about a suction cup, I designed the following model and printed it with two resins: Siraya Tech Fast and Resione M58. Fast is quite thin and flows easily. M58 is thick and flows badly.
I printed the models twice; one without light-off and the second with a light-off time. To also make sure the results are not random, I repeated each print twice. The results are the following:
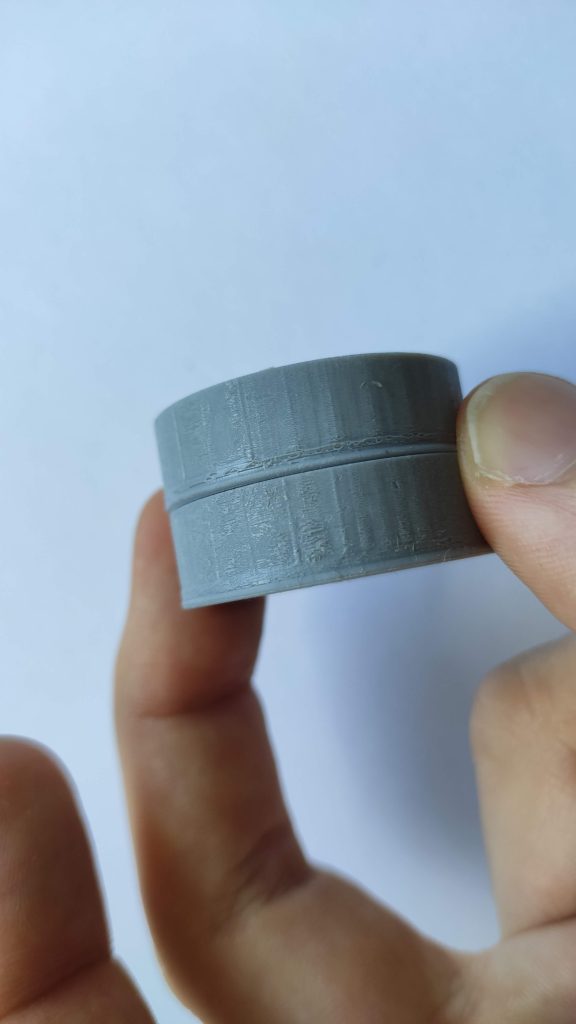
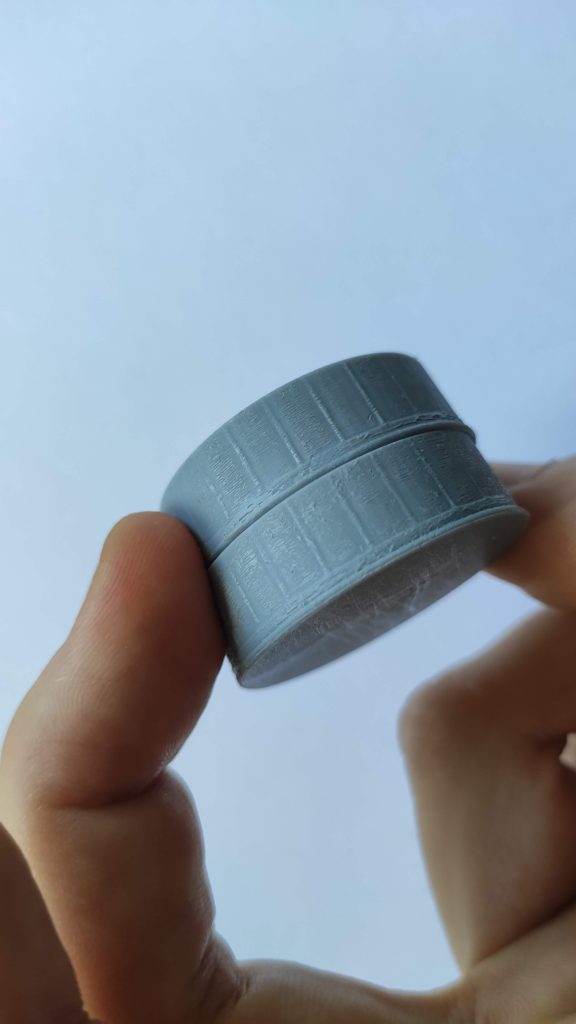
- Siraya Tech Fast does not have a tremendous difference between the models with light-off and without it. There is a small difference and if you look closely, you can tell which one is which.
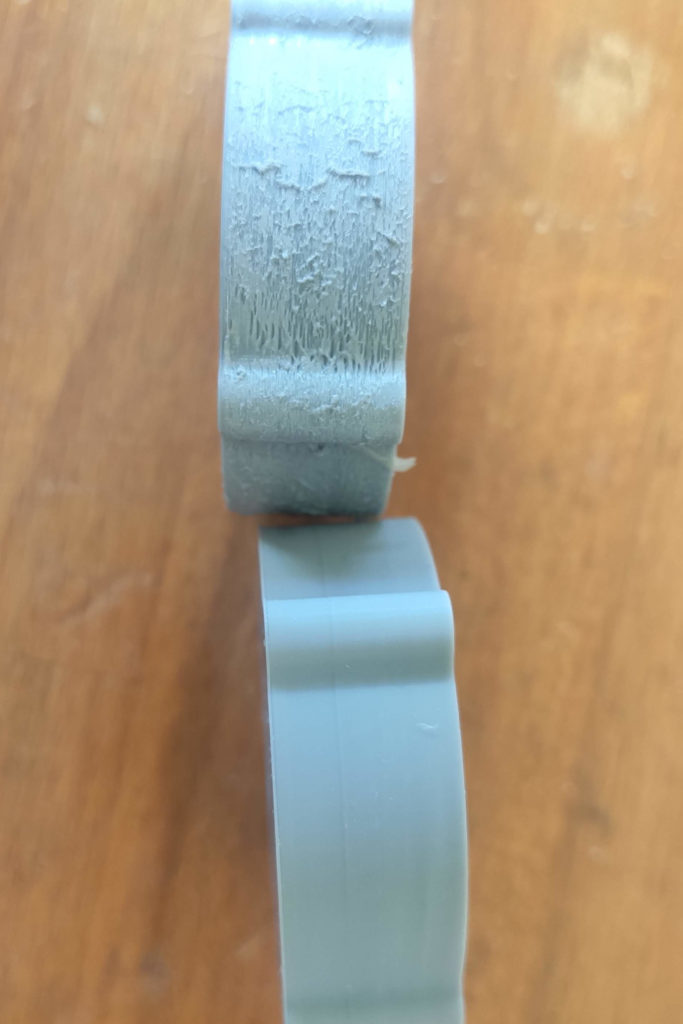
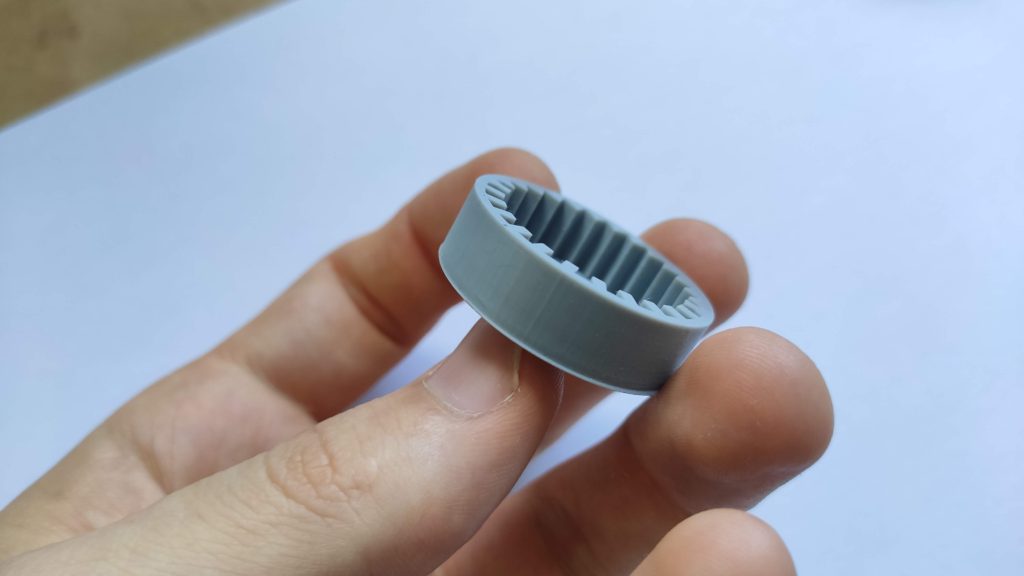
- M58 has terrible outside walls without light-off and nice results on the inside. As expected.
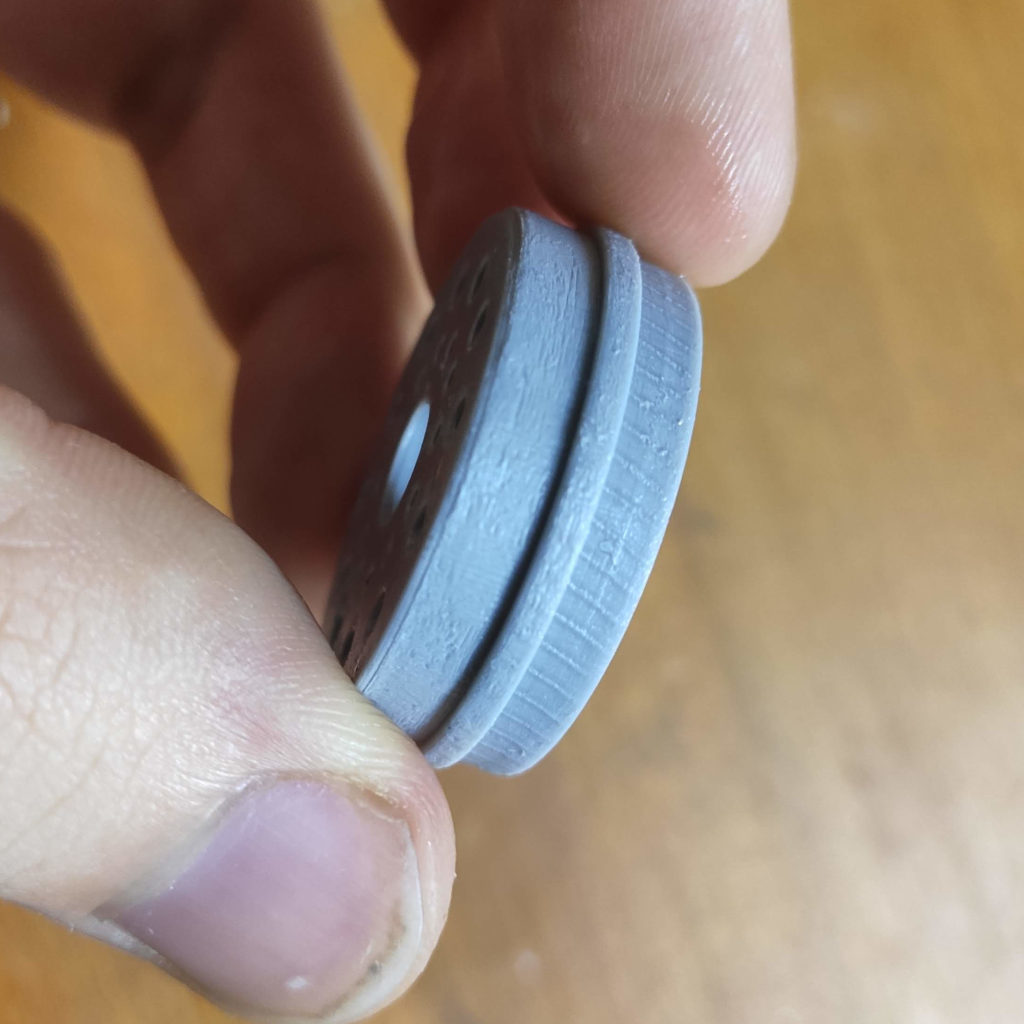
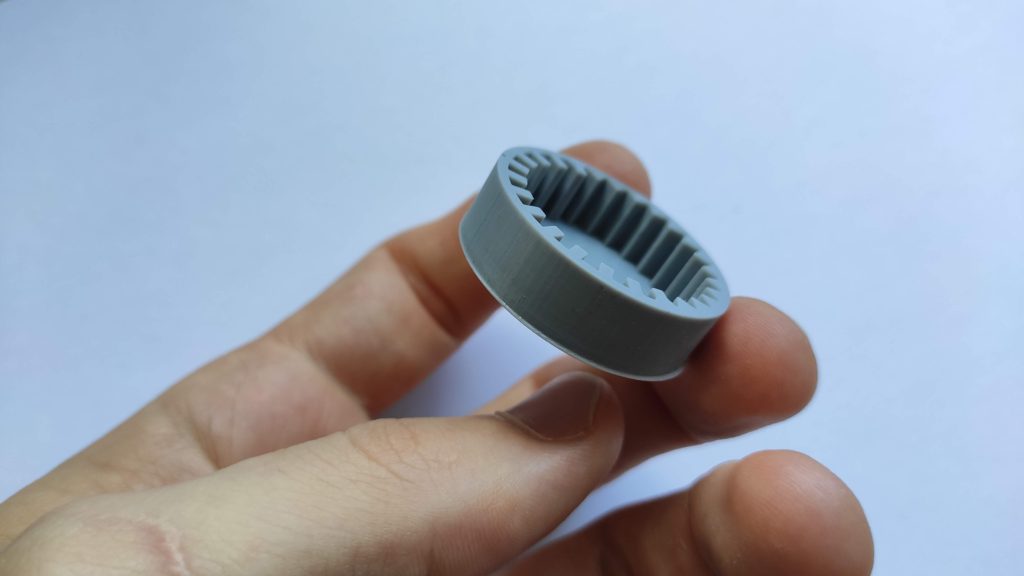
- The inside pattern gets copied on the outside. You can clearly see where the inside pins are. They (partially) copy the spike pattern. I have no clear explanation or hypothesis on this. Possibly there is “just more partially cured resin” to squeeze out.
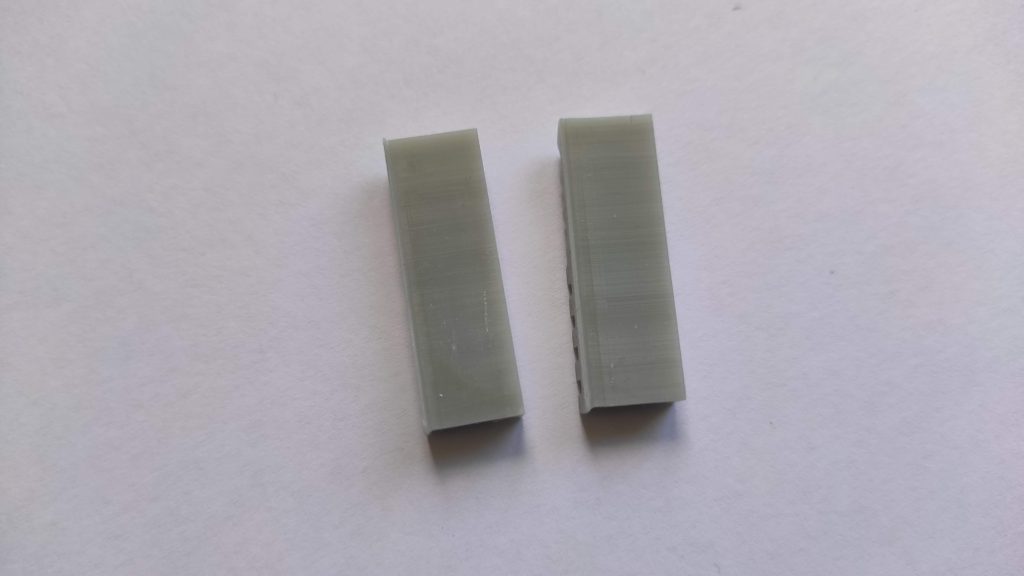
- The models that do not form a suction cup (the straight walls) came out perfect every time.
- With light-off, the elephant foot is smaller.
- The models printed with light-off did not have holes in them caused by improper ventilation.
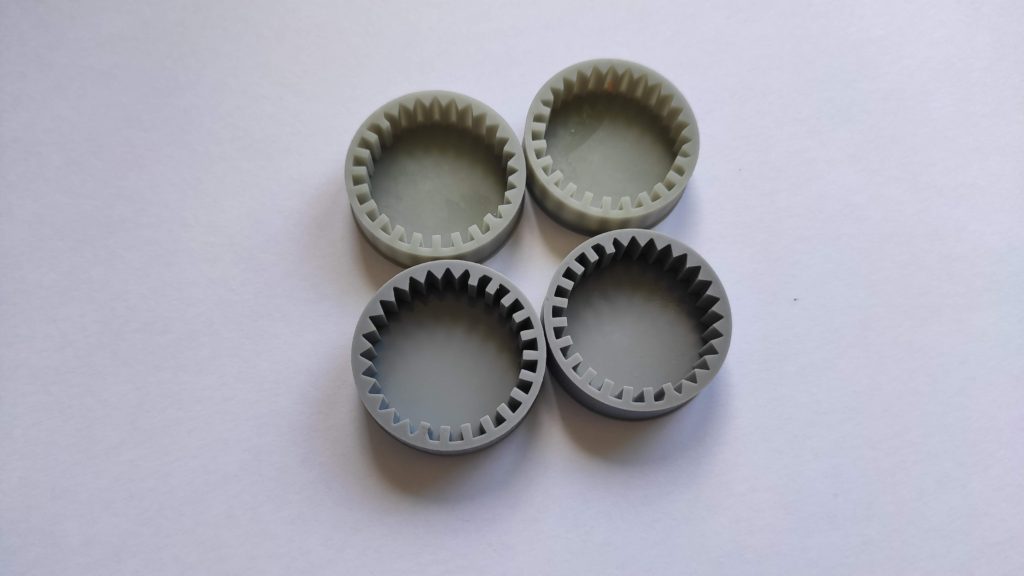
All test models

Siraya Fast - no light-off (left). Note the holes
Fast: Insides are perfect
Resione M58
Extreme case of blooming
M58: The pattern replicates on the outside
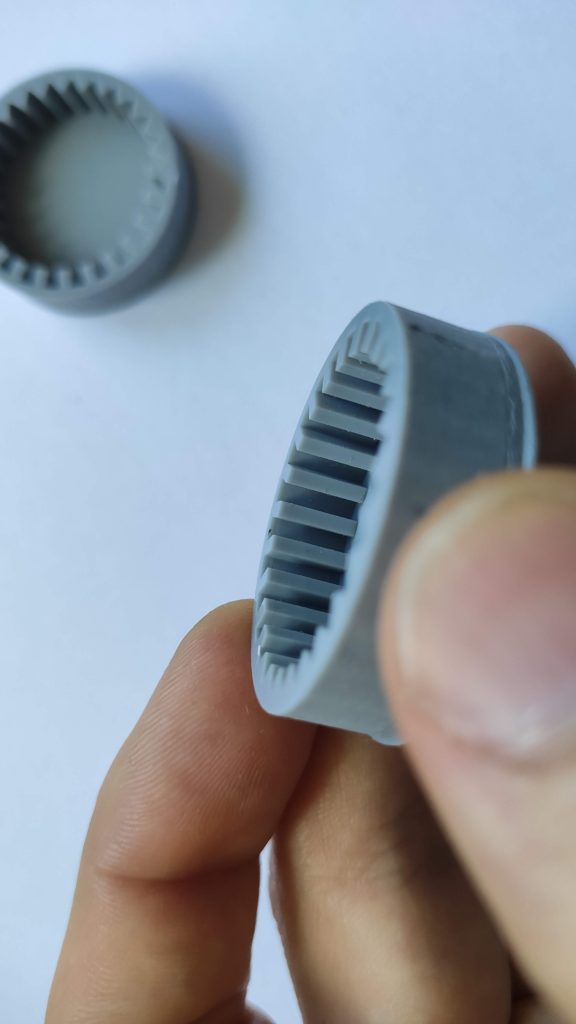
M58: Insides are perfect
M58: Insides are perfect
M58: No notable difference

M58: No notable difference
Fast: No notable difference (only smaller elephant foot)
Fast: No notable difference
What to take from this experiment?
When you print a hollow model from a thick resin, add some ventilation holes to it, or simply introduce (quite) a large light-off delay. It helps a
PS: If you have any theories about blooming, I will be happy if you propose and experiment that we can try to validate it! It would be really good for the community to fully understand blooming and have ways to avoid it!
Recent news: My open letter to the 3D-printing community
I love the 3D-printing community, but I think there is room for improvement. Let's get better in 2023! Read the full letter.
Support my work!
If you like my work (these blog posts, my software and CAD models) and you would like to see more posts on various topics coming, consider supporting me in various ways:
- You can become my sponsor on Github.
- If you prefer, you can also become my Patreon.
- You can buy me a coffee on Ko-fi,
- or you can buy something from my Tindie store (also see below),
- Or you can just share my work!
If you are interested in knowing what I am up to and recent sneak-peaks, consider following me on social media (Twitter, Instagram, Facebook).
My store offers
I launched new tank cleaning kits for Elegoo Saturn, Saturn S, Mars 1, and Mars 3. You can find them in my store.
Related Posts
- Multi-planar Slicing for 3D Printers – For Both FDM and Resin
- Open letter to the 3D printing community: Let’s be better in 2023! What should we do?
- Continuous Printing On LCD Resin Printer: No More Wasted Time On Peeling? Is it possible?
- About the Successful Quest For Perfect MSLA Printer UV Backlight
So, I think you are right (or mostly right).
With hollow models, and large models, as it gets to the last part of moving down, it has to squeeze the resin out a very thin layer (0.05mm potentially), and this flowing resin is getting partially cured by the exposure. It’s also possibly that it is eroding the previous layer that maybe isn’t as fully cured as it will be. The reason that un-vented hollow prints show it so bad is because the pressure builds up inside as it descends, and that increases the flow even after the z has stopped. It’s basically the mechanical opposite of suction cupping. Because of this, the resin viscosity is the key factor, but using a light off or slower retract speed can improve it.
The best solution is to not have cupping at all by using vents or reorient the print.
“to not have cupping at all by reorienting the print.”
Excuse me, but how is this possible for 99% of models? By definition, a hollow model will always form a closed, airtight perimeter, whatever its orientation on the construction plate. If it has an opening on one side, it’s no longer a hollow model.
If you want to see an interesting example of this, print swiss cheese flat on the build plate, or just check out this Reddit thread.
https://www.reddit.com/r/ElegooMars/comments/jm93tf/example_of_cupping_suction_causing_blowouts/?utm_medium=android_app&utm_source=share