Not so long ago I published a blog post showing how I make silicone components. If you haven’t read it I recommend you go through it first. I won’t cover all the steps for making the components — I will just discuss the game-changing improvements in my setup.
You might be asking what might be such a game-changer that it deserves a separate blog post. Previously, I designed open molds and pour silicone into them. Now I have found a way how to inject the silicone into a closed mold.
Injecting the silicone makes the whole process faster, cleaner, and also, more reliable (no more trapped bubbles!). On top of that, it allows me to design more complex molds which can, e.g., make removal a much more pleasant process.
Silicones vs. resin printed molds
In the last post, I just briefly touched on the problem of choosing the right silicone for your project when using resin-printed molds. Let’s fix it.
If you scroll resin printing Reddit or Facebook groups, you will find a lot of people complaining about the silicon not curing in the molds and “the experienced users” responding “only a fool would try to pour silicone into a resin printed mold”. Yeah, people on the internet are often cruel to each other and also, they are often wrong. Just like in this case.
Here’s what you need to know. There are two types of silicones based on the curing process:
- Additive silicones (often called platinum-cured silicones). You can recognize these silicones as they come in two parts that usually mix in a 1:1 weight ratio.
- Condensation silicones (often called tin-cured silicones). You can recognize them by that they come in a form of silicone rubber and catalyst that mix in the ratios from 100:1 up to 100:5.
When you buy a commercially made product, it will be probably made out of additive silicone. They are not particularly sensitive to the mixing ratio and usually yield better mechanical properties compared to condensation silicones. However, they come at the cost of being too sensitive to chemicals inhibiting the curing reaction. These silicones won’t cure when they are in presence, e.g., nitrile or most UV resins, unfortunately. Therefore, these silicones cannot be used with resin-printed molds (see below for some workarounds).
Therefore, if you want to use silicone with resin printed mold, you have to use condensation silicone. They work flawlessly and I haven’t experienced a single failure with them. They, however, require to measure the components precisely. The amount of added catalyst changes their properties slightly. When you add too much of it, it will cure fast and the resulting rubber will be fragile. When you add too little, the rubber will cure for too long and the result will be really soft.
If you really have a use case for additive silicone, you can try several post-processing methods for the resin-printed molds to make them usable:
- You can coat the mold with spray paint. You can lose details or the spray paint can also inhibit the curing reaction.
- There are special solutions for painting the mold to prevent inhibition. However, they seem not to work as flawlessly as the manufacturer claims. If you are interested, read Joshua’s crusade on his blog.
Overall, the procedure for making additive silicones work seems quite hard and I advise you: stick with condensation silicones.
Injection molding — that sounds expensive, right?
If you look at the industrial setup for silicone injection (e.g., this video or another video) it consists of very expressive, heavy-duty machines. However, I managed to build a setup that can be easily bought, costs less than 50 USD, and works flawlessly for small or prototype batches.
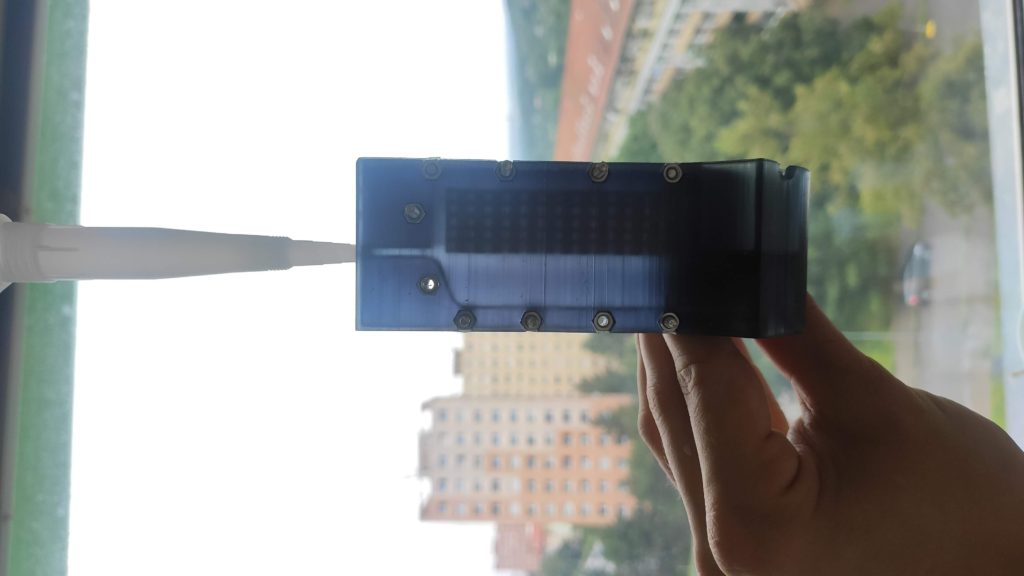
The basic idea is the following: let’s have a close mold with a single opening where we put a nozzle and we force the silicone into the mold via pressure. The pressure ensures that the viscous silicone will fill every cavity of the mold and all air bubbles will be squeezed out.
A DIY setup for injecting the silicone was already published by CEW.Manufacturing. In his setup, he uses 3D components to push two standard syringes with A and B parts of an additive silicone out to a tube into a static mixing nozzle. Which then he puts it into the mold entry and squeezes hard. What is nice about this setup is that you don’t have to premix the silicone and you mix it on-demand as you squeeze. However, this is only possible with additive silicones, so it does not work for our resin-printed molds. What is troublesome about this design is that it is quite laborious to squeeze the silicone and it also seems that occasionally there are some bubbles in the resulting components.
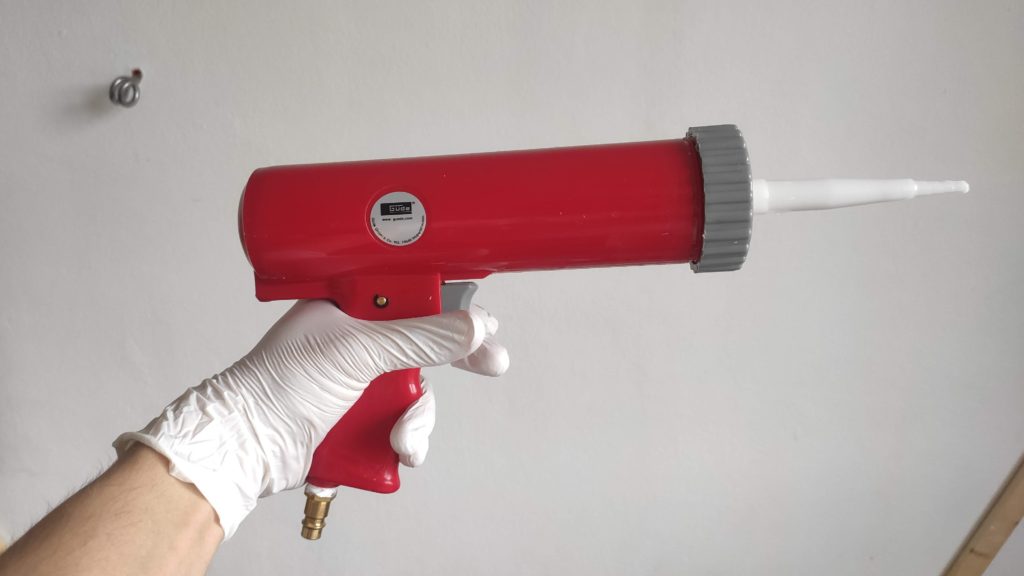
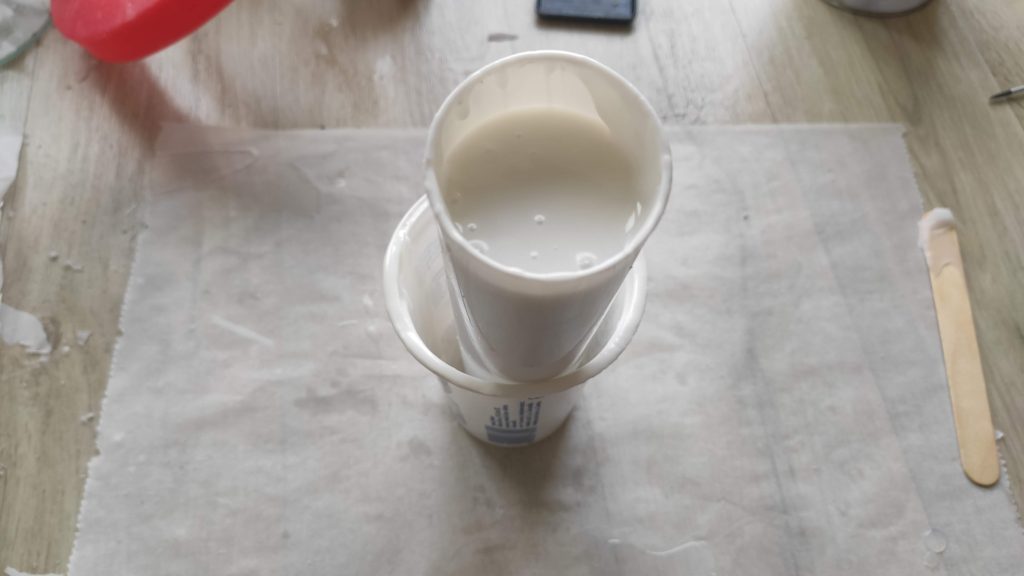
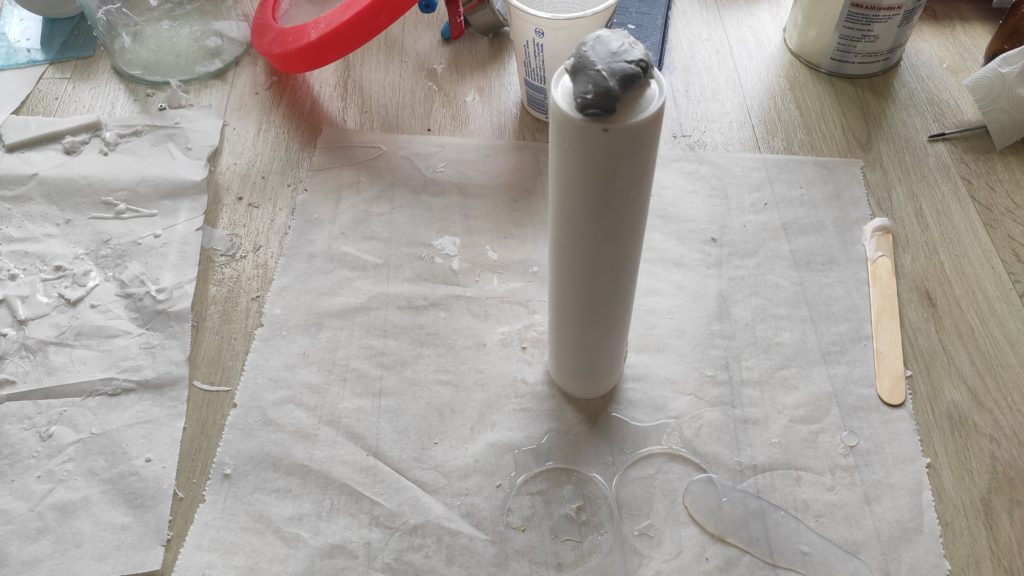
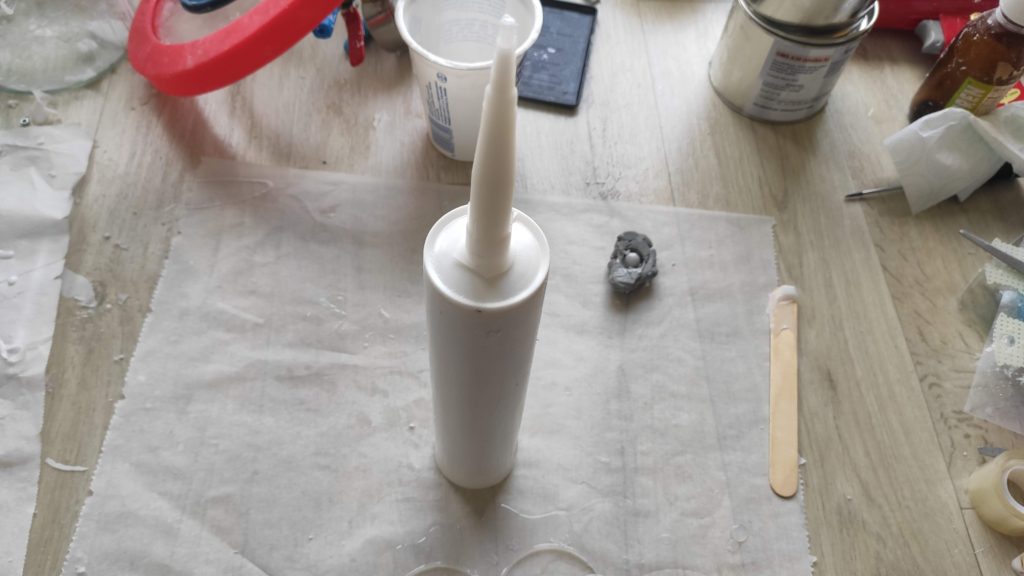
I decided to take another route. I found out you can easily buy empty standard 300ml silicone cartridges (e.g., on Net-technik). So the simple setup would be to mix the condensation silicon beforehand, degas it, pour it into the cartridge, and then use the standard cartridge gun to squeeze the silicone out. However, based on my experiences, this will take a lot of effort and you cannot produce large pressures easily.

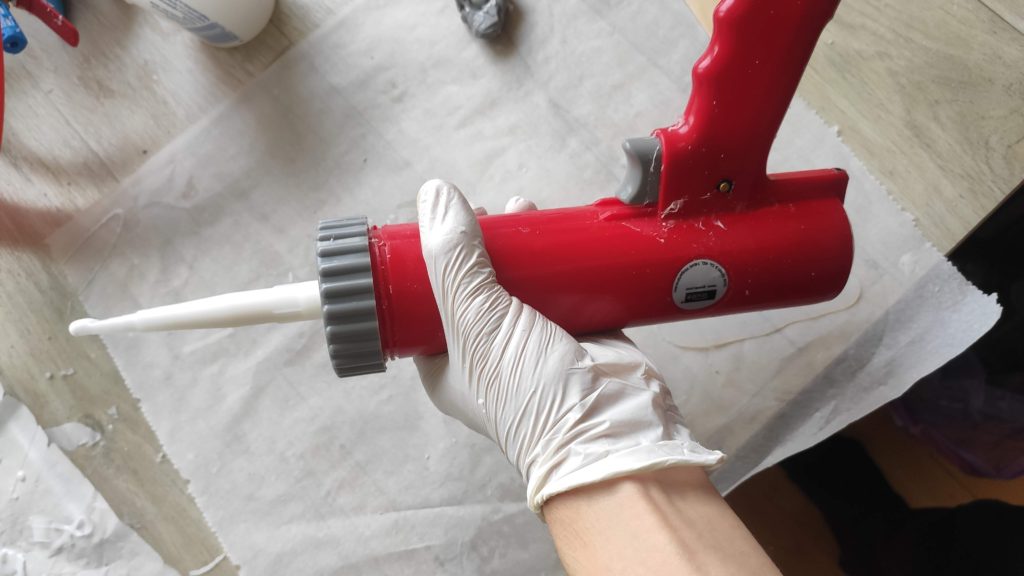
So, for a moment I was considering motorizing this gun with a leadscrew and a motor. However, then I found out there exist pneumatic guns that use compressed air to squeeze the silicone out of the cartridge. They are, however, quite expensive (150+ USD). Then I bumped into Güde 2693 — a 23 USD pneumatic gun. So I bought one.
When I got it I immediately got disappointed. The thing simply did not work at all. I know, I got what I paid for. The first problem is that the input valve wasn’t working. So I removed it from the gun, and I found out it was assembled in the wrong orientation. It was also poorly machined with a lot of burs that would cause air leaks. So I removed the burs, assembled it back again, and viola — the valve worked, but no silicone was pushed out. The gun leaked in the front cup. The seal on the front was made from hard rubber and in principle, it just could not work properly. You would need to precisely fit the length of the gun and the carriage. Impossible. So I designed a new seal, printed a mold on my Elegoo Saturn, and cast it out of silicone. After this, the gun started to work!
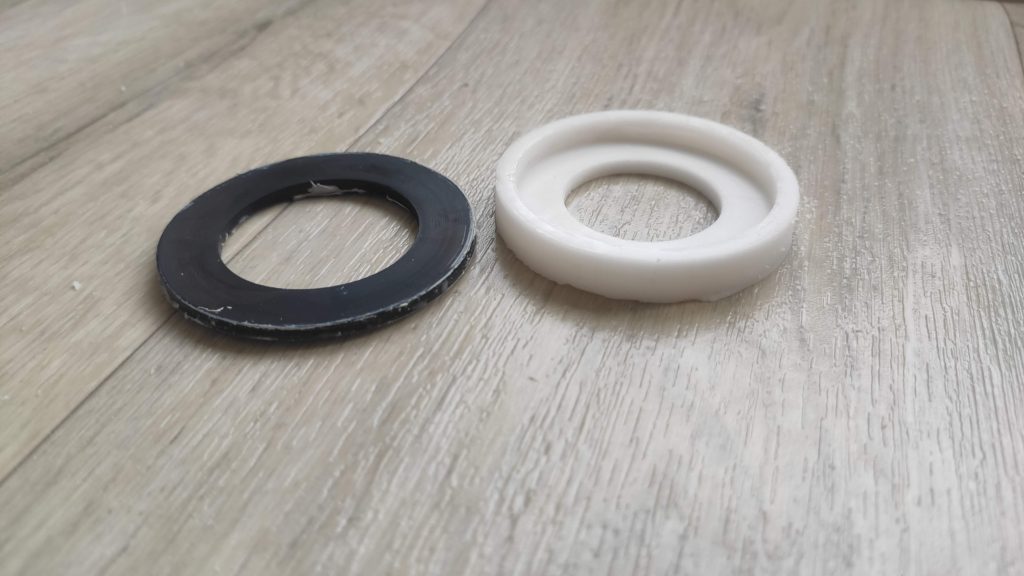
The old seal (left) and the new one (right)
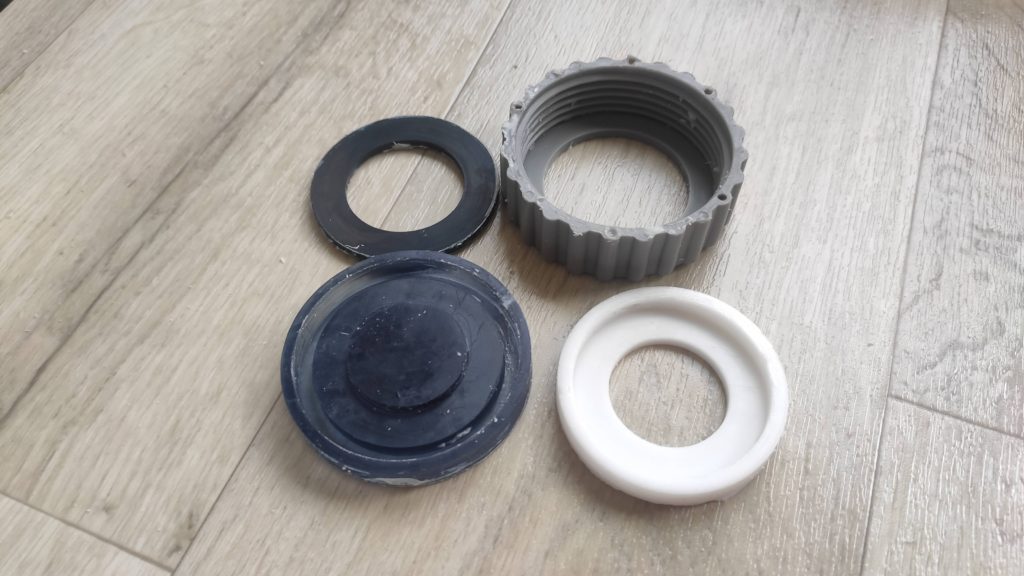
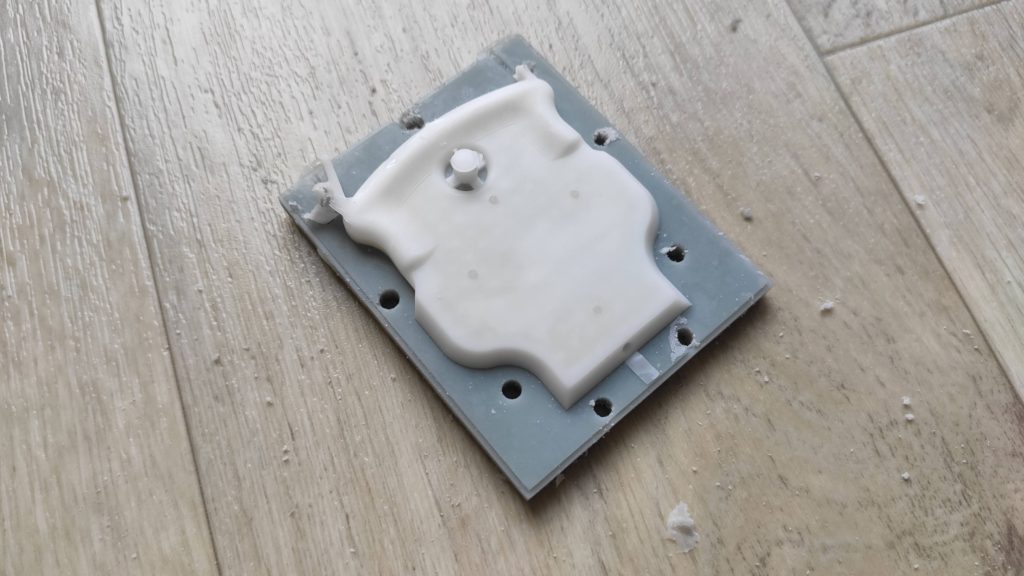
The mold and the new seal in the front, the original screw cup with the seal in the back
What is nice about the cartridges is that after the silicone cures, they are reusable. You just extract the piston and extract the cured silicones. Then you can reuse the cartridge multiple times. No need to get a new one for each shot.
Designing the mold
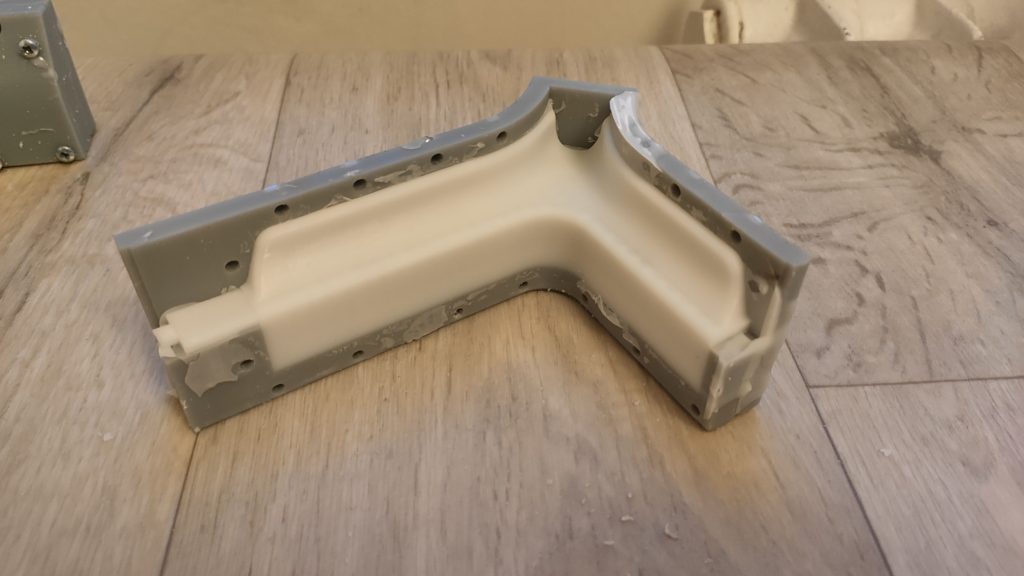
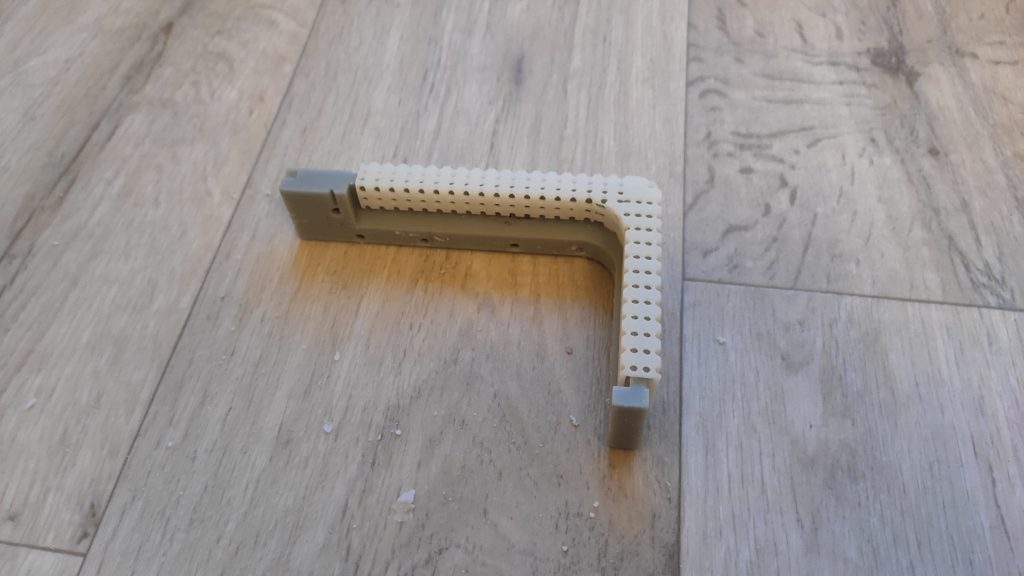
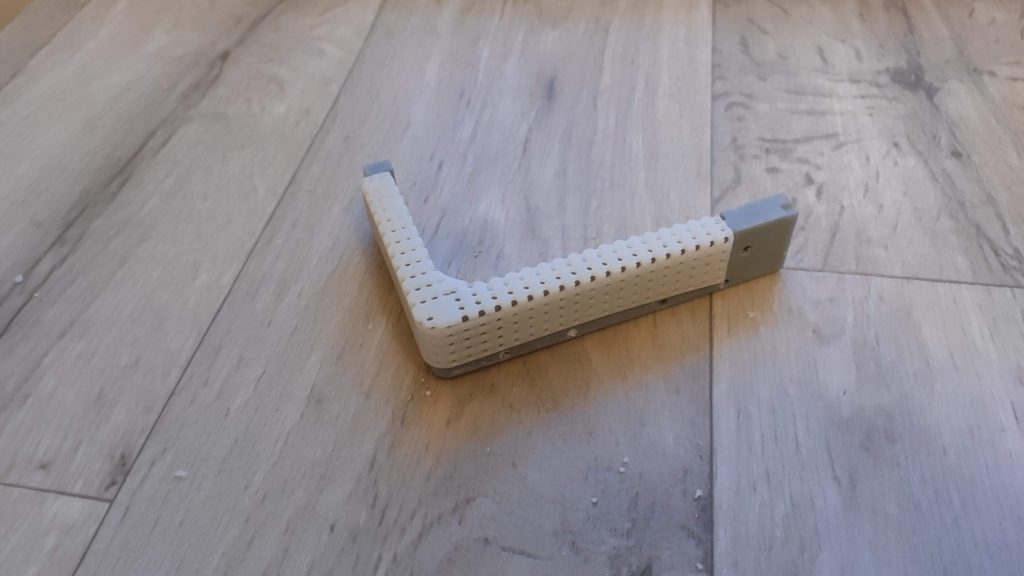
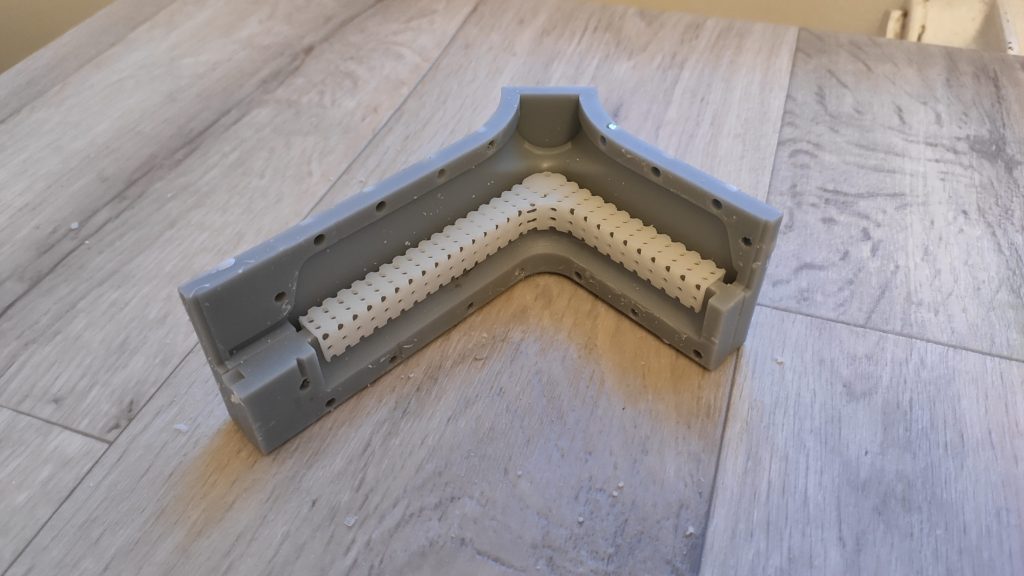
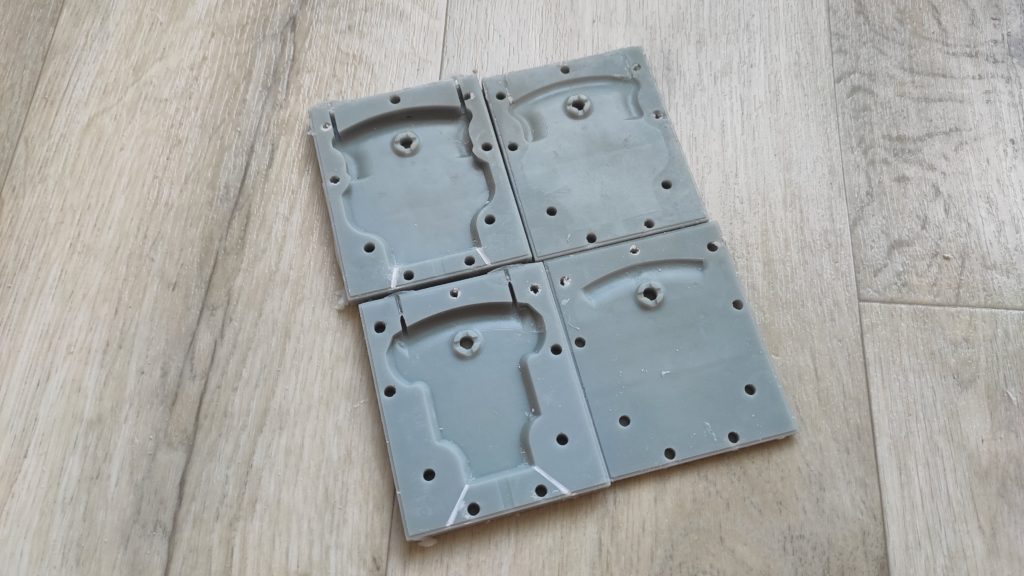
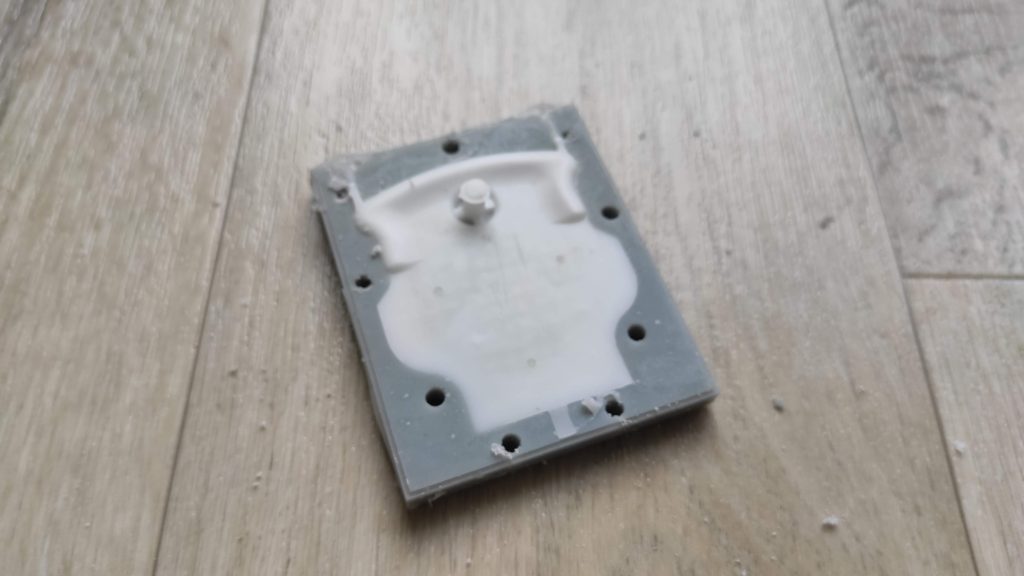
I designed to redesign mold for my Elegoo Saturn Resin Cleaning Kit. The old molds were getting worn out and the removal process was time-consuming. I decided to use 3 part mold as you can see on the images. This allows me to easily disassemble the mold. I had to design 3 prototypes before I was happy with the results. There are a few things I learned during the process:
The first thing is that the mold has to be clamped properly. Without proper clamping, the pressure will open the mold. Therefore, I ended up adding screws every 25 millimeters or so around the perimeter. That works flawlessly.
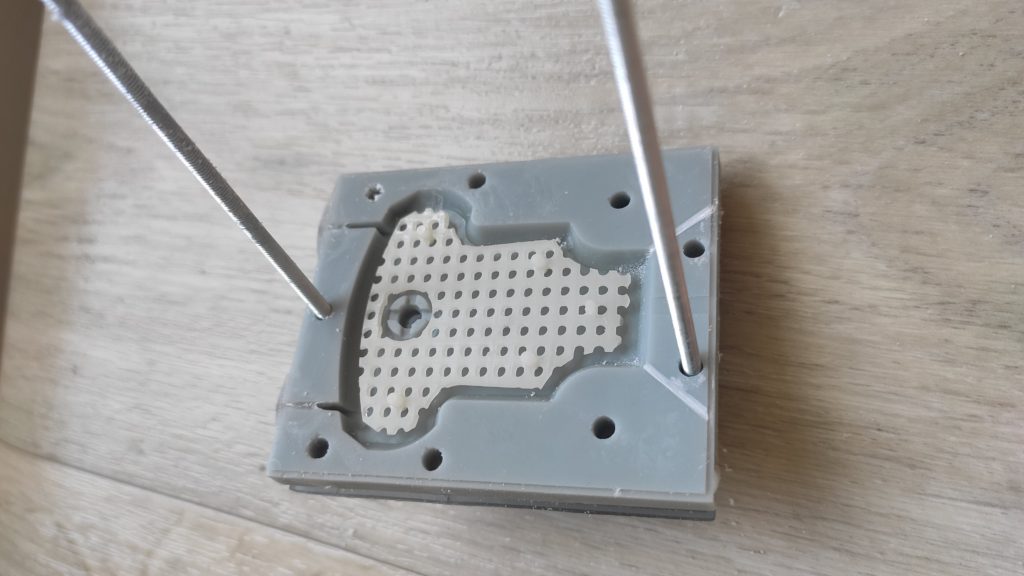
My first prototype had a lot of venting holes. This was a bad idea — not only the silicone leaked through the holes massively, but also, as the silicone cures in the order of hours (compared to plastic that settles in seconds), the silicone leaked through the venting holes and I ended up with holes in my casting. Therefore, the learning is that you need very few and very small venting holes. I ended up using 0.15 × 0.5mm slots. Also, I usually include only a single venting hole on the end of the molds. Usually, that is enough. If it is not enough and there is air trapped in some pockets, I just take a file and file a small venting slot afterward.
Also, as the silicone cures slowly, it makes sense to include a large well in the mold. A well is a cavity where you store extra silicone that flows into the mold in case of the silicone leaks via the venting holes. For my spouts, the well is around 1ml. Based on the experience, I think I could get away with 0.3ml well.
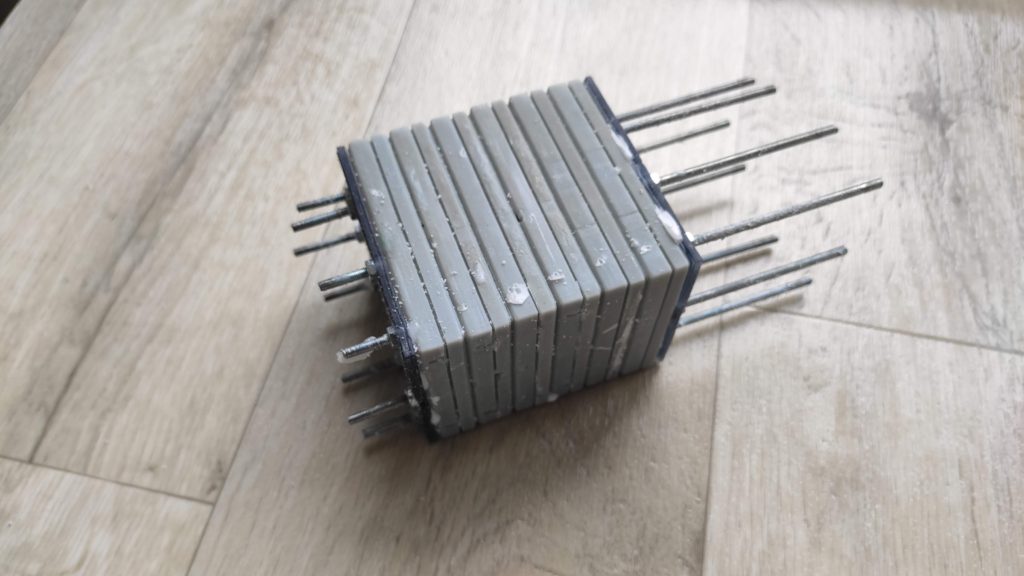
What I found out also works well, is to group multiple molds into a single one and use a relatively small channel to connect them. This is how I designed the molds for the spatulas. I just stuck a number of them on top of each other and fill them in a single shot.
When I inject I found out that pressure of 400–800 kPa works really well for silicone.
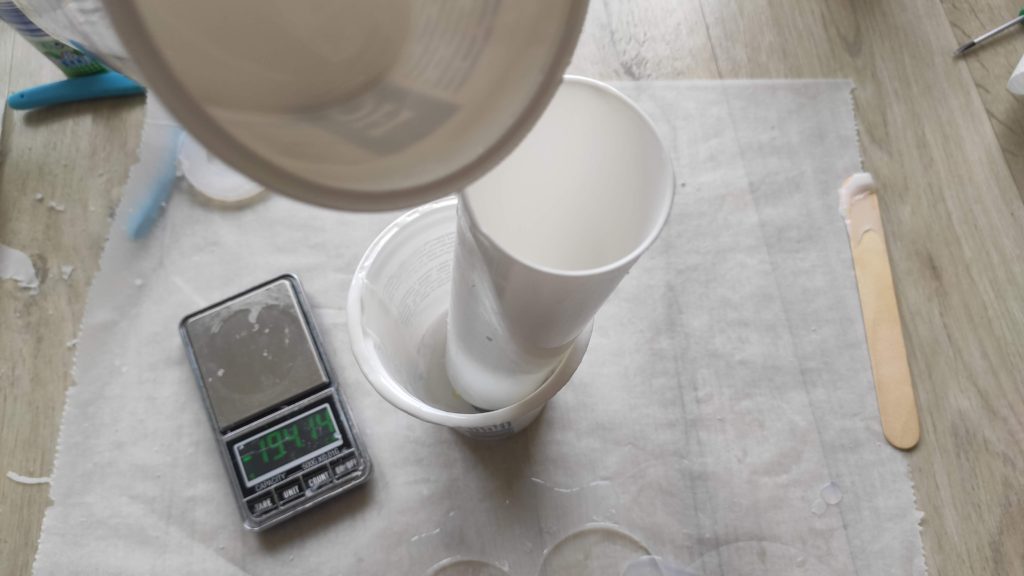
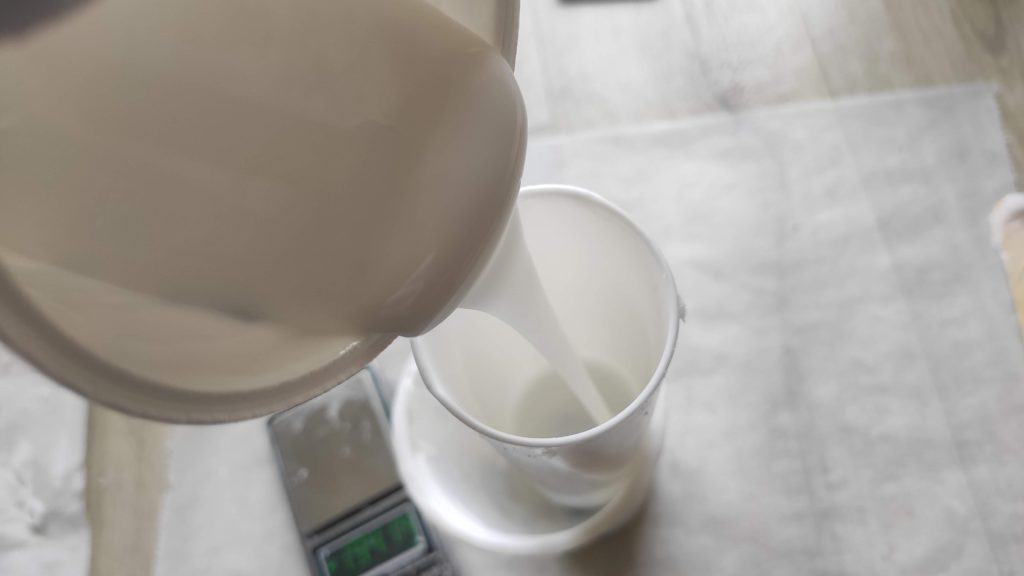
The whole process in images
Let me walk you through the whole process in a bunch of images.

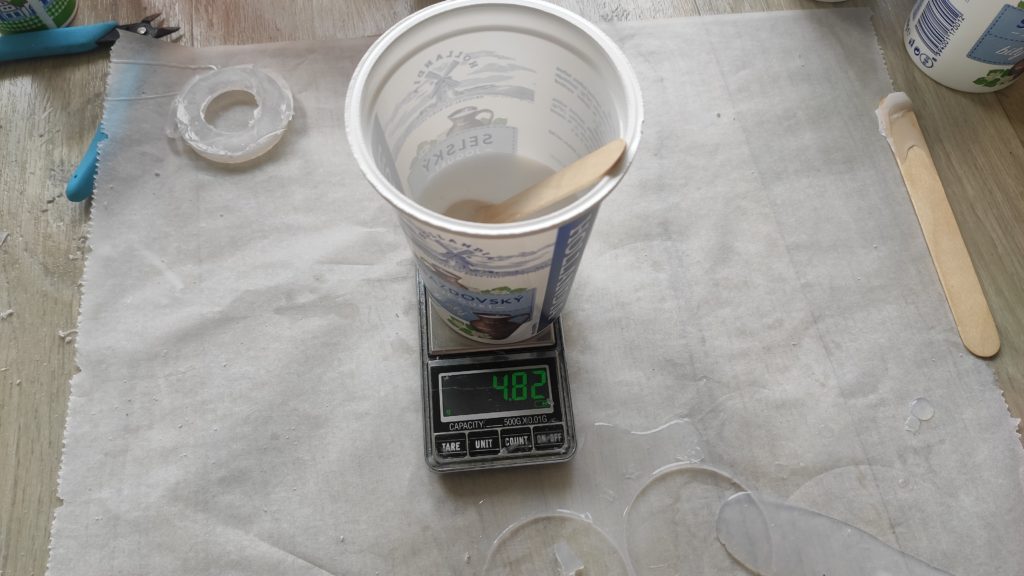
The following video shows you the injecting process in real-time:
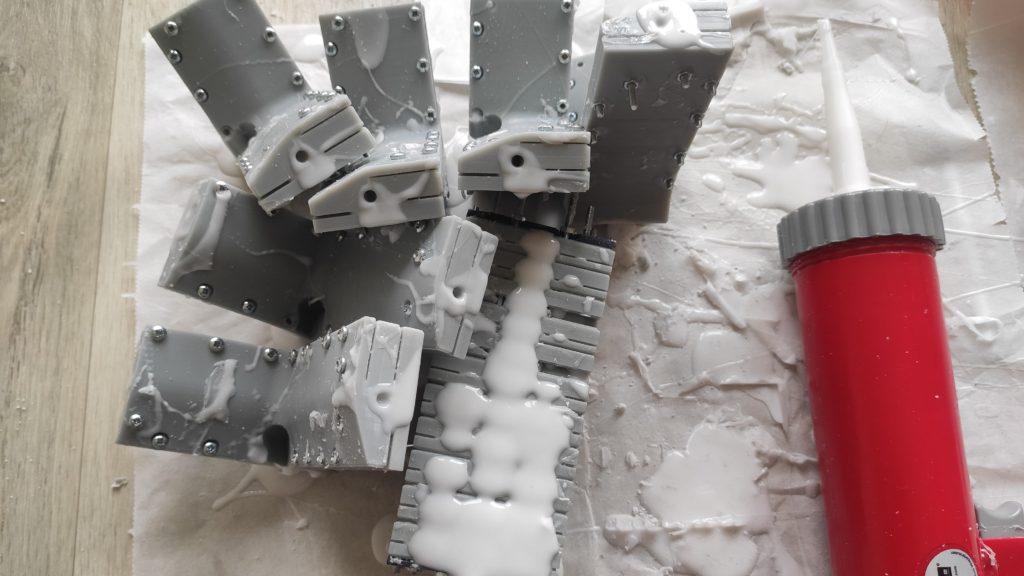
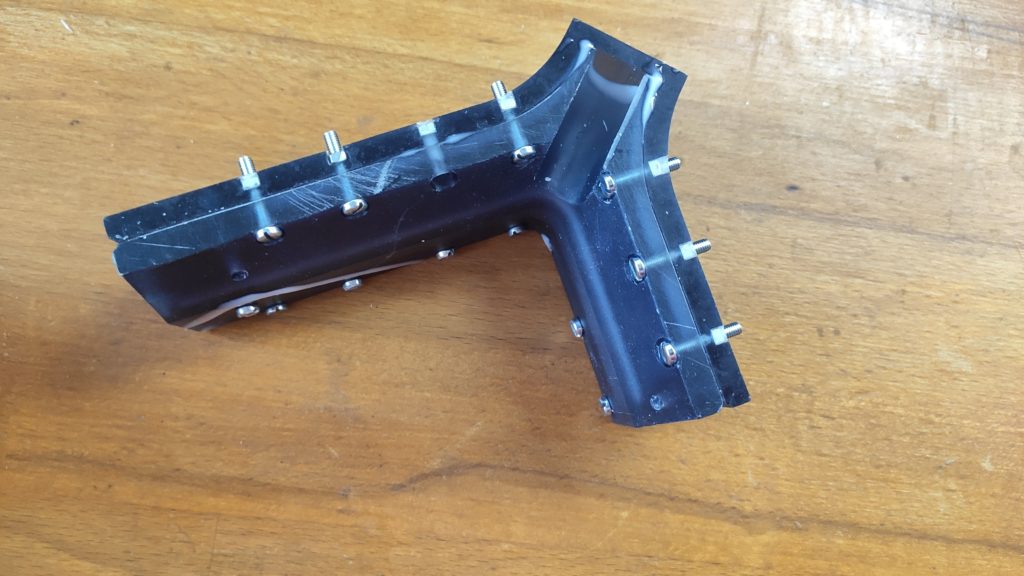
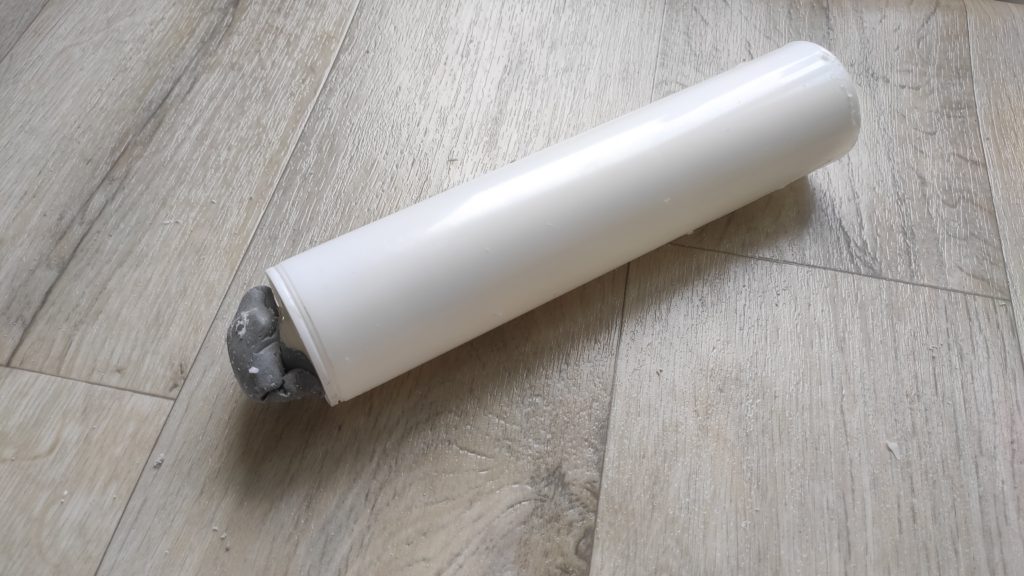
The finished model. You can see the well on the left
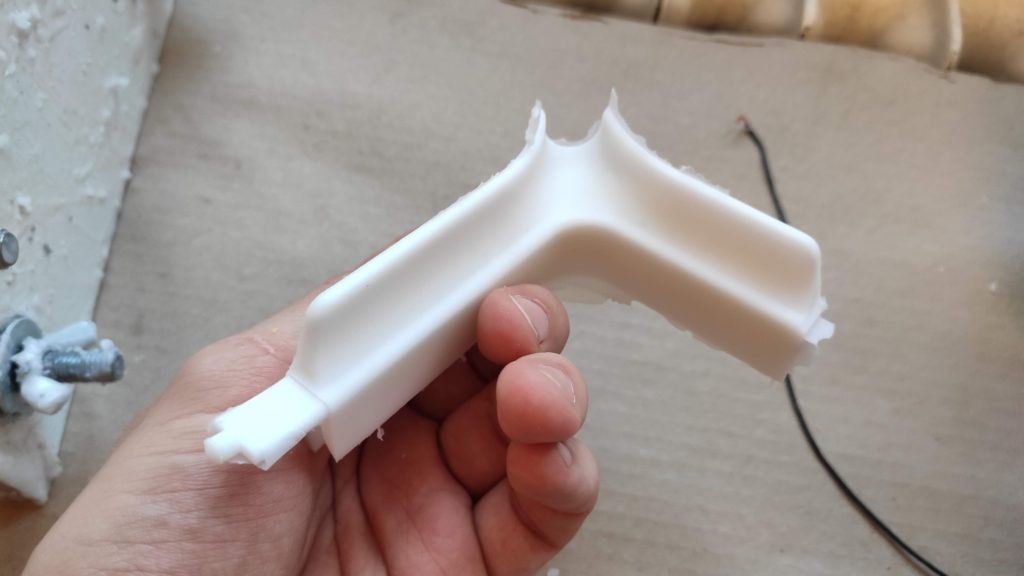
Finished sput.
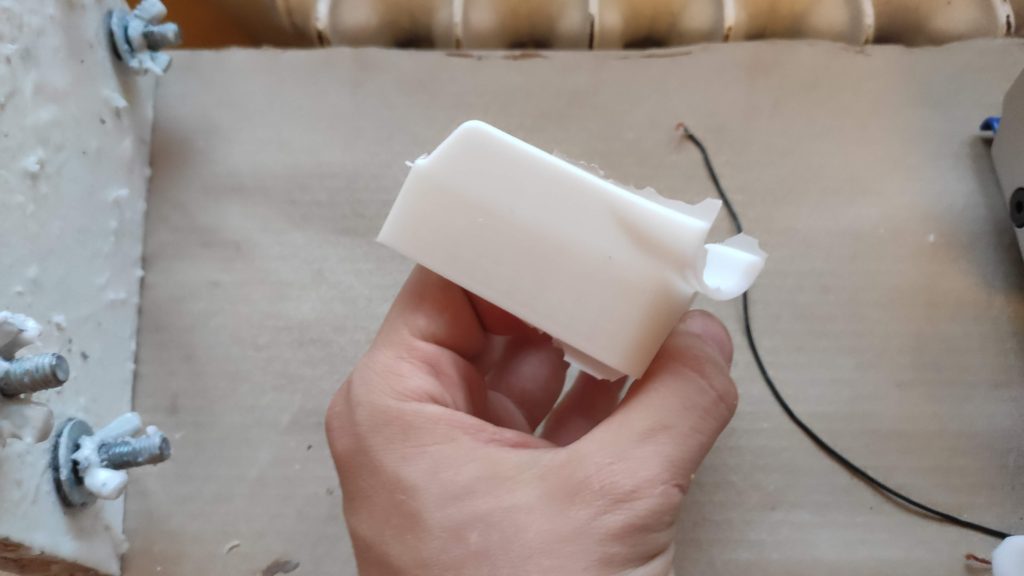
Finished spatula
Finished spatula
Future improvements
I was pleasantly surprised by how well the whole process works. It also works well for overmolding. I am surprised by how easily the silicone under pressure gets into even the tiniest cavities.
It also speeds up the work — what took me about an hour is finished within 20 minutes now. From what, the injecting takes less than 3 minutes. This leads me to the idea we could also inject polyurethane into silicone molds instead of my current procedure of pouring it (I should document the procedure soon). Why would this be beneficial? There are three aspects. First, we do no longer have to care about flowing the resin into all the corners. Also, closed molds are now easily fillable. And lastly, there are some interesting resins with excellent mechanical properties, however, they have a gell time of 3 minutes which is infeasible for me in my current procedure. Injecting could help to address this issue.
Lastly, I am considering designing and printing my own nozzle. The original nozzle is unnecessarily long, therefore, hard to handle, and also, I waste about 15 g of silicone for every batch. However, to do so I have to reverse engineer the thread on the cartridge. If you know the profile of these threads, please, let me know!
So in summary, a resin printer with 50 USD worth of tools is enough for you to make professional-grade silicone components!
Recent news: My open letter to the 3D-printing community
I love the 3D-printing community, but I think there is room for improvement. Let's get better in 2023! Read the full letter.
Support my work!
If you like my work (these blog posts, my software and CAD models) and you would like to see more posts on various topics coming, consider supporting me in various ways:
- You can become my sponsor on Github.
- If you prefer, you can also become my Patreon.
- You can buy me a coffee on Ko-fi,
- or you can buy something from my Tindie store (also see below),
- Or you can just share my work!
If you are interested in knowing what I am up to and recent sneak-peaks, consider following me on social media (Twitter, Instagram, Facebook).
My store offers
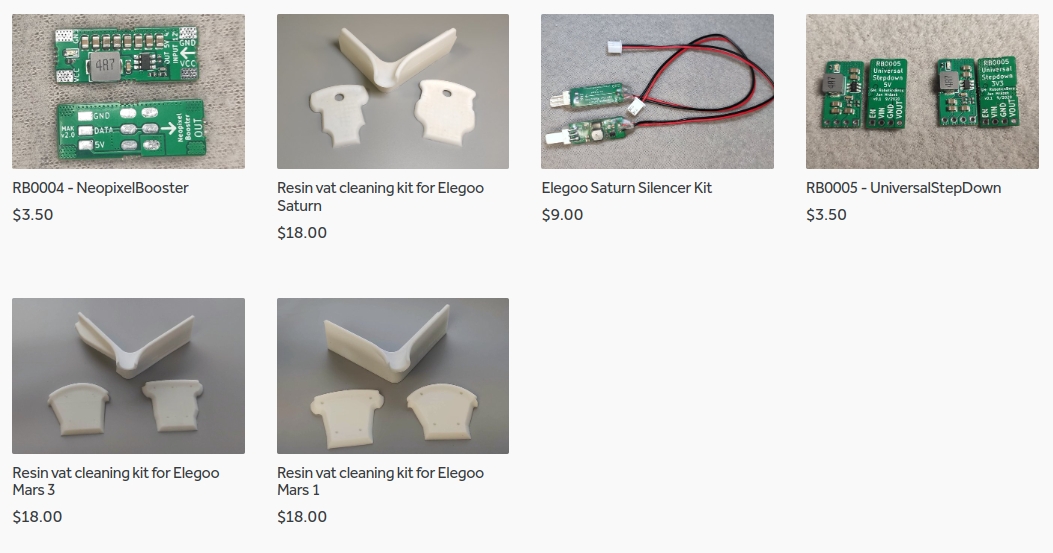
I launched new tank cleaning kits for Elegoo Saturn, Saturn S, Mars 1, and Mars 3. You can find them in my store.
Related Posts
- Multi-planar Slicing for 3D Printers – For Both FDM and Resin
- Open letter to the 3D printing community: Let’s be better in 2023! What should we do?
- Continuous Printing On LCD Resin Printer: No More Wasted Time On Peeling? Is it possible?
- About the Successful Quest For Perfect MSLA Printer UV Backlight
Wow! this is so cool.
Thank you so much for sharing this.
There are some benchtop injection molding machines available(I saw on Kickstarter) but still not affordable enough. I am hoping your expeirment can trigger some motivation 🙂
Best Wishes from India
Great to see your success – I used to make silicone moulds from which I cast custom battery holders in polyurethane quite a few years ago, so I’m familiar with the issues of bubbles and designing around these…
Regarding reverse engineering the thread – I’ve had success with careful measuring of threads and modelling to 3D parts which mate with existing items. I design in SolidWorks which makes sweeping a profile around a helix pretty simple, I’m sure other software does it easily too. Tapered threads add an extra aspect, but again, careful measuring and selecting the correct gap between the male and female does the trick.
Good luck!
I was looking for an answer to a question I have about injection molding of silicone using a similar method to the home made plastic injection molding machine and came across this blog.
Amazing and goes a long way to answering my question, however, Why resin printer please? Is it because you only own a resin printer or is it that molds made from FDM 3d printer dont work like they work in plastic injection molding?
I cant seem to be able to buy the Güde Compressed Air Silicone Gun # 2693 at this time and if I were, I would have to replace the same seal. Are you selling them by any chance 🙂 Maybe the answer is to buy a slightly more professionally made air caulking gun.
A fascinating blog, thank you.
Why SLA? SLA gives you a wonderful surface finish and you can model tiny details (e.g. emboss a 2mm text to the models). I would advise you to get a better gun. This one is terrible – I was aiming for a low-cost solution as I wasn’t sure if it would work at all.
Hey, appreciate the work that’s gone into investigating this. I’m thinking of getting a pneumatic gun because of your post but it’s a lot easier to find those cordless electric caulking guns. Do you think those would work instead? Or is the pneumatic pressure necessary to force it into the mould?
I actually just filmed an injection molding cell – a pretty large, fully automated machine assembling car key fobs (well the plastic casing with an antenna built inside) . It’s amazing to see how manufacturing keeps pushing forward with new innovations, making things more efficient and sustainable.
Video is such a great way to show off these advancements and really connect with clients. If you’re curious, check out some of my work at https://lukesutton.co.uk, https://pixelprometheus.co.uk, and https://industreel.co.uk. I love helping manufacturers share their stories through video and digital marketing.
– Luke