3D printing is a pretty effortless process of manufacturing. However, it takes time. So when we talk about improving 3D printing, besides enhancing the quality and dimensional accuracy, it makes sense to improve the print time.
Back in the old days, when printers used RGB screens and tiny displays, the main limiting factor was the resin exposure itself. However, with the rise of monochromatic large-format displays, the exposure itself is nearly negligible in the whole printing process. There are two reasons for that – first is that the LCD is more transparent. Therefore, the exposure now takes between 1.5–3 seconds compared to 8-12 seconds for the old printers. However, the peeling process prolonged from 2-3 seconds to often 5-20 seconds. The reason for that is mainly the large print area where three effects are playing against us: the resin viscosity that makes it harder to squeeze it into a layer, larger FEP films deforming more before they release from the newly cured resin (so we have to lift higher) and also, we need a longer time for the resin to flow in to fill the void after the previous layer. Therefore, even though the exposure is nearly 4 times as fast, the printers are at most 2× faster. With some heavy tuning, my old Mars can print the fastest of all my machines. The exposure is dialed down by massive power, and the rigid construction and small area require only a 2mm lift distance to successfully peel.
We gain negligible speed improvement even if we reduce exposure to half on modern printers. Instead, we should focus on speeding up layer peeling. Imagine the speed improvement if we managed to eliminate the peeling completely! We could achieve a print speed of up to 100 mm per hour with 50µm layers! If you are interested, you can join me on the journey to achieving continuous printing on a consumer-grade resin printer that I persuaded nearly a year ago.
How to achieve continuous resin printing
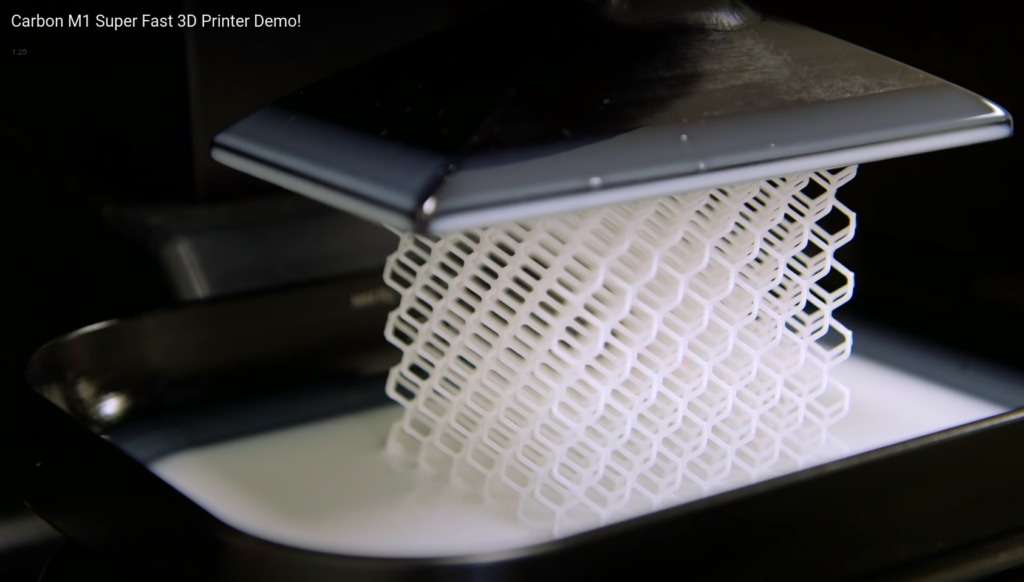
Continuous resin printing isn’t particularly new; there are the DLP printers by Carbon and many scientific papers (unfortunately, most of them are behind a paywall, so I don’t link them). Recently, Chinese company Carima introduced their line of continuous resin printers. All these printers can print really fast. There is also Hitry Rocker 1 and many industrial resin printers that use deep resin tanks to cure the tank’s surface and sink the model into the resin to avoid peeling.
Carbon printers use a patented “continuous liquid interface production” (CLIP). The bottom of the resin tank is transparent and also permeable to oxygen. As we learned in many past blog posts, UV resin doesn’t cure when oxygen is present (this is why stains from resin remain sticky and why some people cure under-water or under glycerol). When the bottom of the tank is saturated with oxygen, a thin layer of resin in contact with the oxygen never hardens and forms a “dead zone.” Therefore, the model never sticks to the bottom of the resin tank, and you can continuously pull up without peeling cycles. However, to properly refresh the oxygen layer, you need access to the bottom of the resin tank. Therefore these printers use a DLP projector.
The Carima printers, on the other hand, use resin tanks similar to what we know from consumer-grade printers. However, they use (at least for me) unknown film that yields very low peeling force; thus, it doesn’t need the peeling cycle. They don’t seem to use oxygen inhibition at all.
Scientific papers also show that you can achieve continuous printing with a thin liquid oil interface on the bottom of the tan or by electrowetting. Nevertheless, all these approaches struggle with two problems:
- Resin curing produces heat, and you have to be able to cool down the resin (which is even harder when there is no peel cycle),
- And since you don’t lift the printed model more than by a single layer, you struggle with resin replenishment under the model.
This is why you always see fast demos on thin lattice structures with minimal cross-section and plenty of free space. You don’t produce much heat with such models, and it is easy to replenish the resin under the model as the model has a small radius (distances from the perimeter into the middle of the area).
The other approach applied by many industrial machines and recently by Rocket 1 is actually quite ingenious until you get into the details. Instead of lifting the build plate up, they sink it into a deep resin tank. The model is formed by curing the resin on the surface of the resin tank (either by laser or a DLP projector). What is, however, the most challenging is to preserve a constant surface of the liquid, mitigating any capillary action and also fighting the oxygen inhibition as you cure resin that is in direct contact with air.
Somewhere in between lies the Formlabs Form 3 printer that tackles the peeling problem by flexing the resin tank’s bottom during the exposure sweep. In my opinion pretty clever. But it comes at the cost of more complex mechanical construction. And it is questionable whether we can call this printer “continuous printing”; it is more of a “continuous peeling” printer.
Since most of these printers cost tenths or hundreds of thousands of USD, they are not widely spread among users and small businesses. Also, cheap printers do not adopt these methods as they are often patent-protected. So I wondered how hard it could be to continuously print on a standard affordable MSLA resin printer that uses LCD? Let’s find out.
The journey toward achieving continuous printing on a consumer-grade printer
Of the existing methods, I liked the oxygen inhibition the most as, in theory, it should require the slightest modification to the printer. We “just need to switch FEP for something that inhibits curing.”
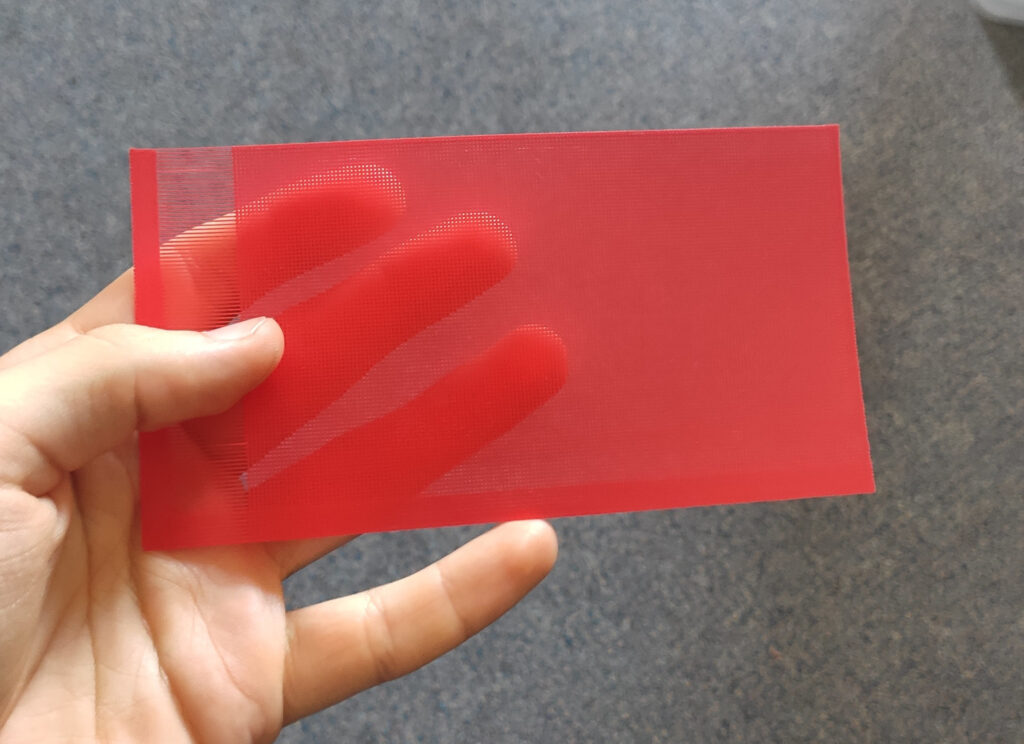
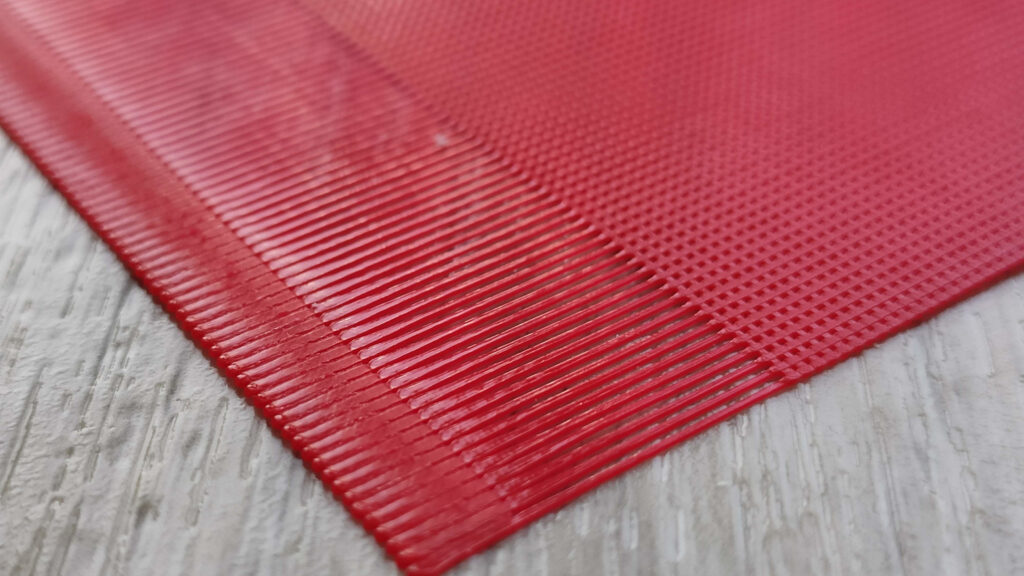
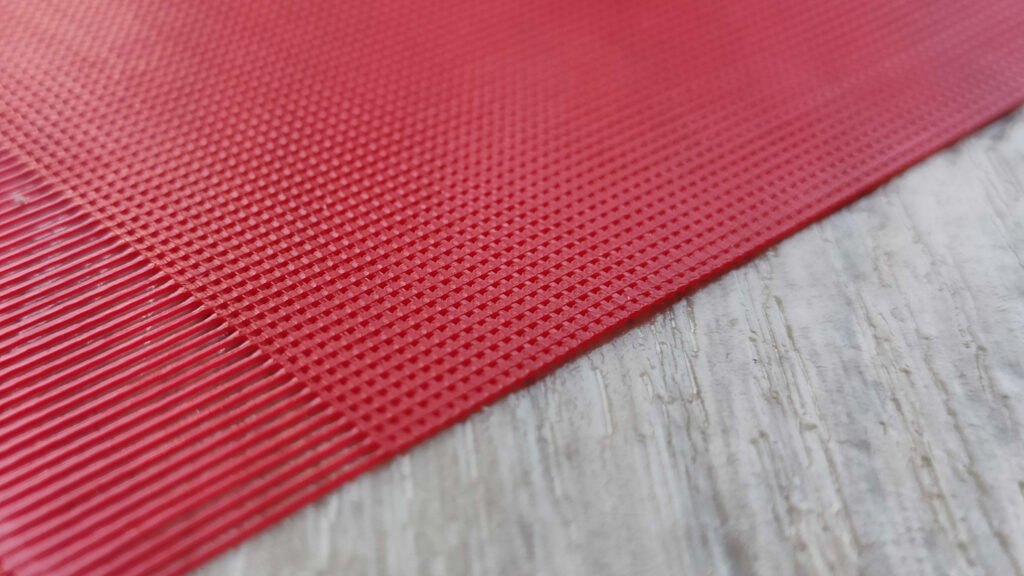
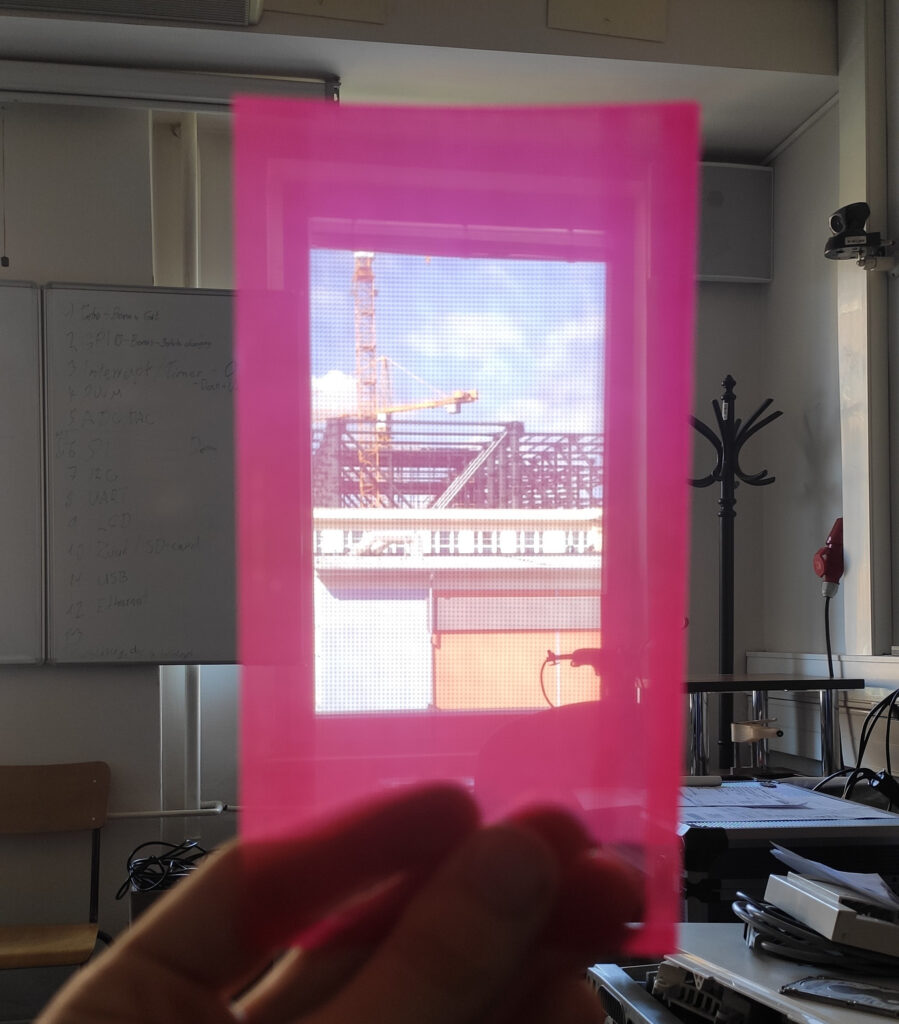
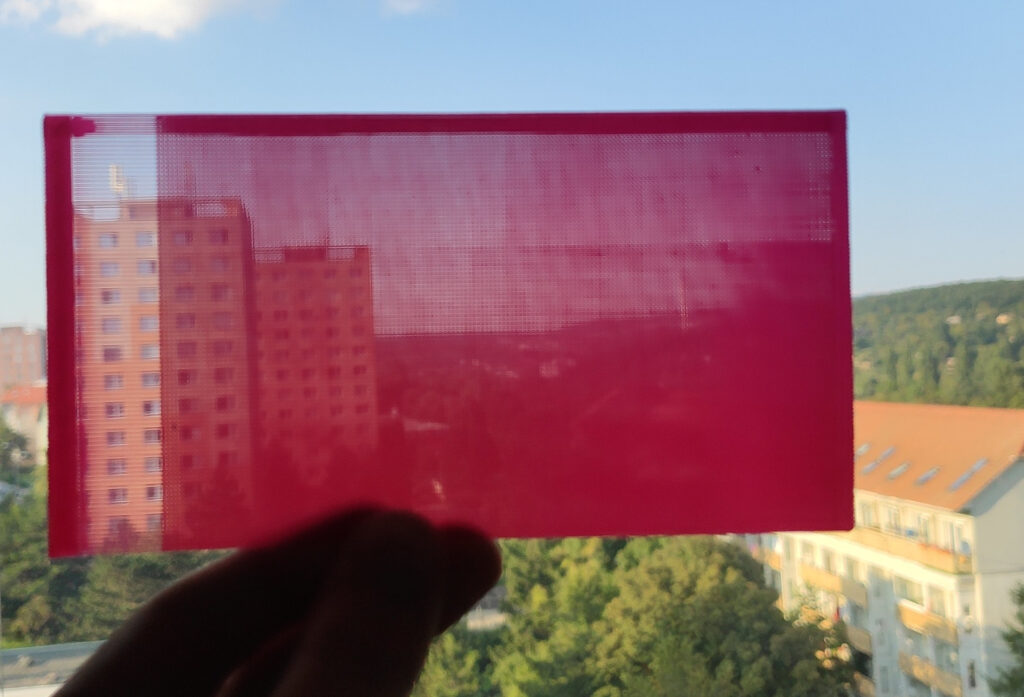
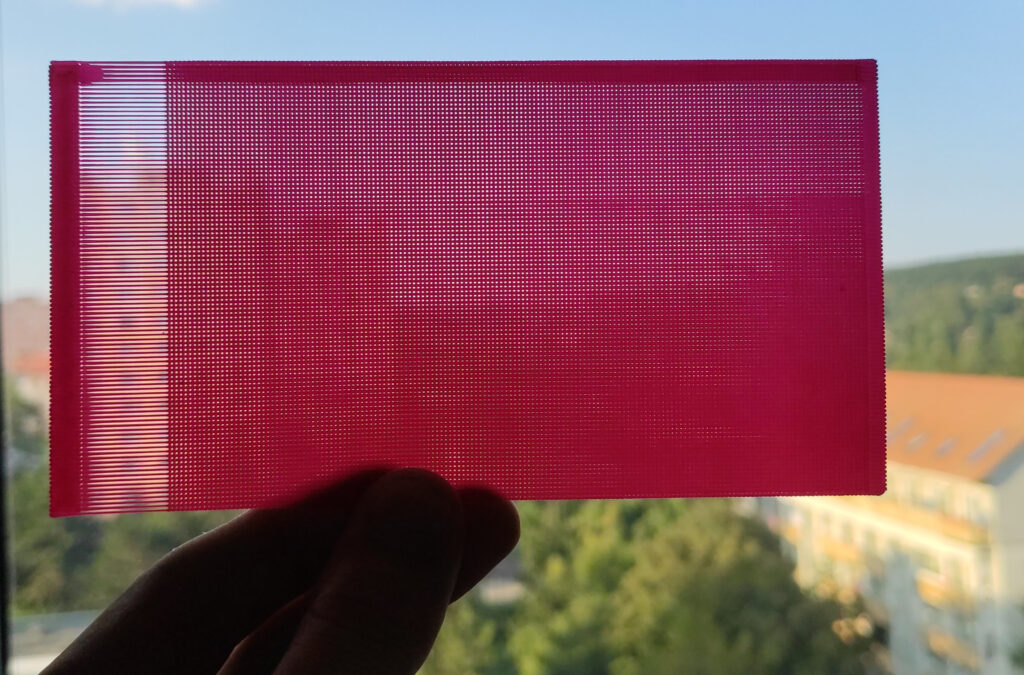
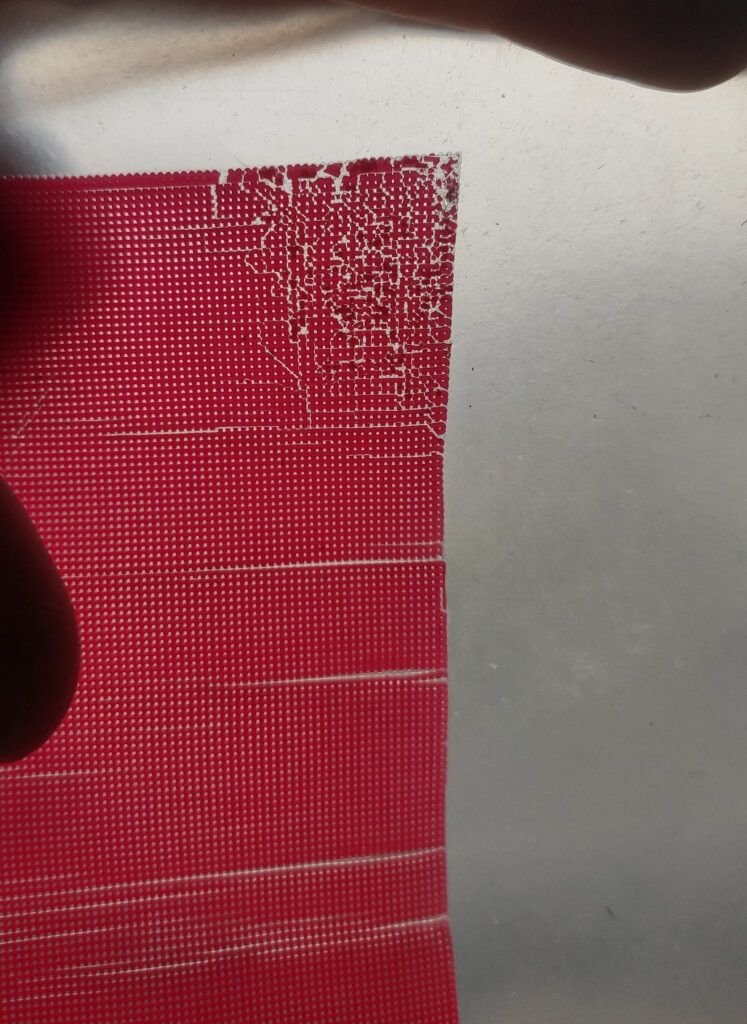
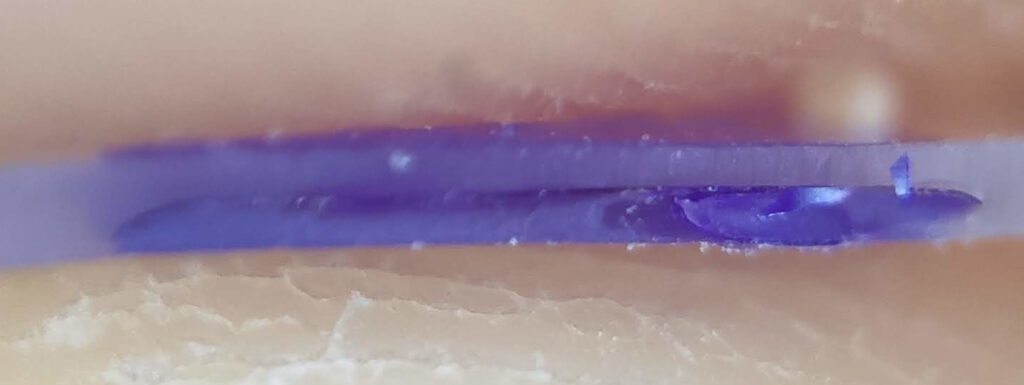
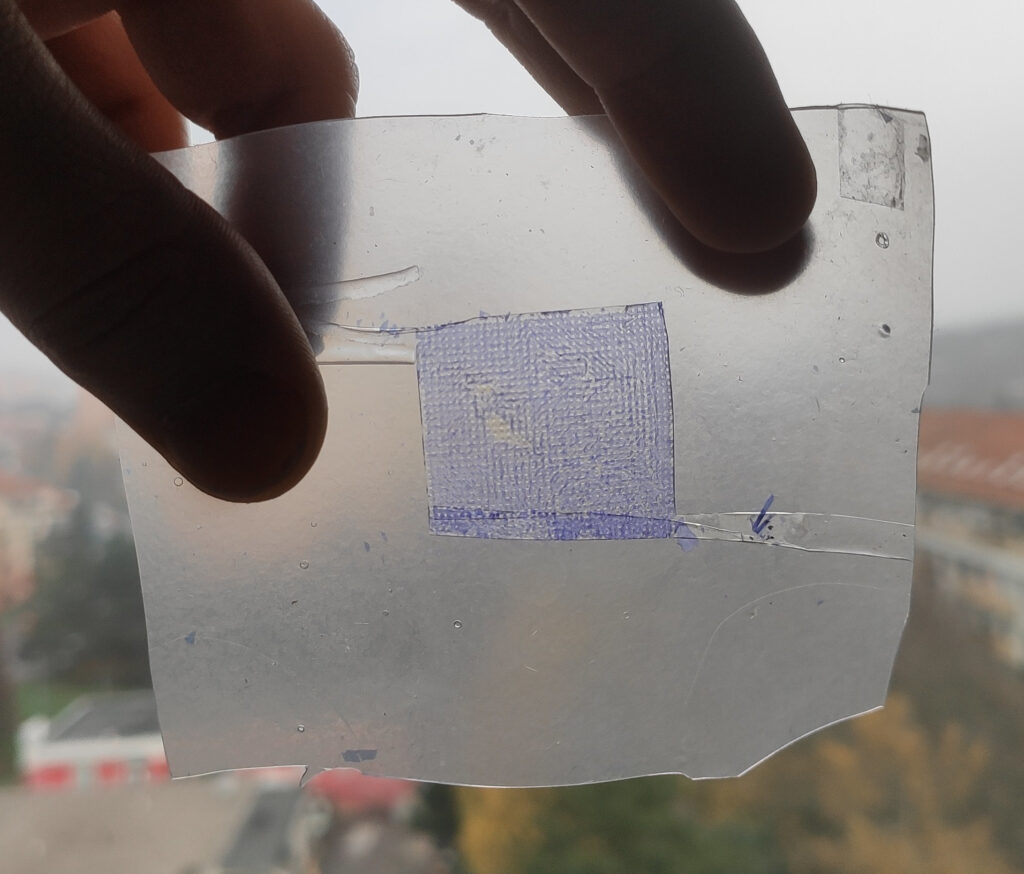
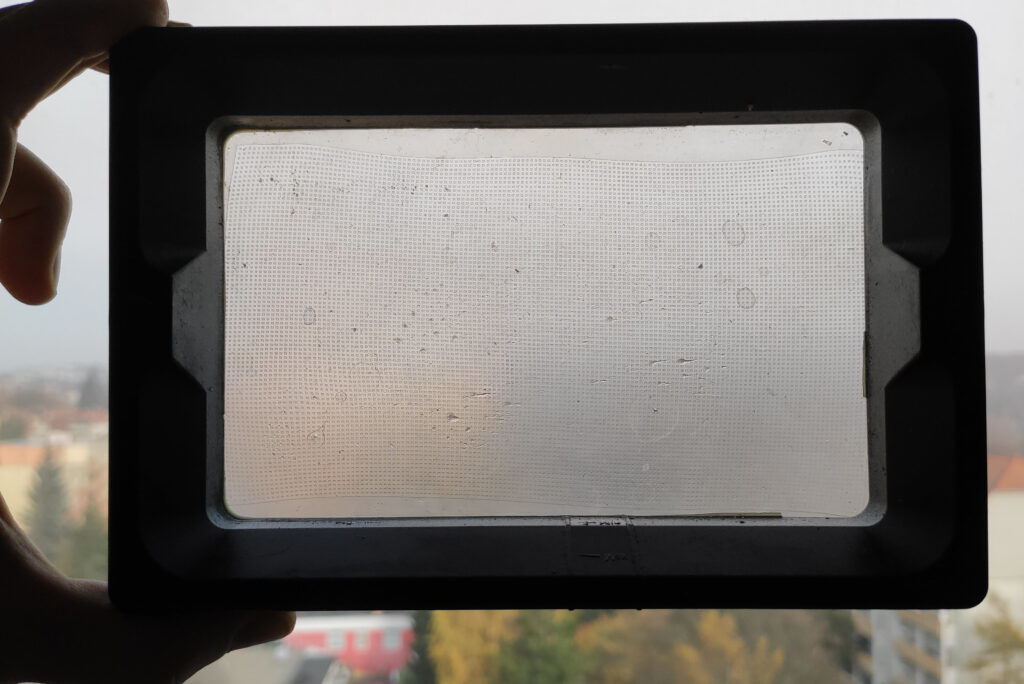
After a lot of research, I devised a plan for using thin silicone film to replace FEP. Why? Silicones are very permeable to oxygen. Various resources claim it to be 100—10000× more permeable to oxygen than FEP. However, how do you form silicone into a thin film? I tried numerous methods, but the most successful one was the simplest one – just squeezing platinum-cured silicon between two rigid plates with thin spacers on the side. The technique is so simple and primitive that I refused to believe in its effectiveness. I tried it after I read about it on the Royal Society of Chemistry blog. I managed to manufacture 30×30cm pieces of 75–200µm thick film with more than 8/10 success rate. I used GMS A30 silicone. The resulting films are cloudy when viewed from a distance. However, it doesn’t seem to affect its transparency when the pattern is close to it, as shown in the picture below.
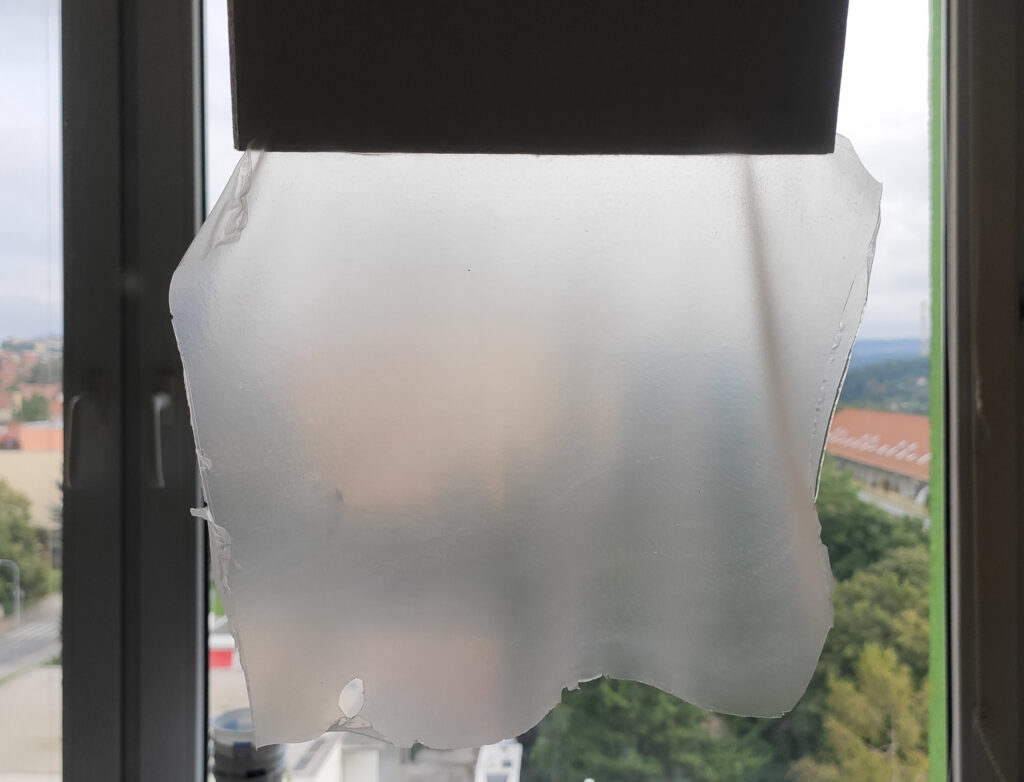
Example of the large sheet. It is about 30×30 centimeters
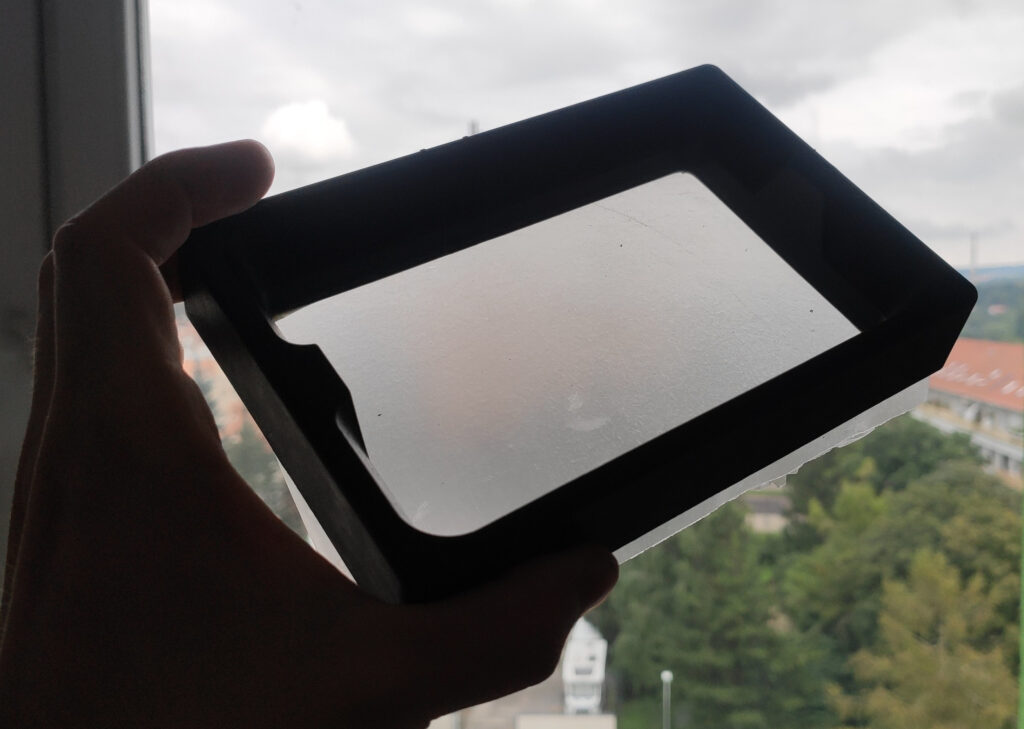
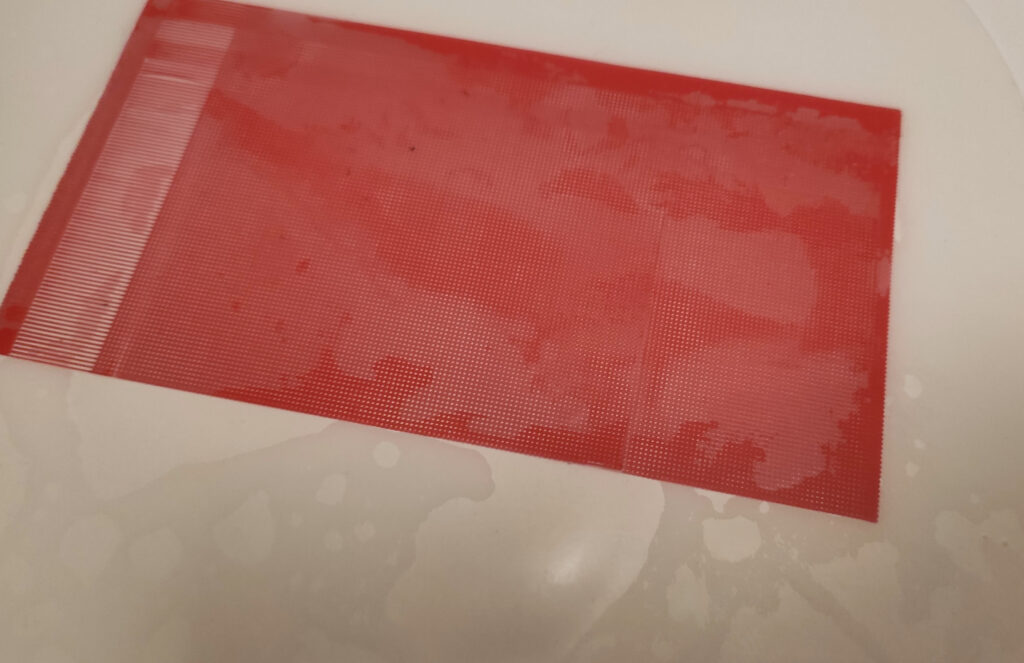
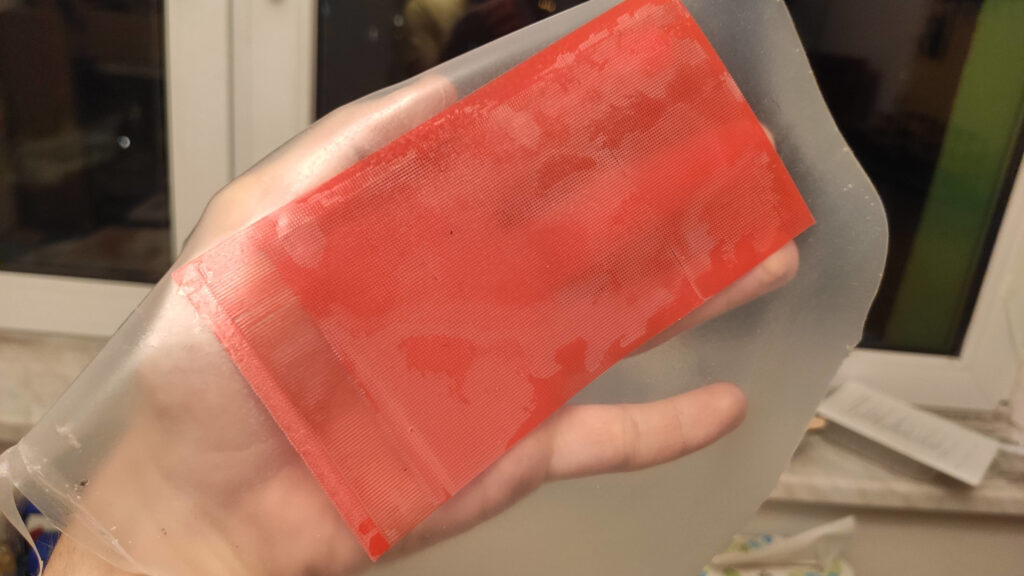
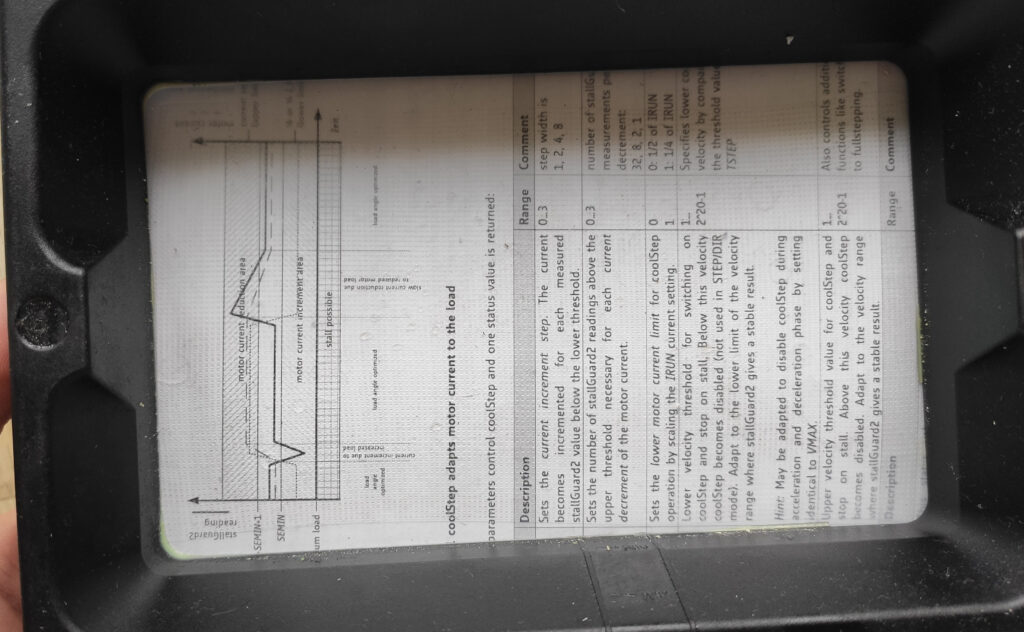
The silicone sheet in the tank
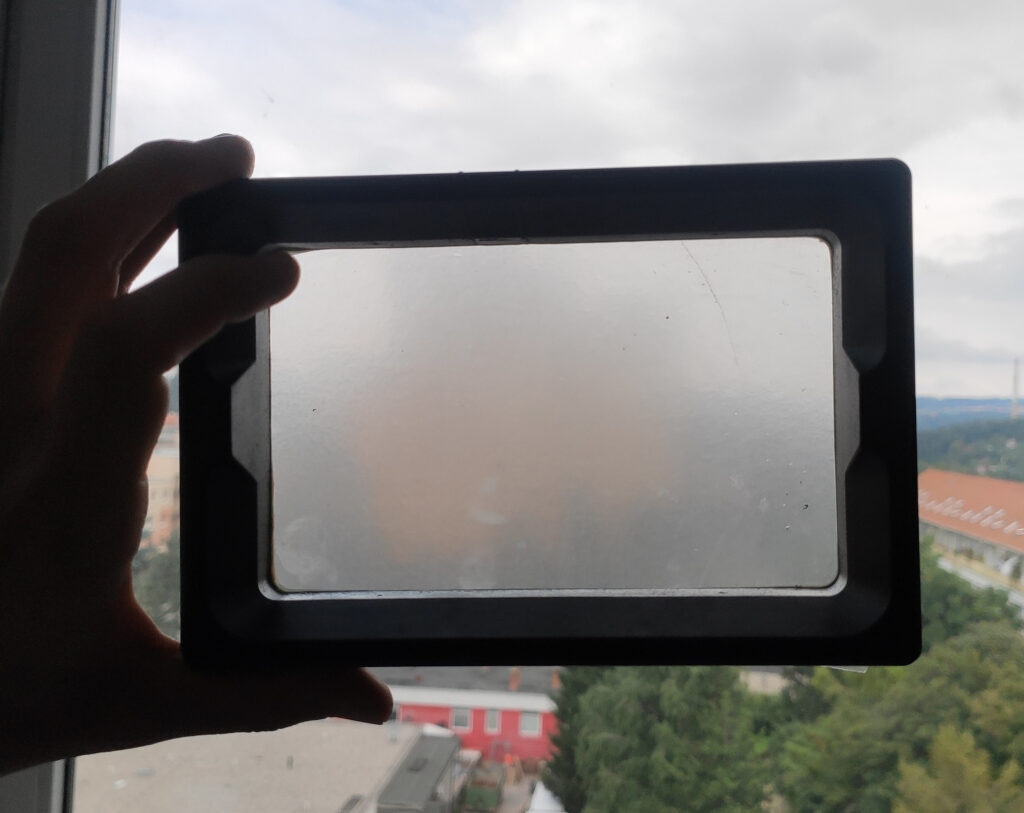
The silicone sheet in the tank
The clarity of the film.
I stretched the film onto a resin tank and printed a tiny test model using my typical printing profile. To my surprise, the first 10 layers printed just fine. However, after that, the model “got stuck to the film” – the lifting distance started to be insufficient to properly peel as the peeling force increased. The film is also much more flexible and softer than FEP (after all, it is Shore 30A hardness). I observed here that when the film is exposed to air, it soaks some oxygen. That oxygen is, however, consumed/taken away after 10 peel cycles. This is why the film starts to stick, in my opinion. However, when you leave it for 30 minutes on the air, it can again print.
Therefore, what we need is to replenish the oxygen layer. However, we cannot increase the distance between the LCD of the printer and the bottom of the resin tank (just like, e.g., the Carbon printers do it) as we lose the ability to project images (I briefly showed how even a sub-millimeter gap can damage print quality in a previous blog post). Also, the flexible film needs to be supported. Otherwise, it will bend under the resin weight. Remember, we print 50µm layers, so we need everything flat in this range.
My plan was to create an ultimately thin (at most 200µm) inflatable mattress stretched on the bottom of the resin tank and inflated with air to constant pressure. The positive pressure would replenish the oxygen layer as it can penetrate the silicone. I say inflatable mattress as we need to make it flat, not bulged in the middle. Therefore, there should be two sheets connected by many small joints that prevent bulging – just like on an inflatable mattress. If I manage to make the joints with straight walls, they even shouldn’t distort the pattern displayed by LCD much.
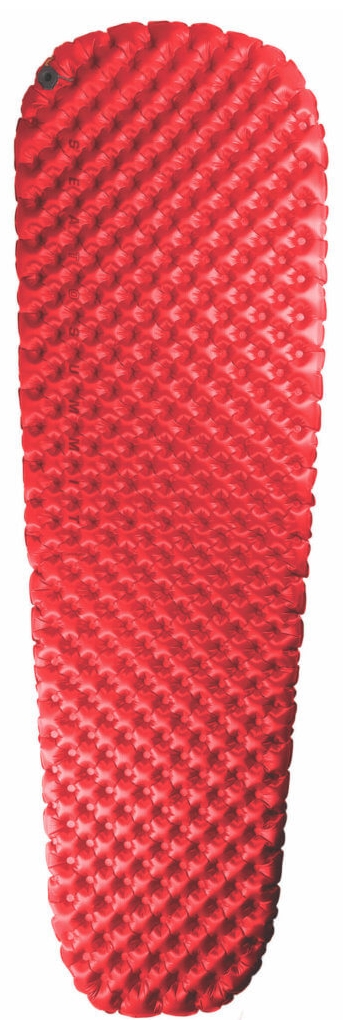
An inflatable air matress - the inspiration.

Cross section of random chineese air matress
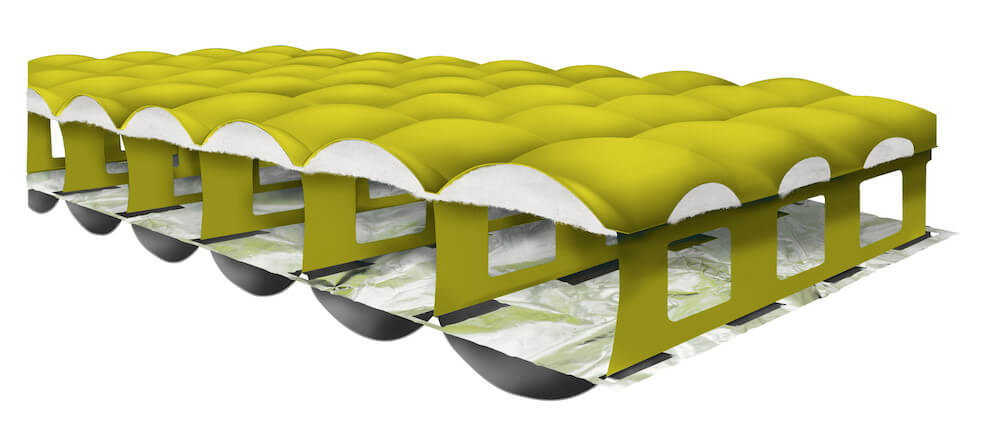
Cross section of random chineese air matress
So how do we manufacture this? My initial idea was to create a sacrificial insert in the shape of the pocket inside the mattress and cast it inside a silicone sheet. After casting, the insert would be dissolved and washed away. The first choice was to print this pattern on an FDM printer out of ABS and dissolve it in acetone. The first challenge was how to print the pattern. I ended up with a G-code generator that generated the pattern from individual strokes. The resulting mesh was nice and featured really cool moire patterns.
The FDM printed insert
Detail of the insert
Detail of the insert
It optically really behaves "funny"
It optically really behaves "funny"
It optically really behaves "funny"
The inserted casted inside the silicone

The inserted casted inside the silicone
The inserted casted inside the silicone
Dissolving the sheet with acetone
This is the most wash out I was able to get.
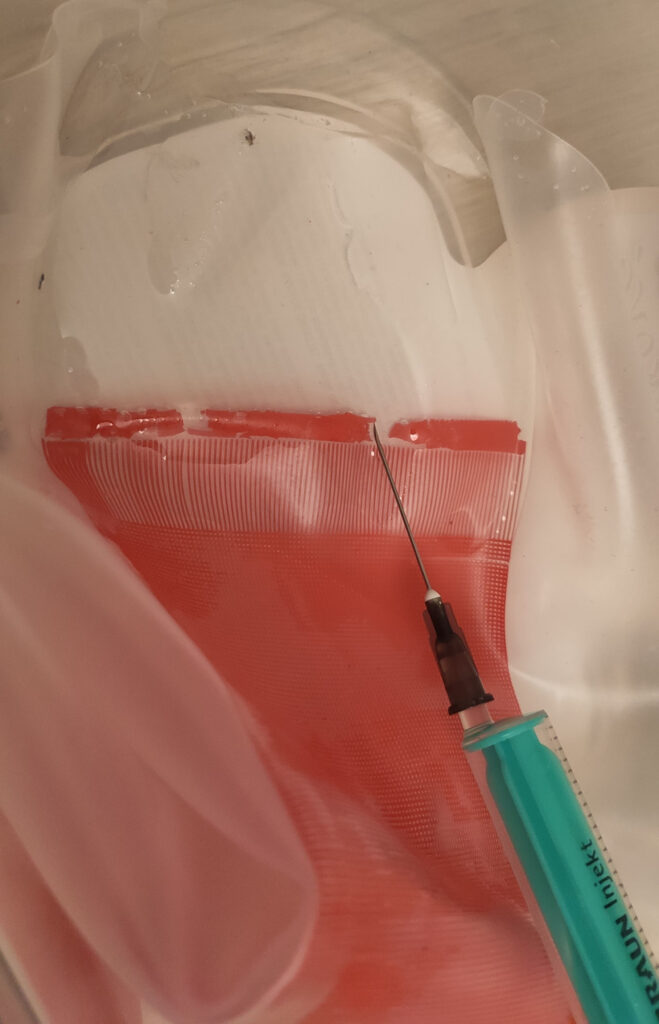
To ensure the proper thickness of the final mattress, I first made a solid film on top of which I placed the printed pattern and cast the second side. To my surprise, the casting turned out great! However, what I struggled with was dissolving the pattern. 3D-printed ABS dissolves very poorly in acetone, and I only managed to clean only about 5 mm of the pattern with it. I was injecting the acetone with a syringe and needle inside the pocket. So this experiment didn’t work out. I also tried creating vax inserts. However, I failed to make them small enough and rigid enough.
Then I realized that I didn’t need a thick insert but only a separator of the top and bottom layers. It won’t be ideal as the space between two joints would bulge a little as it inflates, but it should be small enough to be usable. Therefore, I tried using dry photoresistive film for manufacturing PCBs as the separator. The nice thing about it is that I can expose the pattern using the printer itself – that is, with a high resolution. Unfortunately, you cannot laminate it onto the silicone sheet as it won’t stick. Therefore, I tried exposing and developing the film without any base media. It worked to some extent. The film is very thin and fragile, so it can easily break and lower the success rate. Also, the film, without any support, tends to warp, which showed to be a dealbreaker. Otherwise, it was easy to wash out, and I made small samples (about 3×3 cm), but as the film warped, it often made thin sections that easily torn (see pictures below). With these problems, I abandoned this technique.
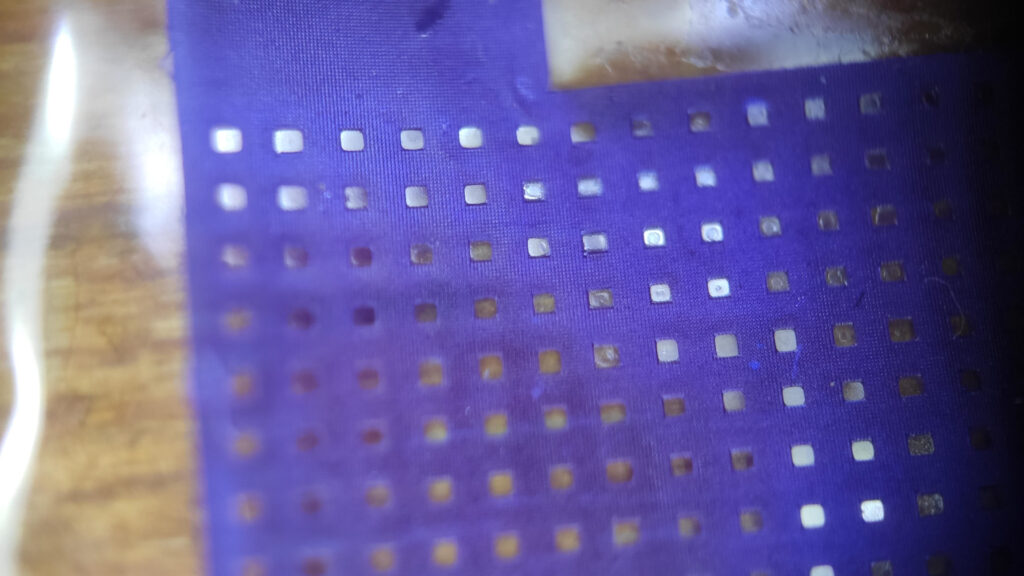
The exposed and developed dry photoresist
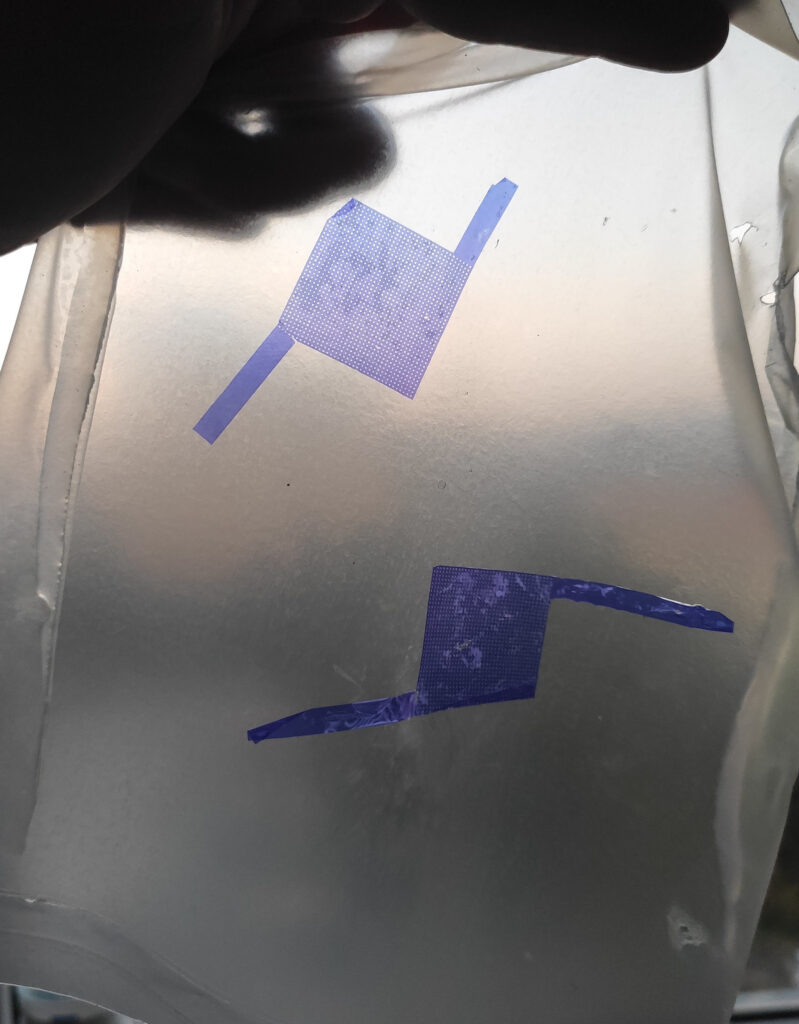
The photoresist pattern casted inside silicone
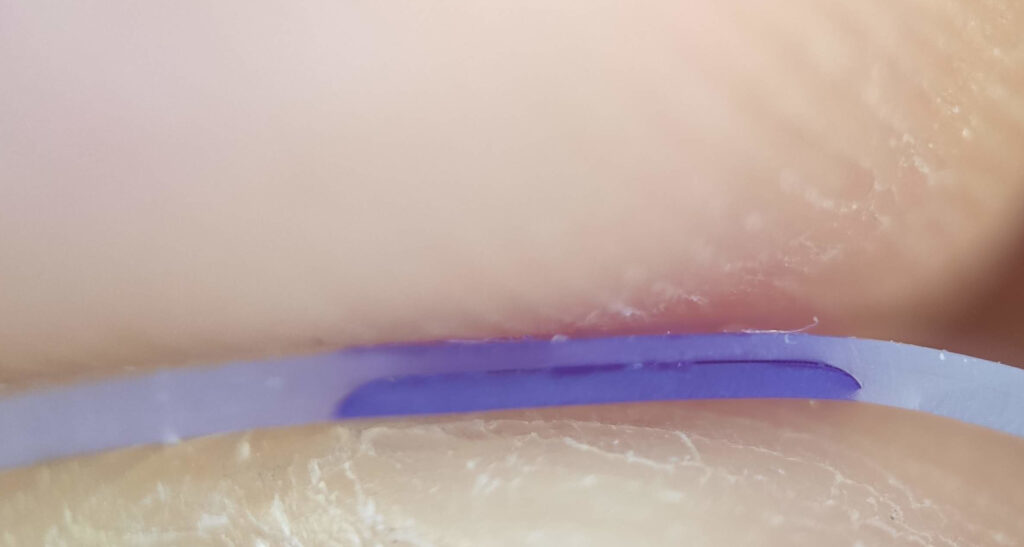
The problem with warping and building thin sections
The problem with warping and building thin sections
This is after 10 minutes of washing out. I managed to get better, but I lost the photo.
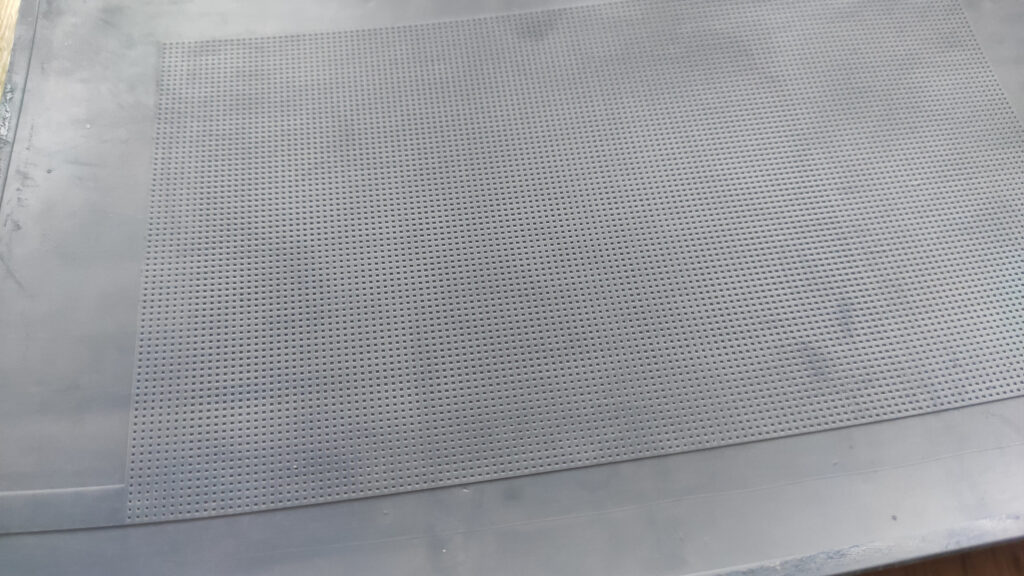
After these failures, I had another idea – we don’t need pressure. What we need is continuous delivery of fresh oxygen to the film. And this can also be achieved by negative pressure. You don’t need to blow air into the mattress, but it is sufficient to suck the air out. And for that, you don’t need a mattress – only one-half of it (a sheet with a lot of small bumps), as the negative pressure, should ensure it stays attached to the LCD. And manufacturing such things is easy as you can resin print a mold. The results are perfect, and the original hypothesis that the bumps won’t affect the pattern seems to be correct.
I also made an attachment to the resin tank with two radial fans sucking air from beneath the film. With this setup, I started evaluating what it could and could not do.
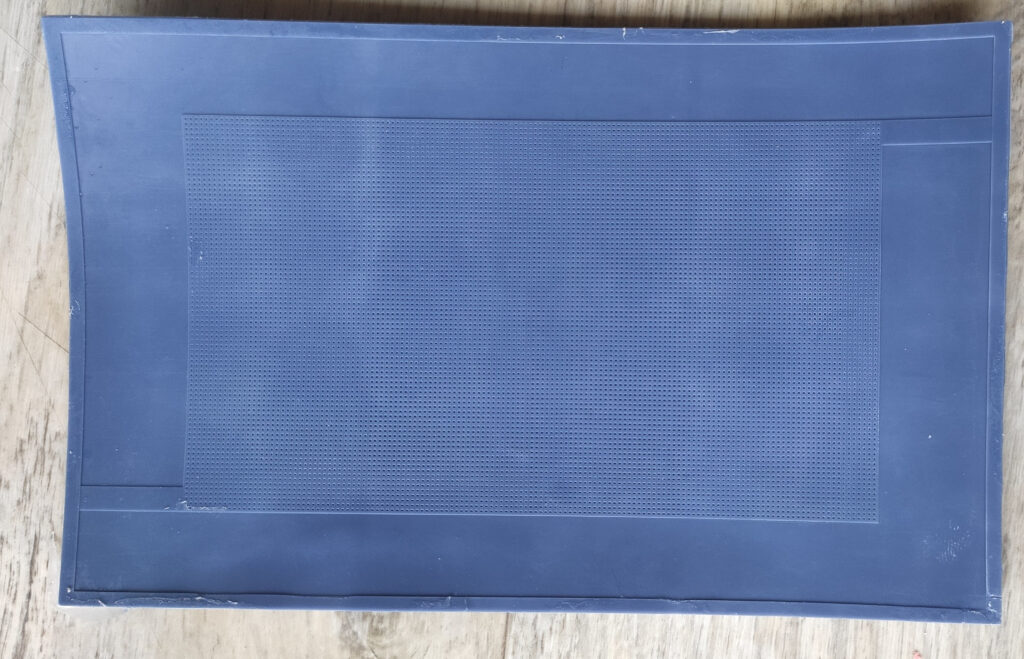
One of the molds for "half-matrasse"
Another mold for "half-matrasse"
The sheet inside resin tank
The clarity of the sheet
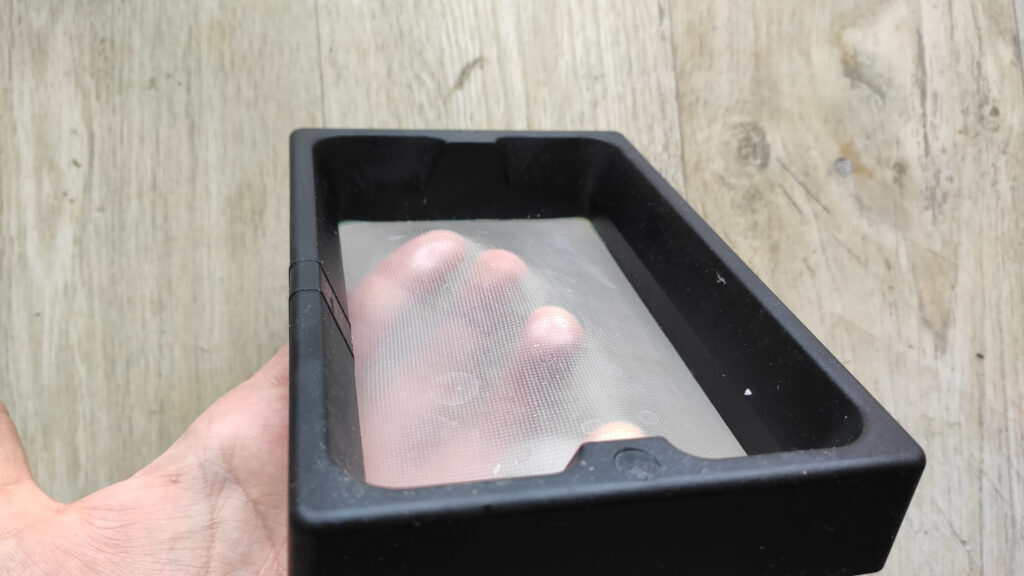
The sheet is very flexible
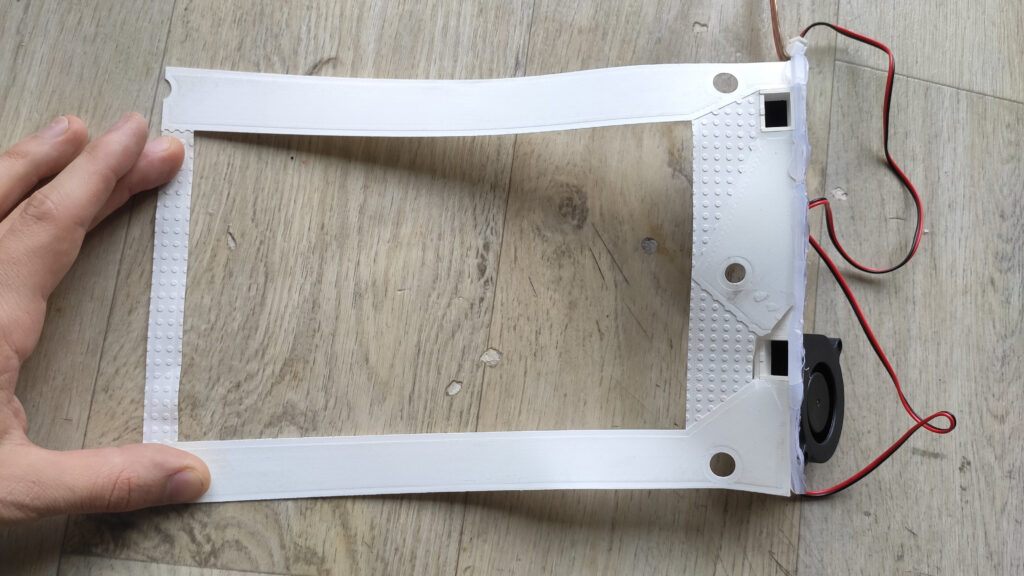
One of the first contraptions to blow air under the resin tank. In later revisions, I sucked air out of it (but I lost the photo of the newer setup)
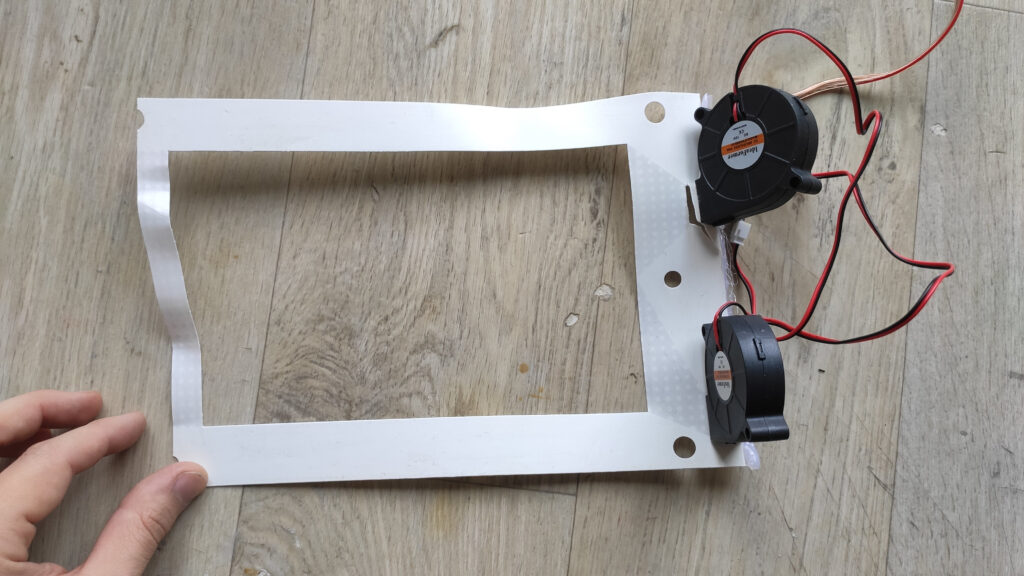
One of the first contraptions to blow air under the resin tank. In later revisions, I sucked air out of it (but I lost the photo of the newer setup)
Results
First of all – is there a cure inhibition? Yes, it is. When I take a drop of resin, squeeze a build plate to it, expose it and lift it, the top of the resin is “wet” – there is a thin layer of uncured resin. The uncured film seems to be very thin. It seems like a greasy surface that you can wipe into a paper towel. Which is not the case with FEP. With FEP, all resin is completely cured, and both cured resin and the FEP film are “dry.”
Is the cure inhibition permanent? Yes, it is. I can fill the resin tank with resin (so no oxygen can reach the film from the top). I managed to print 150 layers without a problem. So the oxygen replenishment seems to be working.
Does continuous resin printing work with this film? Unfortunately and disappointingly, no. There are two problems. The first one is a minor imperfection, and the second one is a show-stopper.
First, the whole film is very soft and bends a lot. Therefore, I need large lift distances to actually peel the layer. This could be solved by embedding threads (e.g., nylon) into the film, adding rigidity. However, the second reason is fundamental and has no solution.
When I measured my film’s peeling forces, I found that they were roughly 5× larger than the peeling forces on FEP. Why? I think the capillary action. The thin layer of liquid bonds well to the model and film. However, when all resin cures, there is no capillary action; thus, the peeling forces are lower. I measure roughly the same peeling force when I just put drops of resin and squeeze them with a build plate and then peel without exposure.
This is a fundamental flaw in the whole experiment. We wanted to achieve cure inhibition to lower the peel force, but instead, we increased it. Therefore, no revolution in consumer-grade MSLA resin printers is happening. But I learned a lot, and there are some foundations for future research.
However, these experiments make me wonder – how do Carbon printers work? What’s the difference? And is there a chance they would work better with a rigid piece of FEP, PFA, or ACF that doesn’t bend? I don’t know, and I don’t have a Carbon printer to find out.
Final remarks
The whole experiment was performed in early 2022. Since it was a failure and didn’t yield usable results, I initially decided not to publish it. However, more and more, I realize it is necessary to share even unsuccessful experiments and ideas. Others can learn, spot flaws, and improve. I hope this could be the case. Nevertheless, I didn’t take many pictures during the experiments, and most of my samples got lost, so please, excuse the rather poor documentation of this experiment.
This is also the place where I would like to thank all my Patreons and GitHub sponsors. When I have a long period between posts, it usually means that I went into a dead end like this in my research on improving resin printing. Your continuous support allows me to continue, and also, every dead-end brings us closer to understanding and opens new ideas to persuade.
Recent news: My open letter to the 3D-printing community
I love the 3D-printing community, but I think there is room for improvement. Let's get better in 2023! Read the full letter.
Support my work!
If you like my work (these blog posts, my software and CAD models) and you would like to see more posts on various topics coming, consider supporting me in various ways:
- You can become my sponsor on Github.
- If you prefer, you can also become my Patreon.
- You can buy me a coffee on Ko-fi,
- or you can buy something from my Tindie store (also see below),
- Or you can just share my work!
If you are interested in knowing what I am up to and recent sneak-peaks, consider following me on social media (Twitter, Instagram, Facebook).
My store offers
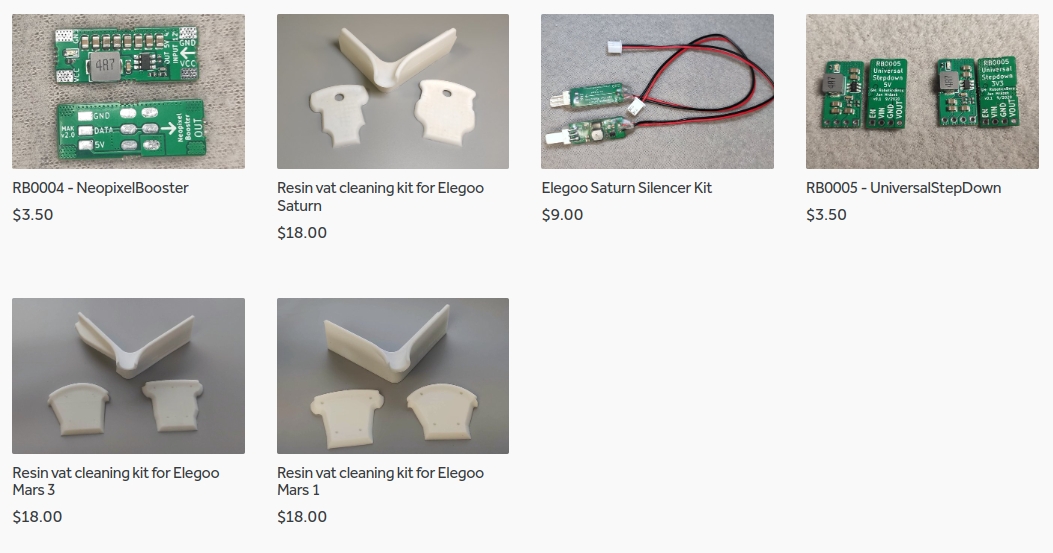
I launched new tank cleaning kits for Elegoo Saturn, Saturn S, Mars 1, and Mars 3. You can find them in my store.
Related Posts
- Multi-planar Slicing for 3D Printers – For Both FDM and Resin
- Open letter to the 3D printing community: Let’s be better in 2023! What should we do?
- About the Successful Quest For Perfect MSLA Printer UV Backlight
- Cross-layer Curing and Layer Bulging on Resin Printers: Enemy of Overall Dimensional Accuracy and Printed Threads
Could the force be due to the fact that you’re trying to suck oxygen into the not-FEP instead of pushing it?
My naïve thinking is that by pushing, you’re kind of adding positive pressure against the cured part as well, which would mitigate suction. By pulling, you’re doing the opposite and increasing suction.
However I don’t really understand how the oxygen/silicone barrier works here so have no idea if it’s reasonable.
In both cases, oxygen in added to the material, so there is no difference. Also, as the experiment with just pushing drop of resin on FEP without curing shows, uncured resin takes more force to lift than uncured.
Another idea: what about an ePTFE membrane (i.e. Gore-tex)?
In theory it allows gas to permeate but doesn’t allow liquids to pass through. It can be bought cheaply on AliExpress, even with a variety of pore sizes.
ePTFE has goo permeability properties but is not transparent at all
“Others can learn, spot flows, and improve.” <- spotted a flaw for you….
Thanks, fixed.
very neat work! Infusing your silicon sheet with PFPE Oil could be something to try to cut adhesion forces …
The electrowetting approach sounds interesting because it could be implemented in a pulsed nature. I think it would be very feasible in this form factor but, the challenge would be to get the electric field close enough to the resin to work with the area of interest. In the past I’ve worked with this on ITO coated glass and a 200V nixie tube power supply, but I don’t know how effective it would be with a high viscosity resin. You also need a super thin dialectric to avoid shorting via the liquid.
Some details on an implementation here.
http://www.gaudi.ch/OpenDrop/
Have never used a Carbon printer myself, but I have had conversations with a couple shops that have them. According to them they do have occasional problems with sticking to the “FEP”, so their design isn’t as fool proof as their marketing would have one believe.
I had some test parts made and to be frank the parts didn’t look as good as the same made on my Shuffle XL 2018 as they had little to no anti aliasing going on. The material however was very good. Very flexible while still retaining it’s shape.
One of the shops told me that he looked at Carbon as a chemical company forcing companies to buy their vastly overpriced printers to have access to their resins. At the time a one year lease on a small printer was $50k.
Your results with the higher force on the silicon film made think a lot about the origins of the adhesion force.
For big enough layer thicknesses, the force should be more or less be described by Stefan adhesion. But this law breaks down when trying to find the initial peeling force. An upper limit should be given by the atmospheric pressure. But the values you measured in an earlier post are lower than that. I think this is because the film flexes and the peeling force acts more concentrated.
So maybe the silicone material distributes the peeling force differently, over a higher area?
It is possible – it is softer, so it bends more easily and, thus, could stay better attached to the surface.
Hello Jan,
This was a very interesting blog article and led me to do some research. I believe the material the Carbon printers use is Teflon AF2400 model or cast into a rigid window. I am attaching a couple links which you may find interesting.
https://www.teflon.com/en/products/resins/amorphous-fluoropolymer
https://www.science.org/cms/asset/fa1c16d6-7836-419d-a92f-b5567236e379/pap.pdf
Looking forward to many more informative and interesting articles to come!
I wonder if a way to reduce peeling forces could be implemented in the way that voxels are formed. Instead of having a solidly cured layer, what about an array of on and off pixels (something by like a chessboard) which allows resin to wick through easier. After each quarter, third or half of a layer height the pattern changes to ensure the part is solid. This would reduced the amount of cured resin in contact with the film.
In my head this seems like it could be implemented with a standard PFA film as long as it is rigid enough. Maybe it would still be necessary for some additional z axis travel ensure the whole part is peeled off but even if it reduces the total travel time it could still be seen as an improvement.
As with how special gcode generation and slicer tweaks have allowed standard fdm printers to evolve into more capable machines I wonder if the same is possible for resin printers.
@Jan Mrázek, can you tell us your experience with ACF film, relative to FEP and PFA (aka nFEP)? Thank you.
Well since Jan is too busy for this, I can say ACF seems to be a game changer, I’ve been testing it for about 3 months…
Hello Jan,
thank you for your valuable experiments.
Please take a look at B9 core printers. They also use some type of film for the Vat that needs to recharge with oxygen after a few prints.
https://www.b9c.com/products/b9-core-series
And I believe the envision-tec printers also have some models that can do nearly continuous printing. Due to low peeling tech.
Here I found the envisiontec link:
https://envisiontec.ciwebstudio.com/3d-printers/cdlm-printer-family/
Hi Jan,
Have you seen this post on reddit of someone working on a continuous resin printer with a rotating vat? I haven’t seen any updates from him in a while but this was something that I was personally very interested in pursuing.
https://www.reddit.com/r/resinprinting/comments/pcbvbv/diy_continuous_resin_printer/
Could you change the amount of dissolved gas in the resin? If you want more O2, vacuum the resin, and allow it to come back to 1 atmosphere by only allowing O2 back into the vacuum chamber. If you decided that you want no O2, use an insert gas when allowing the chamber to go back to an atmosphere. Is there any reason a printer wouldn’t work in a pressure/vacuum chamber filled with what ever gases you want in the resin?
I have been testing pure glycerine which is very cohesive material under the fep film – large drop with air bubbles repushed out with a credit card. I thought of it thinking about the immersion oil for large zoom in microscopes. It has an additional effect of making the view into the dlp projector way more visible with my well used fep film. Leading to me thinking if it can make the boundary between the cured and uncured resin more sharp.
The high viscosity of the glycerine makes the fep film “almost glued” to the glass. Which in my imagination should limit, or remove the fep film stick.
Also the thickness of it is not “zero” so there should be still a “peeling” effect caused by liquid moving to spots where the model tries to unstick from fep. This however will mean the force trying to rip the model of the bed will be stronger and almost instant since the fep will not flex as much.
I will be testing on larger cross-sections if lower lift speed is necessary. This however could be paired with less lift distance and wait time. Leading to time save.
I unfortunately dont think this technique will allow for continuous printing.