Getting Perfectly Crisp and Dimensionally Accurate 3D Prints on a Resin Printer: Fighting Resin Shrinkage and Exposure Bleeding

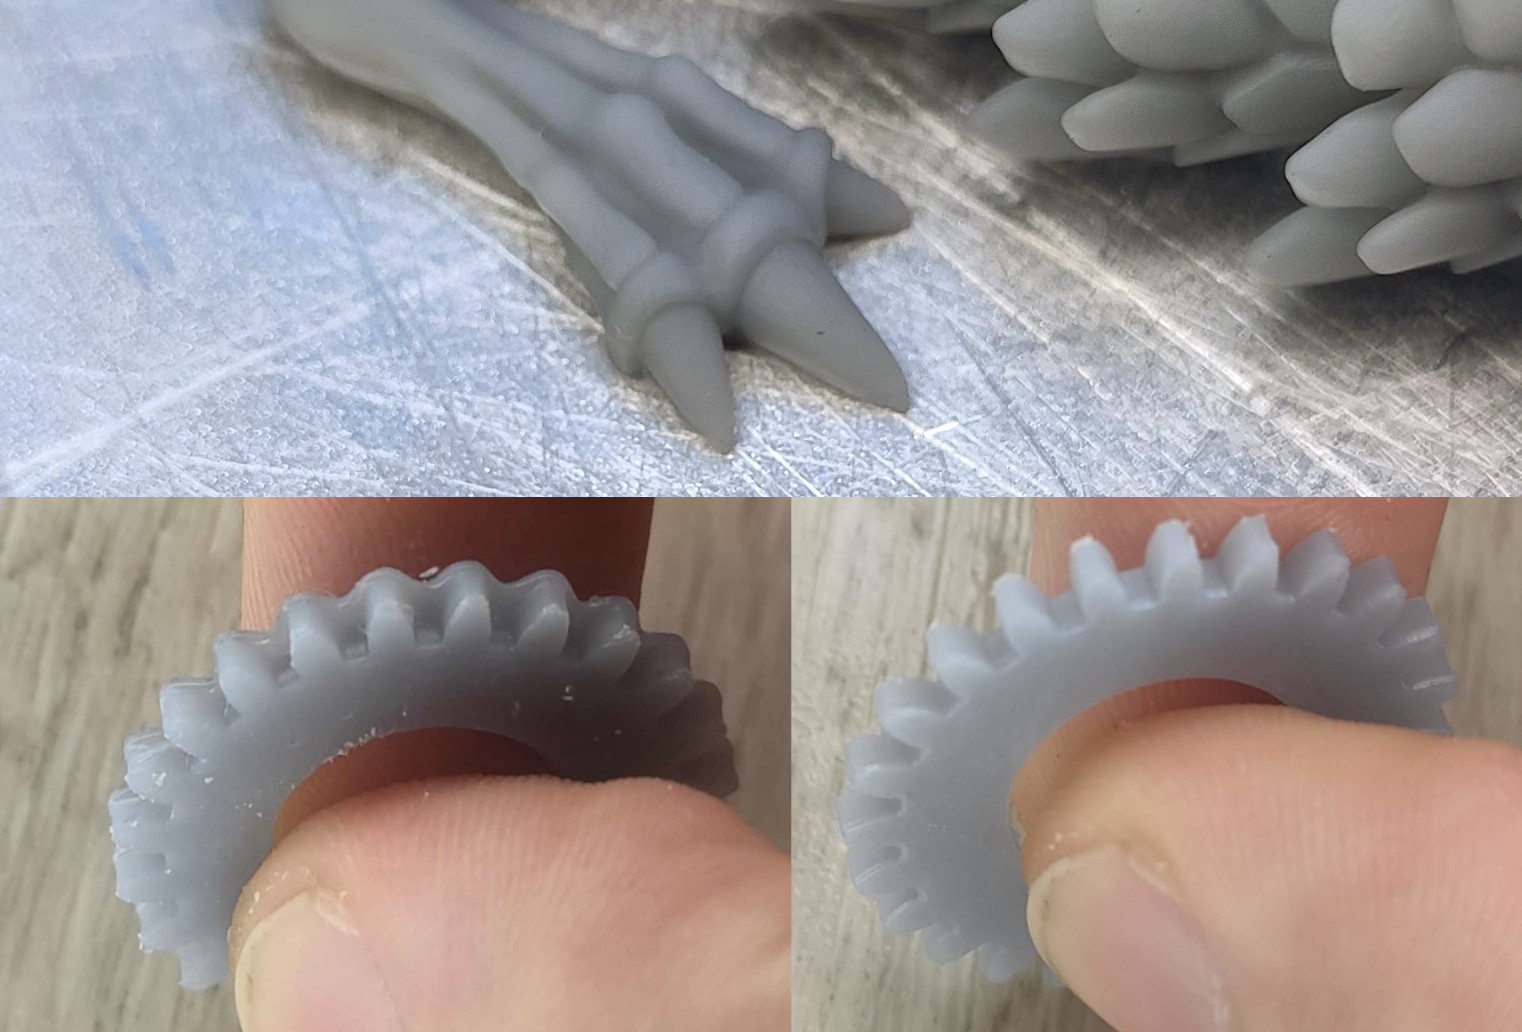
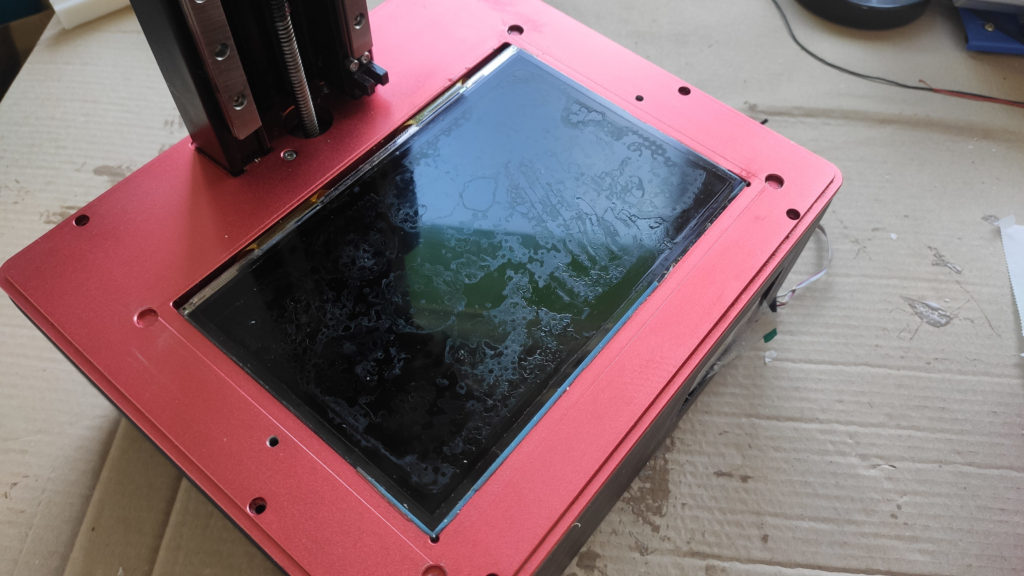
Most polymers shrink when they cure or solidify. That means that their volume shrinks down during the process. The simple consequence is that the models you print either on FDM or resin printer are smaller than you designed. Therefore, when you try to print, e.g., an enclosure for PCB or a hole for a pin or a screw, they might not fit.

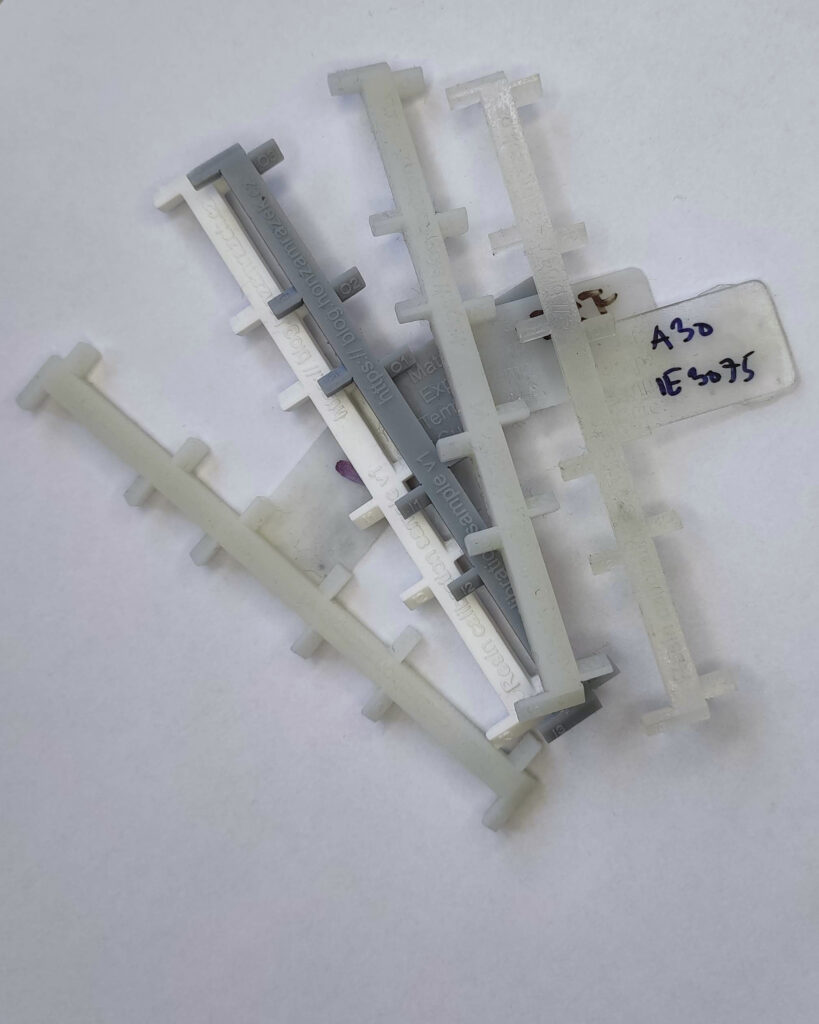
Today, we will explore how serious the shrinkage is, whether it is the only source of dimensional inaccuracy and how to measure it and compensate. After reading this post, you should be able to calibrate your resin printing process such that the models you print will come out perfectly within the accuracy of a single LCD pixel. That is usually roughly 50 µm + the inaccuracies in your measurement setup. We will also show you that you can easily use this test to precisely tell if you overexpose your model or not.

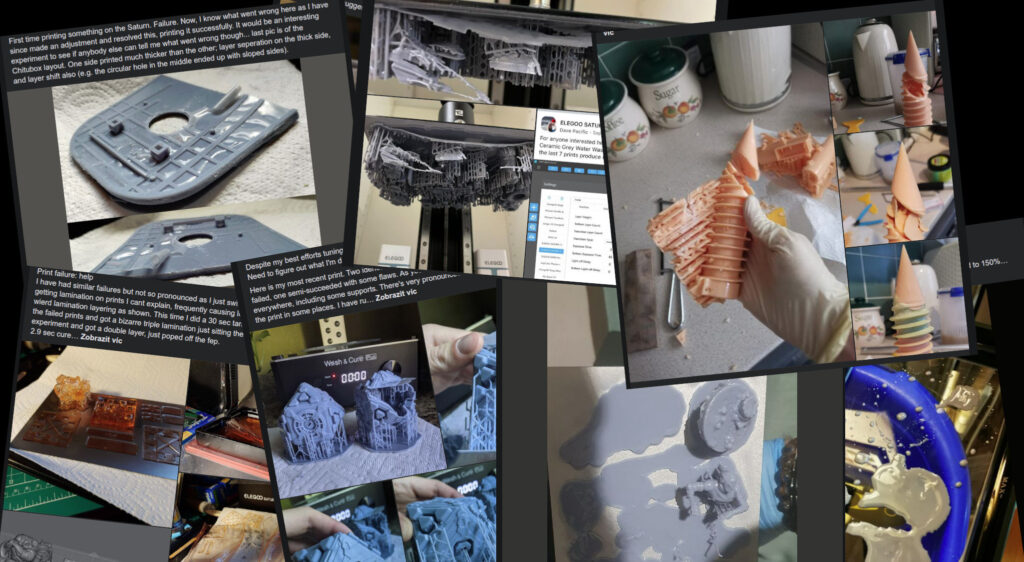
However, since we print quite complex geometry layer-by-layer there are some interesting phenomenons that need to be taken into account. They affect how the printed part wraps. They are complex, so we will dedicate a separate blog post on this topic in the future; today we will start with the basics.

Continue reading “Getting Perfectly Crisp and Dimensionally Accurate 3D Prints on a Resin Printer: Fighting Resin Shrinkage and Exposure Bleeding”

On the Topic of Disposing Dirty IPA Washing Bath From Resin Printing

Resin printing is wonderful. I love it – it’s fast and detailed compared to FDM printing. Also, the materials are getting better and better. However, compared to FDM printing is a really messy process. The resin frequently drops where you don’t want it to, and you have to wash the models in an IPA bath.

And here comes the problem ­– how should you safely dispose of a dirty IPA bath? The resin before it is cured is toxic, especially to aquatic life. The best way is to probably bring the bath to a facility for hazardous waste disposal. Nevertheless, the idea of recycling IPA is appealing so you see a lot of people on YouTube and Facebook trying to clean it and recycle it.

Here I bring my 2 cents on the topic. Note that what I present here is more of an idea or a proof-of-concept rather than a complete solution. Also, I am no chemist, so I cannot guarantee that the presented procedure actually yields safe waste. If you have some insight or ideas, please, let me know in the comments!

Continue reading “On the Topic of Disposing Dirty IPA Washing Bath From Resin Printing”

Testing UV Resins by QTS: Really Interesting and Unique Properties

A while ago I was approached by Overhanglab.com (QTS) about whether I would be interested in trying out their resins. I usually resist testing resins since, in my experience, most of the smaller companies just blindly copy the original resin formula by Autodesk and they are the same rubbish as Elegoo and Anycubic Standard resins: not particularly strong and very brittle. However, QTS gives some really strong claims about their resins, so I thought – let’s see if they are true or just a marketing talk.

I had the opportunity to test their Model resin, Flex resin, Engineering Strong resin, and Engineering High Temperature. In this post, I will share my experience with all of them except for the high-temperature one. The high-temperature one needs further testing and I have an exciting project with it on my mind which deserves a blog post on its own. Let’s dive in.

Continue reading “Testing UV Resins by QTS: Really Interesting and Unique Properties”

Testing Siraya Tech Fast Mecha: A (r)evolution In Functional 3D-printing?

There are many resin printing materials out there marketed as “engineering”, “for functional parts”, “heavy-duty”. Since I got into the resin printing world, I tried a large number of them. However, none of them in my opinion didn’t deliver what was promised. The main challenges are not only low strength but also low impact resistance and most notably insufficient surface properties. Most of the 3D-printing resins out there are easy to scratch and when two surfaces mate, they have relatively high friction, and, most notably, they grind each other and form a white powder.

I was given the opportunity to test a new material – Siraya Tech Fast Mecha that claims to be suitable for articulated functional parts. The marketing is that the material doesn’t grind when two surfaces interact. Is it true? We will find out in this hands-on review. For clarity; I was given a sample of Siraya Tech Fast Mecha for free before it was available to the general public. I wasn’t paid in any other way for this review and all opinions are mine.

Continue reading “Testing Siraya Tech Fast Mecha: A (r)evolution In Functional 3D-printing?”

Overview of Practical Resin Properties

In this regularly updated post, I sum up the results of torturing various resins for SLA 3D printing. I have a very fine and functional mechanical model – a 1:85 compound planetary gearbox. The gearbox uses M0.5 teeth (half the LEGO gears teeth size). It is intended to be used with a brushless motor. The overall diameter of the gearbox is 38 mm. Here’s what it looks like:

Continue reading “Overview of Practical Resin Properties”

A Step-by-step Guide for the Perfect Bed Adhesion and Removing Elephant Foot on a Resin 3D Printer

In my recent blog post, I showed you that the resin viscosity and printer’s poor construction are the main reasons why people observe print failures. I also highlighted that the same phenomenon causes the elephant foot. However, I did not give you a step-by-step guide on how to work around it. I’ll fix this in this blog post, where I show you how to use UVTools to post-process your sliced files in order to get the perfect bed adhesion and no elephant foot on your prints.

I will show you how to get perfect results every time.
Continue reading “A Step-by-step Guide for the Perfect Bed Adhesion and Removing Elephant Foot on a Resin 3D Printer”

Prints not sticking to the build plate, layer separation, rough surface, elephant foot: resin viscosity – the common denominator

When you scroll through the various Facebook group about resin printing, you see quite often questions about the following topics:

  • “my prints are not sticking to the build plate”
  • “my layers separate”
  • “my prints have a rough surface”
  • “I have a large elephant foot/squished bottom layers”
An example of all the problems shared in the FB groups. It is really not hard to find them.

In the first two cases, people often advise “increase your bottom layers!” and “increase your bottom exposure”, “lube FEP”, “sand your build plate!”.

But I think such advice is wrong and the best advice for all four cases should be “Introduce a light-off time”. Why? Let me walk you through a series of experiments and observations. It will be a long read, but bear with me – it is an actually simple puzzle just with multiple factors. And as we will see at the end, the same advice also applies to solving the rough surface case and also (partially) the elephant foot. We will also learn, that printing at layers thinner than 50 µm does not make much sense and it can actually degrade the print quality and precision.

Note that I have previously touched on this topic in my blog post Improving surface finish of hollowed SLA 3D prints: one aspect of blooming.

Continue reading “Prints not sticking to the build plate, layer separation, rough surface, elephant foot: resin viscosity – the common denominator”

Hand-on experiences with Mercury X Washing & Curing station and 15 USD must-have upgrades

I’ve been in resin printing for over two years now. I have always refused to get a curing station. I disliked the available solution and was happy with my setup of several Lock’n’lock containers with IPA and a simple curing box made out of IKEA Lixhult. If you are wondering why I disliked the current solutions, read the ending of this post where I describe my dream machine.

However, my containers got small and I was considering getting bigger ones. It was at the time when Elegoo announced Mercury X pre-order. I thought “Ok, let’s give it a shot”.

I received my unit in September and I’ve been using it on a daily basis. Current experiences? It works pretty well and I am happy about it. I wouldn’t go back to my “dumb containers with IPA”. If you would like to see a full review that lists all the features and gives you the basic idea, please refer to other reviews: e. g., a nice review by Thomas Sanladerer.

In the rest of the post, I will show you what I dislike about the machine and how I improved it (at least a little) to make it suitable for heavy and convenient usage. Please note that overall I like the machine and I would advise my old me to buy it.

Problem #1: Only a single cleaning container

This is the biggest flaw of the machine – there is only a single container for IPA & cleaning. Do you ask why you would need more containers? It is more economical.

Continue reading “Hand-on experiences with Mercury X Washing & Curing station and 15 USD must-have upgrades”

A better way of making silicone components using a resin printer: Injection molding for less than 50 USD

Not so long ago I published a blog post showing how I make silicone components. If you haven’t read it I recommend you go through it first. I won’t cover all the steps for making the components — I will just discuss the game-changing improvements in my setup.

You might be asking what might be such a game-changer that it deserves a separate blog post. Previously, I designed open molds and pour silicone into them. Now I have found a way how to inject the silicone into a closed mold.

Injecting the silicone makes the whole process faster, cleaner, and also, more reliable (no more trapped bubbles!). On top of that, it allows me to design more complex molds which can, e.g., make removal a much more pleasant process.

Continue reading “A better way of making silicone components using a resin printer: Injection molding for less than 50 USD”

Easy procedure for saving LCD on MSLA 3D Printer After a Resin Leak

Resin 3D printers are awesome, however, the whole process is extremely messy. Especially when an accident happens and the resin leaks from the vat all over the printer.

When this happens mid-print, it usually means one thing – the resin will leak onto the precious LCD of the printer and cure. This means one thing – the UV light will be blocked by the cured parts and you will probably experience holes in your printed parts.

Usually, the people on Facebook advise you to scrape the resin away with a plastic razor. This usually works for small leaks, but it doesn’t work well on large leaks.

I experienced a resin leak recently on my Elegoo Saturn. Scraping the resin was not leading anywhere and I managed to scratch the polarizer film on top of the LCD. Therefore I stopped and I decided to make a (successful experiment): use acetone to dissolve the cured resin. It worked flawlessly!

The method is based on the observation that resin softens in an acetone bath, but the polarizer film seems not to dissolve in acetone.

Continue reading “Easy procedure for saving LCD on MSLA 3D Printer After a Resin Leak”