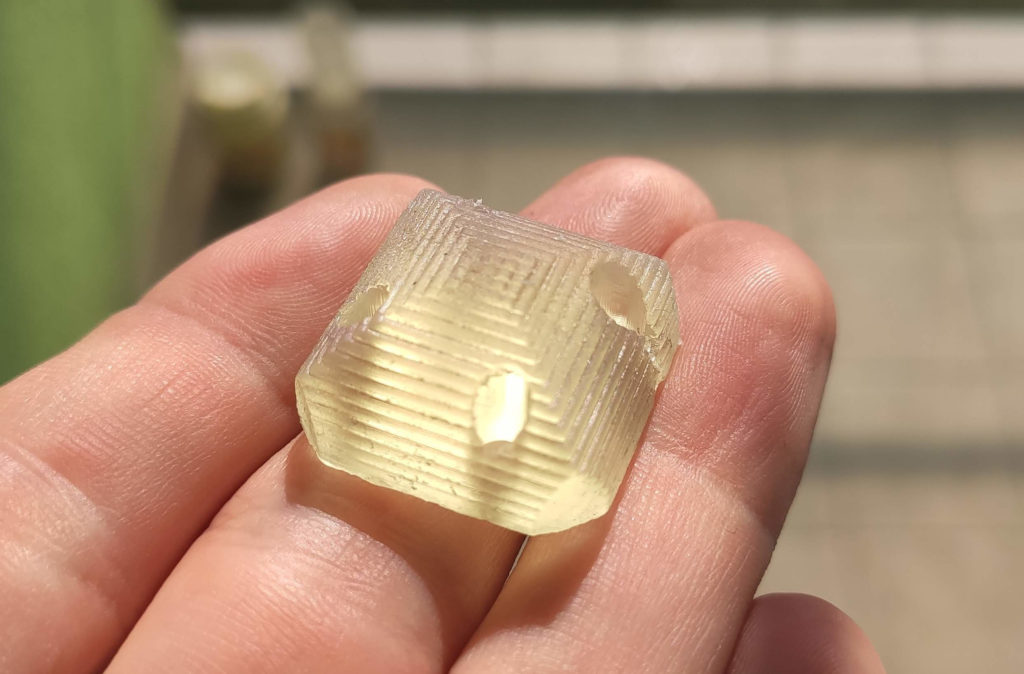
Today, I want to talk about an interesting phenomenon I noticed when printing hollow objects. A simple procedure can drastically improve the surface finish of your prints:
Extreme case of blooming
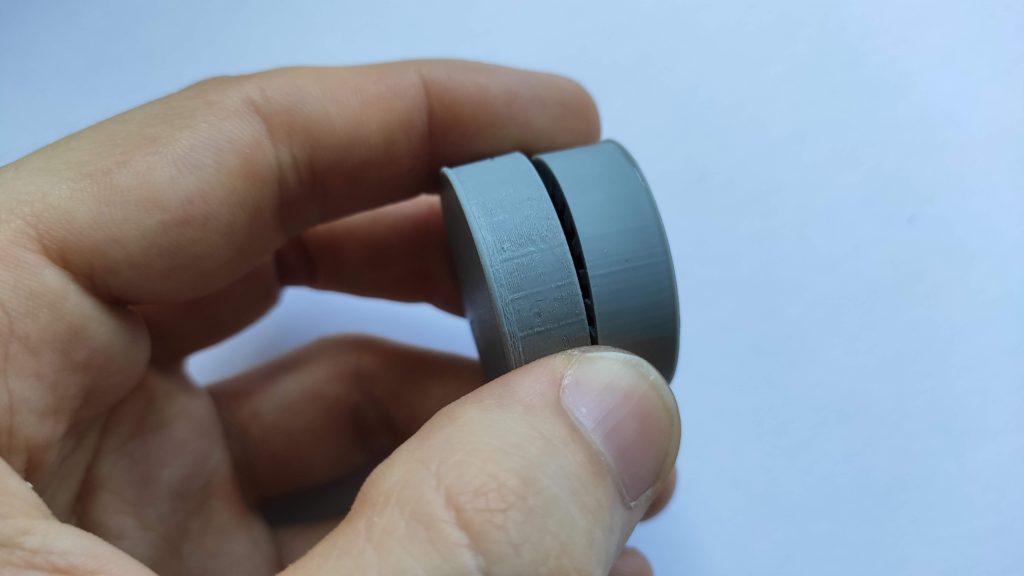
Today, I want to talk about an interesting phenomenon I noticed when printing hollow objects. A simple procedure can drastically improve the surface finish of your prints:
Extreme case of blooming

Recently, I noticed in the Elegoo Saturn Facebook groups that many users report a broken Saturn. The symptoms are that the UV backlight is always on. Elegoo has been really helpful and it seems that when a user reports the problem, they send a replacement mainboard.
I was wondering what causes the problems, so I reached out to a few of them if they would be willing to send me the broken motherboard. One of them did (thank you!) and I started to investigate what’s wrong. TLDR: The fix is easy and costs you nothing if you know how to solder.
Continue reading “Fixing the “backlight always on” problem on Elegoo Saturn”I have always liked pinout diagrams like this:
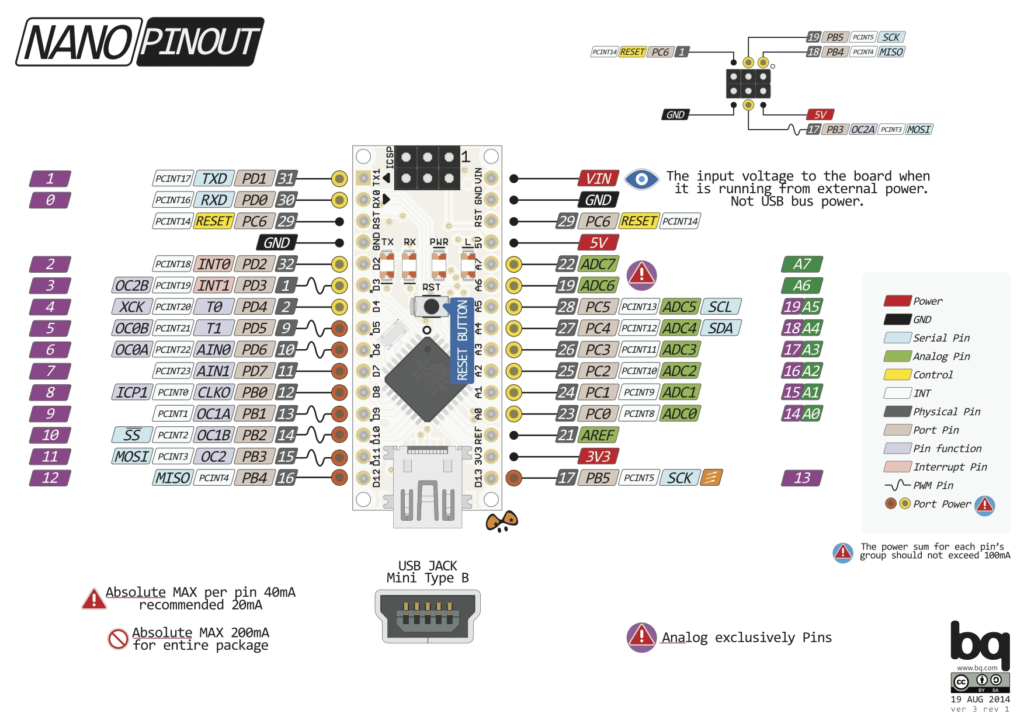
They work quite well, there is all the information and they look nice. However, they work only when you have pins on two sides of the PCB and once you squeeze too much information in it, the diagram becomes hard to follow. Also, I sometimes struggle with finding the right pin when I connect duponts to my boards — there is simply too much information presented at once.
Therefore, I created Pinion — a simple tool that will take your KiCAD board and builds a nice-looking interactive diagram. You can either present them or embed them into your websites like this:
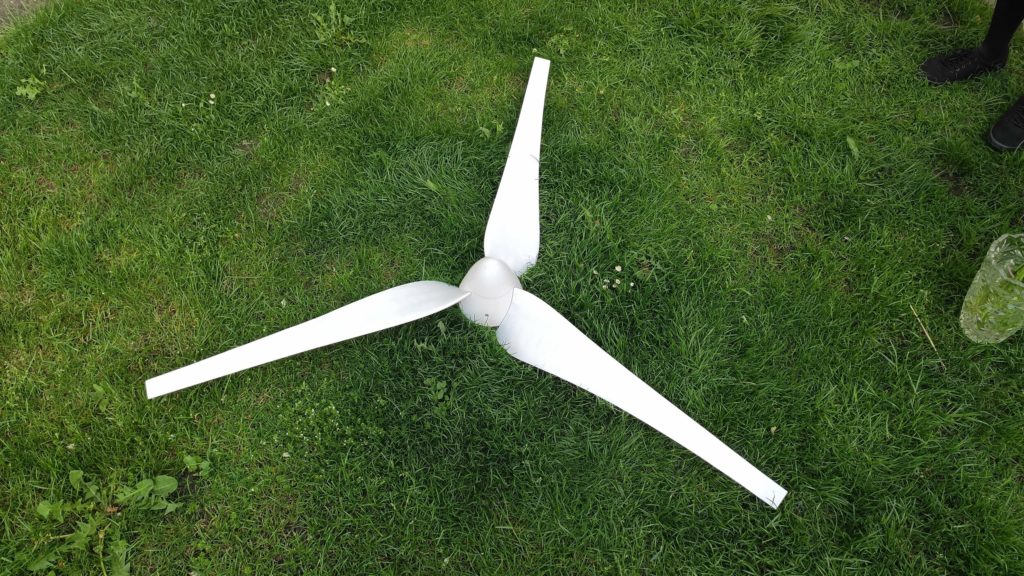
Continue reading “Making nice-looking and interactive diagrams for your PCBs”Back in high school, I wrote SOČ (student-paper) about designing and building a small horizontal wind turbine (available here, only in Czech). It was an interesting experience and I learned a lot about aerodynamic. Ten years passed and I decided to revisit the idea of having a small DIY wind turbine. However, with a modern spin on it in the form of 3D printing the whole full-scale turbine on an SLA printer. Spoiler: it turned out perfectly!
Having a reference model of the printer is suitable when I design new components to tune my printer. I publish the model, so the others can benefit from it! You will find the model below:
If you like the model, you can consider supporting me on Ko-fi or buy something from me on my Tindie store.
PS: Be sure to follow me on Twitter and Instagram if you are interested in knowing what I am up to.
Recently, I discovered Resione resins. They have a wide variety of resins. They also have a series of tough and flexible resins. They also have an EU distribution center, so the resin arrives quickly and you don’t have to care about customs. Overall, the resins seemed nice. I might make a separate blog post about their resins in the future.
When I was working on a big project (blogpost upcoming, sneak-peaks on my Twitter and Instagram) I decided to use Resione M68 — tough snow-white resin. The parts I printed were thin-wall parts (wall thickness of 0.5–1 mm). They also have a lot of internal cavities where a liquid can be trapped. After printing, the pieces looked great! However, it was a rainy day and the air humidity increased up to 80 %. The next day I found my parts deformed like this:
Parts after 24-48 hours in high humidity
Parts after 24-48 hours in high humidity
I soaked one of the parts for 20 hours in water. This happened.
It seems that the Resione M68 absorbs a lot of moisture and the large flat areas between infill of the component expand, thus they form bumps. So I took one piece and soaked it into the water for 20 hours and it even cracked.
It is a well-known phenomenon, that some plastics absorb moisture. There is even an ISO standard 15512:2019 for measuring this (which I don’t have access to, unfortunately). Since my components will be exposed to the weather condition, I decided to make an experiment to determine which resins would be suitable and which not.
Continue reading “I tested how much moisture SLA printers resins absorb. How it changes them?”I use my beloved 3D printers Elegoo Saturn and Mars to produce various functional components. However, resin is usually not the ideal material for me as I need stronger, less brittle or flexible components. Therefore, most of the time I print molds and cast my components either out of polyurethane or silicone.
Let me show you the easier of the two – silicone molding – in this post. I will demonstrate it on piece I designed last week – the cleaning kit for Elegoo Saturn’s resin vat.
Swapping resins is not a pleasant experience. Evertyhing that touches resin becomes sticky and potentially iritating for your skin. On Mars, I bought multiple 6 vats and avoided swapping resins if possible. However, Saturn vats are not available for purchase yet.
The design of the vats is not ideal for pouring – it does not feature a single sharp pouring edge which does not drop. Instead, if you pour the resin, it will flow on the outside walls of the vat, making it messy. So there is the obvious solution – let’s attach a spout that will direct the resin and also, it will feature a sharp pouring corner that does not allow the resin to flow on the walls.
So I sat and designed such a thing:
Spout front view
Spout back view
TLDR: If you are here to make your Saturn silent and you don’t care about the details, scroll down to the last section “Do you also want to have a silent Saturn?”
In May 2020 I got lucky – I managed to get Elegoo Saturn in the first batch of preorders. After some hassle with the shipping, I finally received it in mid-October.
Since then, I printed over 12 kg of resin on it. My impressions? The build volume is enormous and the printer prints nice. When I will finally build a proper fully-automatic washing station, I guess FDM printing will be dead for mi. However, I have to say: the machine is not perfect and it has some flaws (more about them later on the blog), but it is wonderful what the engineers at Elegoo were able to design for 500 €! I truly admire them for it. I guess you could not get a better 3D printer at that price tag.
I live in a flat and I have my printers in my workroom. Therefore, I was quite disappointed with the fact that Saturn is quite loud. The noise is disturbing. I have no proper decibel meter, but according to an Android app, it is about 54 dB (usually classified as an “office level of noise”).
So I decided to perform a similar modification as I did on my Elegoo Mars: Changing the fans for the quiet ones.
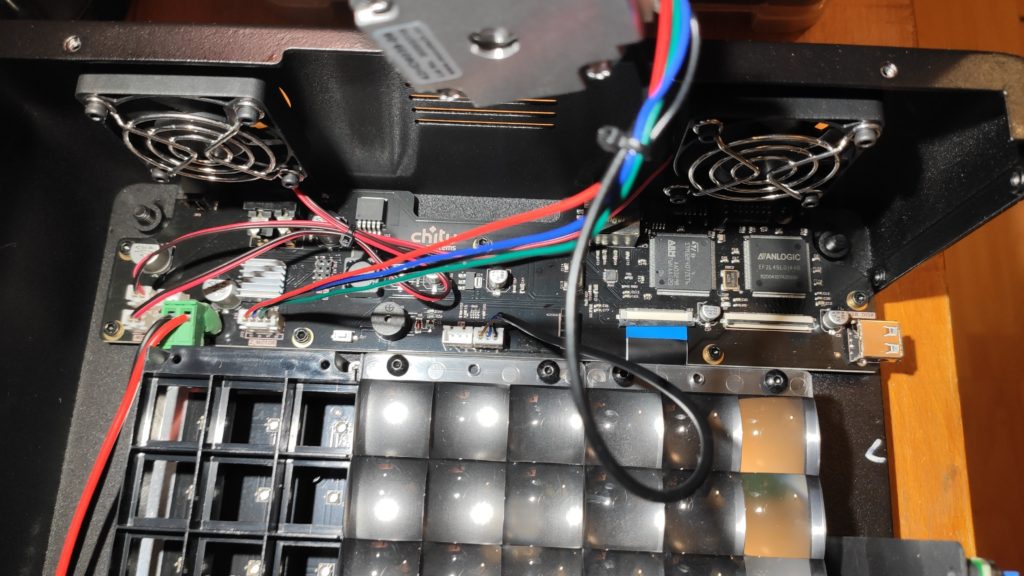
So I disassembled Saturn to find out what fans it uses. Sidenote: The internals is nicely done. Saturn uses two 50mm fans powered from 24 V.
As you may have noted from my blog, I tune Elegoo Mars for better performance as my hobby. After the complete rebuild of the Z-axis, making it quieter, more-precise in XY direction, and easy print removal, I focused on printing speed.
I have already experimented with making the screen monochrome, however, due to lack of resources (dead screens) I abandoned the idea. The second way is to tune the light source. You can already buy LED lamp replacement, but what hobby would it be if just bought everything? Also, their parameters are not as good as my aims.
One disclaimer – the whole build was performed during the lockdown period during COIVD-19 outbreak, so many manufacturing and supply options were limited. Therefore, some of the approaches presented in this post are rather hacky and I would make them differently during normal times.
I decided to build a 7×4 LED array. The reason for going for such a high number of LEDs is to limit their radiation cone – the goal is to produce as parallel rays as possible. With fewer LEDs, I would need a wider cone. When you have rays under an angle, it leads to a side exposure and imprecisions in the print. I used LG6565 – 10W LEDs which emit peak wavelength 405nm. That’s 240 W. Original Mars is roughly 30 W.
I created a simple PCB. I used copper-clad with an aluminium substrate to provide better cooling. Normally, I would buy sodium persulfate and etch the board. However, during COVID outbreak all the drug stores were closed so I just cut the board with an X-acto knife and peeled the excessive copper. Soldering the LEDs on the aluminum substrate was not an option and reflow oven was out of the reach – so I just cut pieces of solder wire, put them on the PCB, put some flux on it, and put it on a gas stove on a thick piece of steel. After 2 minutes, the solder melted, the LEDs nicely arranged. After attaching some wires, the PCB was ready. To improve the cooling I also mounted a beefy heatsink to the backside of the PCB and I added two 60 mm quiet fans.
To drive the LEDs, I decided to go with a separate power supply. I used a switching boost constant-current DC/DC converter bought on Aliexpress. I decided to power it from 24 V to make it as efficient as possible. I added a MOSFET for switching the LEDs. To make things simple, I attached wire on the gate of the original on-board MOSFET for LED switching. One note – the LED array is really bright! There was also a lot of heat coming out of it – but not the excessive heat in the heatsink – the blue light itself carries a lot of energy and you could feel warm even when you put your hand nearly meter from it.
Drawing the PCB layout by hand
I didn't have single clad large enough, so the final panel is composed out of two pices
COVID outbreak = no chemicals available. Trying to make PCB by cutting the pattern
Cutting the PCB and peeling the copper is surprisingly easy
Finished PCB
The LED fits nicely
Solder wire + flux ready for reflow
Finished reflow
PCB on a heatsink
Wiring the LCDs
Gate of the original MOSFET
Adding a mounting bracket
Side view of the bracket
It fits nicely!
First print!
Adding a cooling fans
Cooling fans, side view
Recently I got in touch with the customer support of Siraya Tech – my favorite resin brand. I love their Fast Grey resin – it is easy to work with, it is low viscosity resin, which is not brittle. The only downside is that you cannot easily buy it in Europe. I hope it will change soon!
They offered me to test their Tenacious resin – the resin I wanted to try for a long time. You can find a lot about the resin on line. But I wanted to have the first-hand experience.
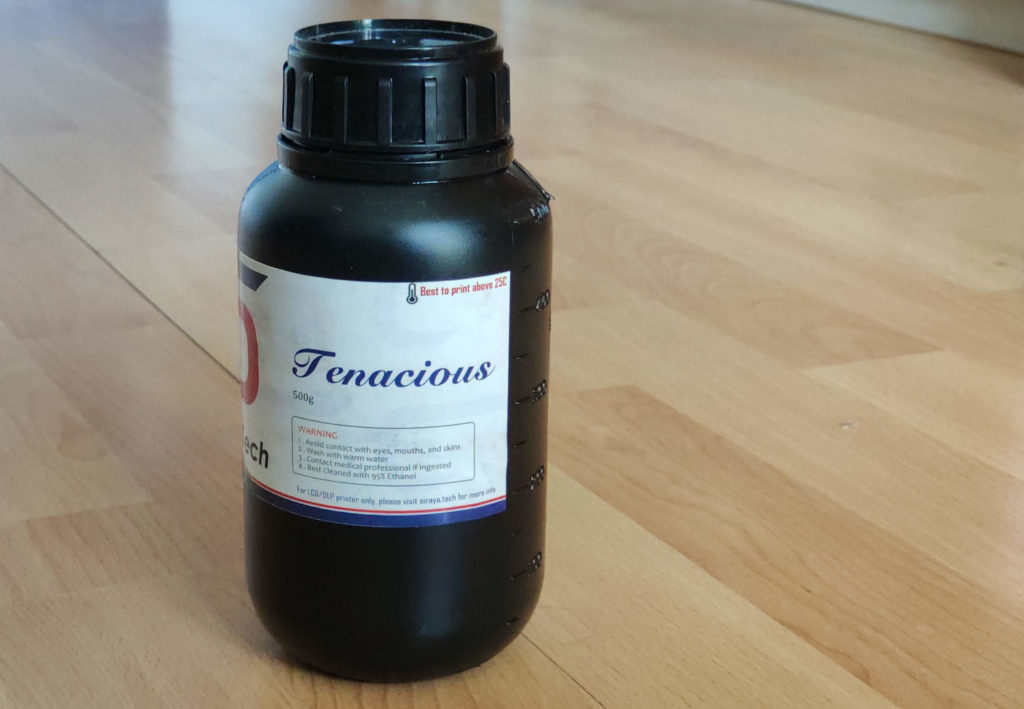
Tenacious is marketed to be flexible, rubber like with high impact resistance. The exact opposite you are used to with standard resins like Elegoo or Anycubic.
The resin is light yellow and semi-transparent. When you open it, it smells similar to Siraya Blu. The smell isn’t bad – to be honest, I find it quite pleasant. It is is a viscous liquid.
To test it, I decided to print tips of legs for a walking robot. The tips should be soft and provide friction for the legs to not slip on the floor. Since Tenacious is marketed as rubber-like, I thought it could be a suitable option. The resin was easy to print on my Elegoo Mars and the prints came out great. However, I was disappointed with the results. The parts were quite hard and did not provide enough friction. Even when I hollowed them to have a 3mm wall, a 2mm wall, and a 1mm wall they were still too hard for this application. And too slipper. Note that this is not the fault of the resin, rather my mismatched expectations. I revisited all the reviews and videos about tenacious and I found the cause of my mismatched expectations – when you see tenacious prints to be flexible, they are really thin lattice structures. Not beefy pieces.
