If you follow my work, you know that I use my resin 3D printers a lot to produce soft silicone molds or pieces (original blog post and a follow-up). Resin printers can create precise and detailed patterns. You can quickly prototype, cast miniatures, dices, chocolate molds… There are plenty of uses for soft silicone molds. However, some silicones play well with resin-printed patterns, and some don’t. In this post, I will explain to you which silicones cause the trouble, why we care, and also, how to prevent the cure inhibition. The recipe I give you is surprisingly easy and doesn’t require any special equipment. It actually outperforms existing commercial solutions (e.g., Inhibit X) both in terms of price and performance.
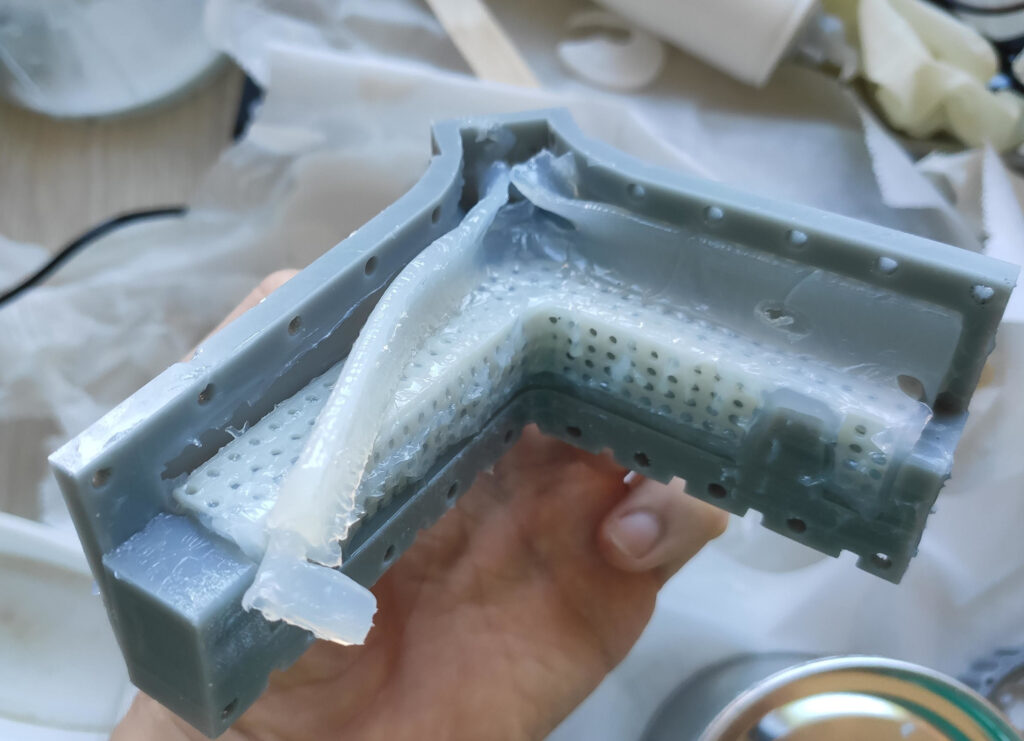
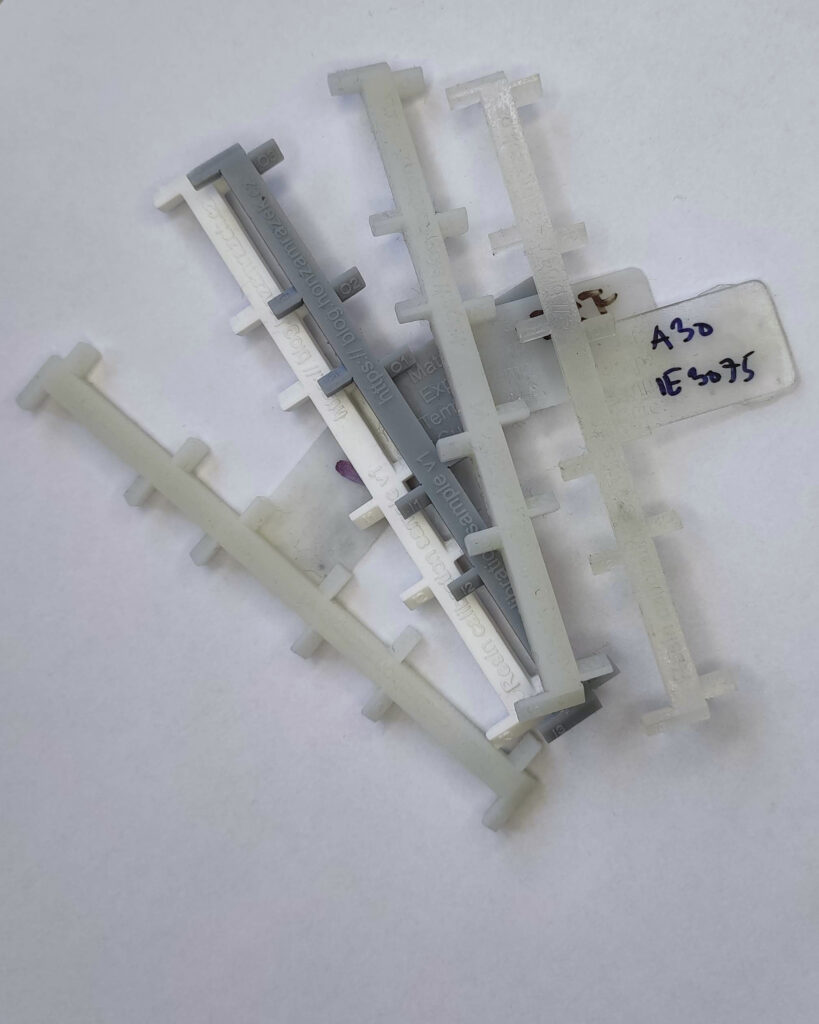
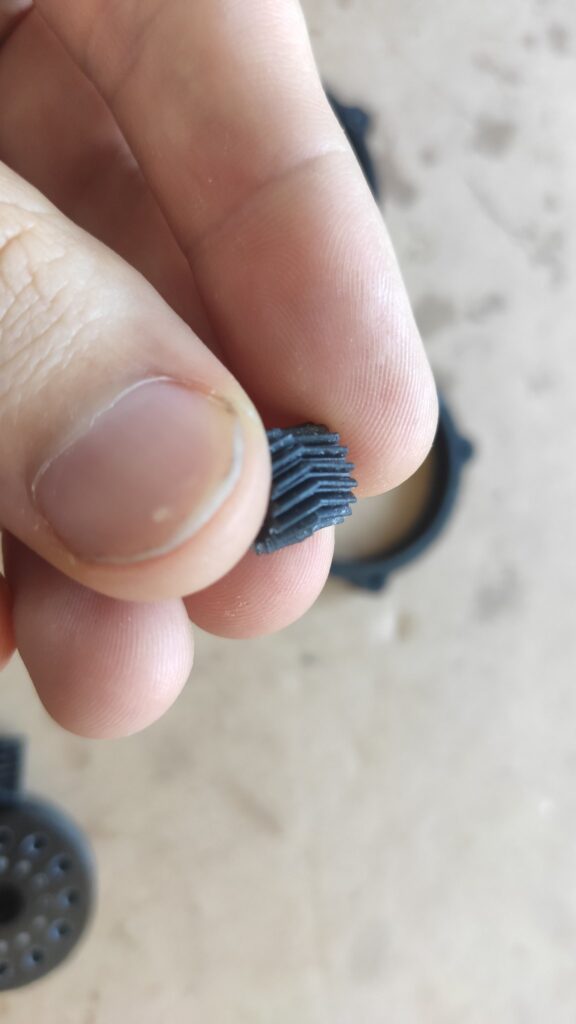
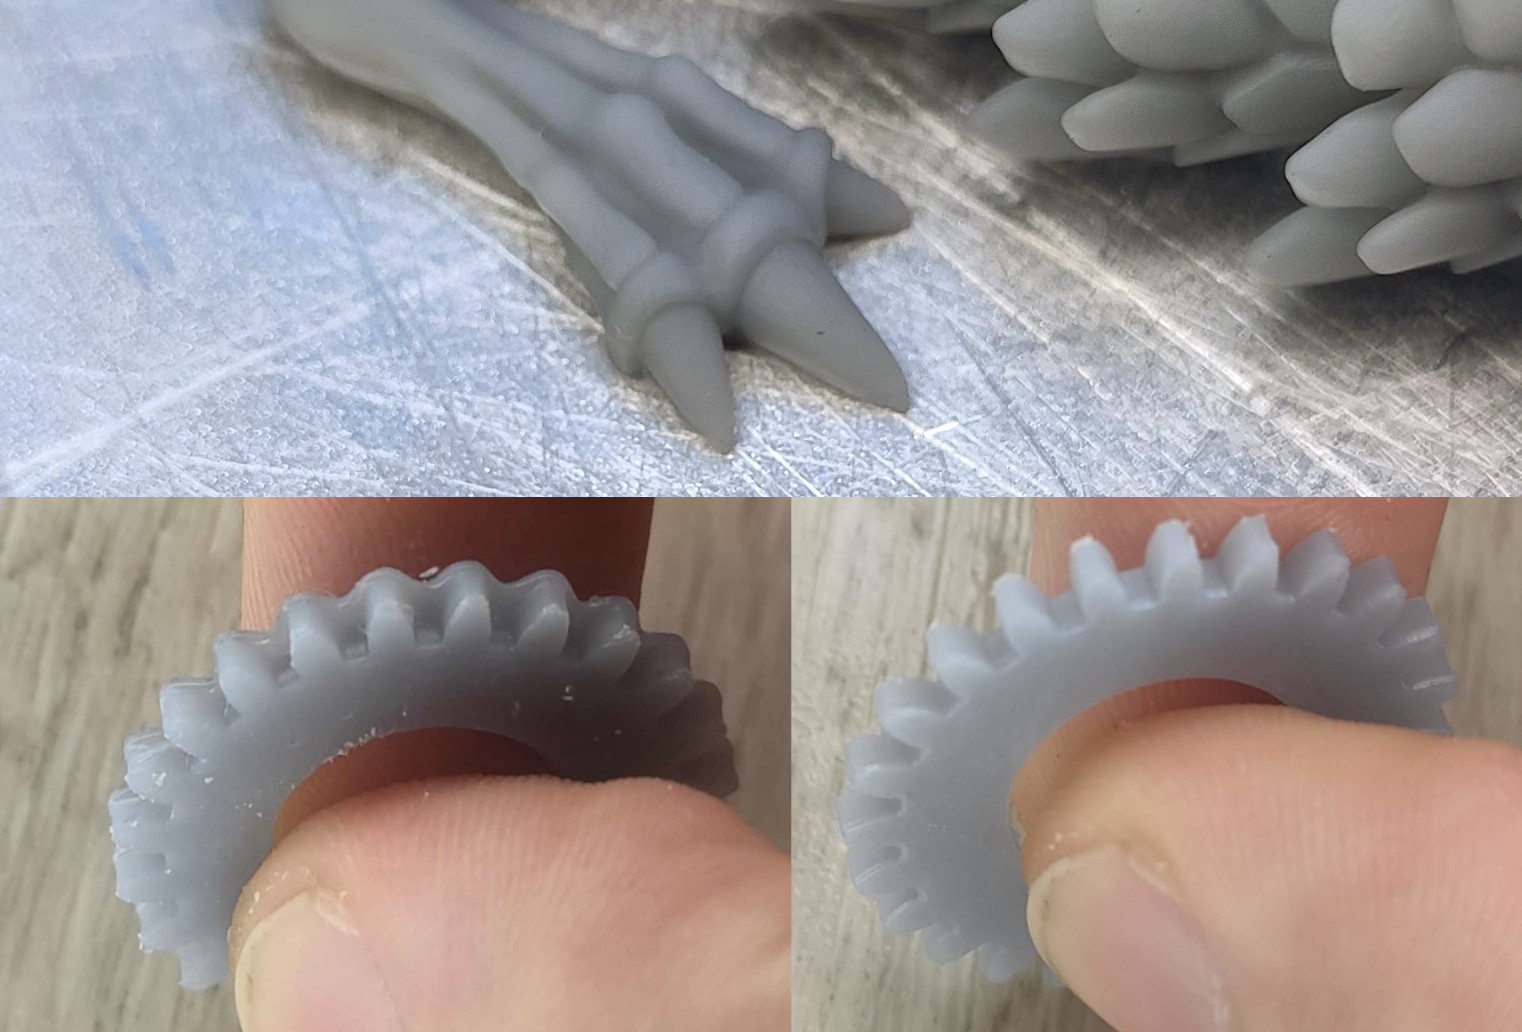
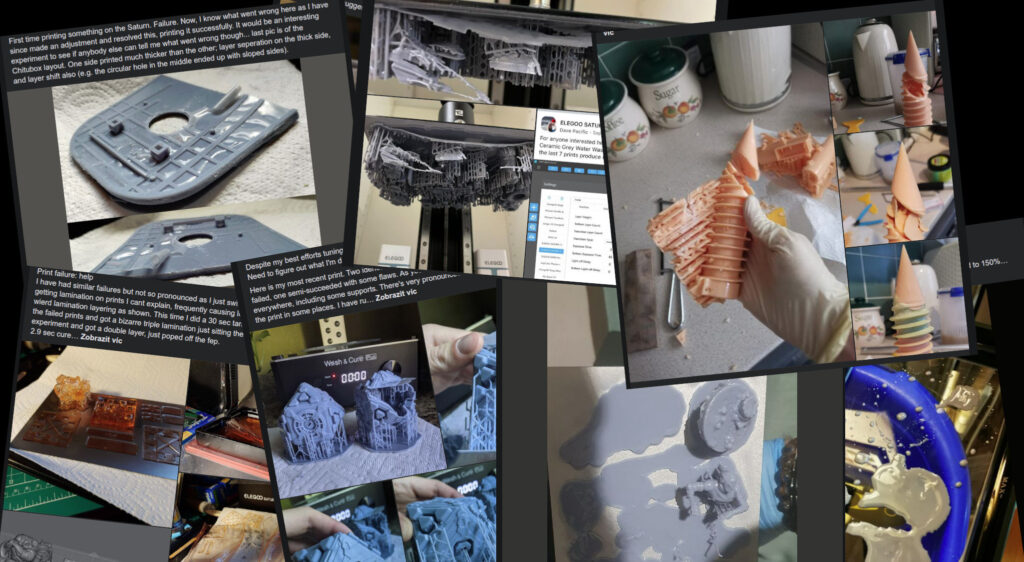
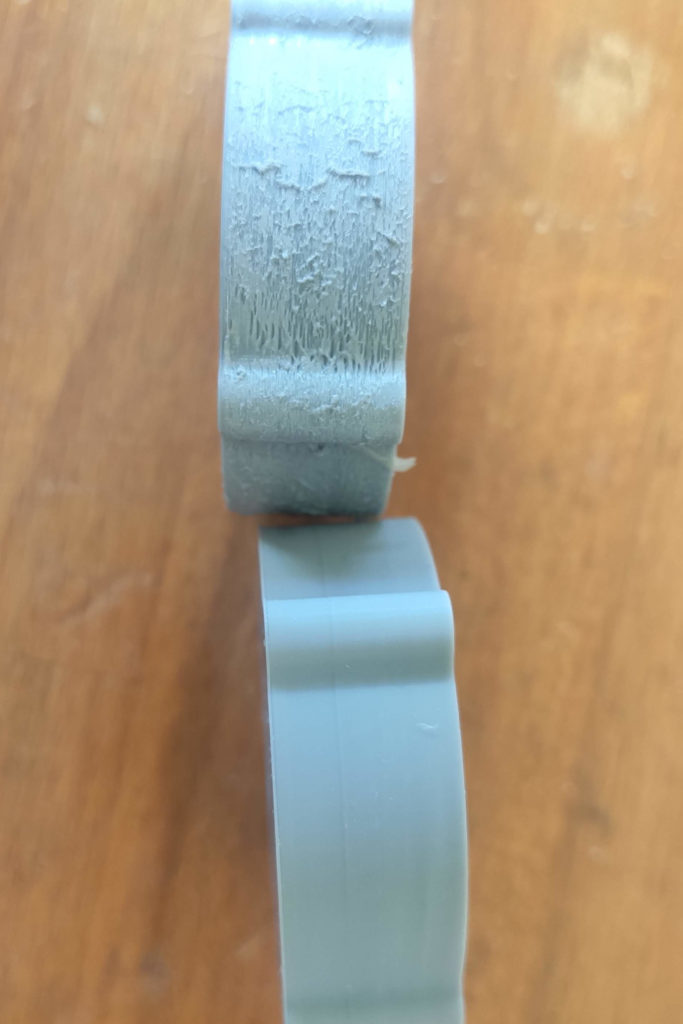
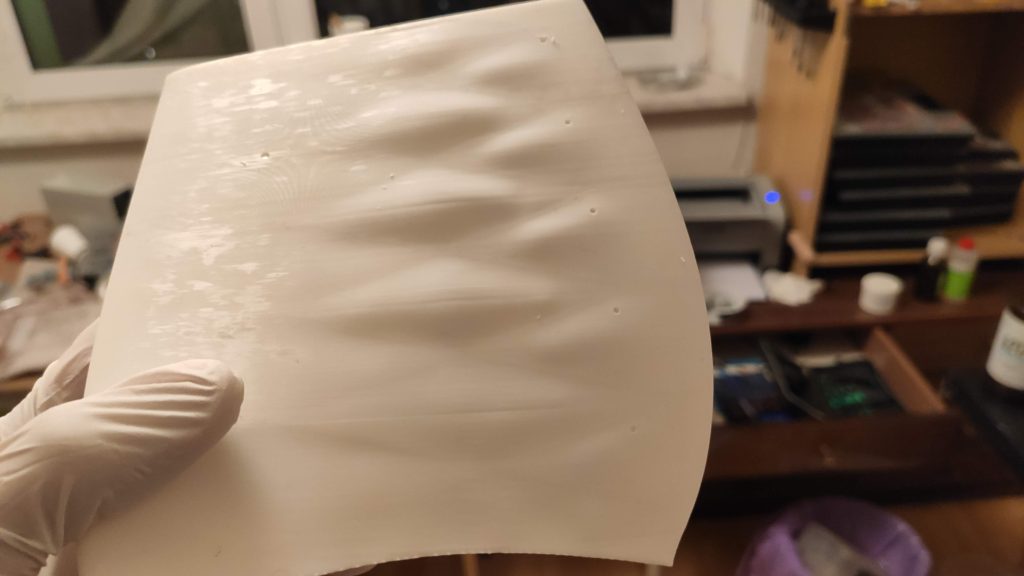
This is what happens if you cast platinum-cure silicone in resin-printed mold
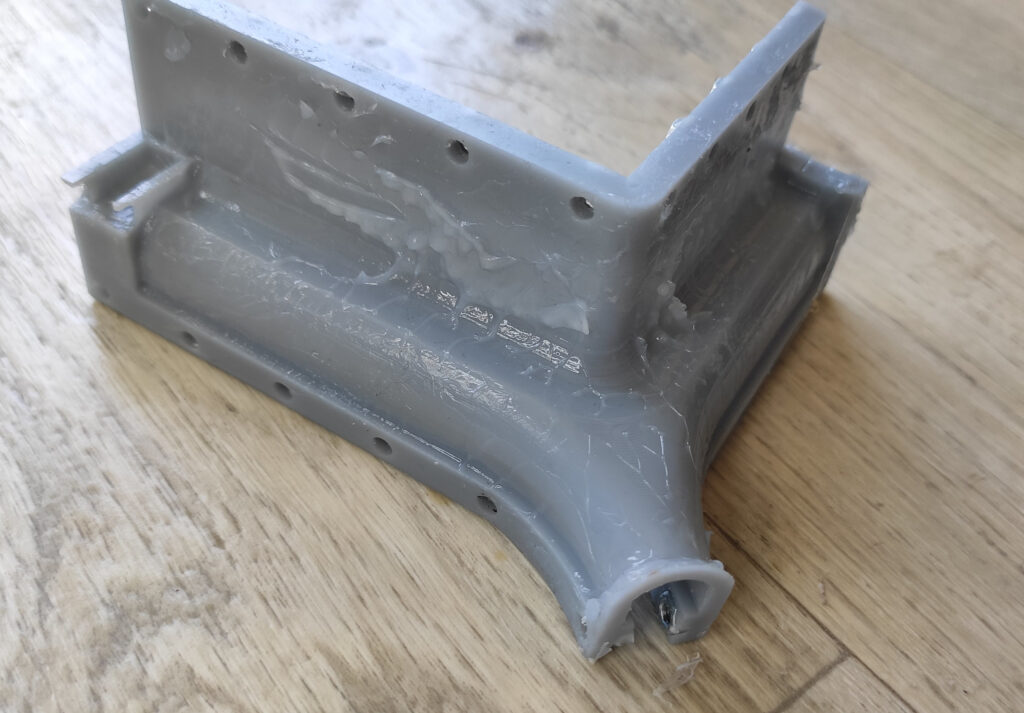
This is what happens if you cast platinum-cure silicone in resin-printed mold
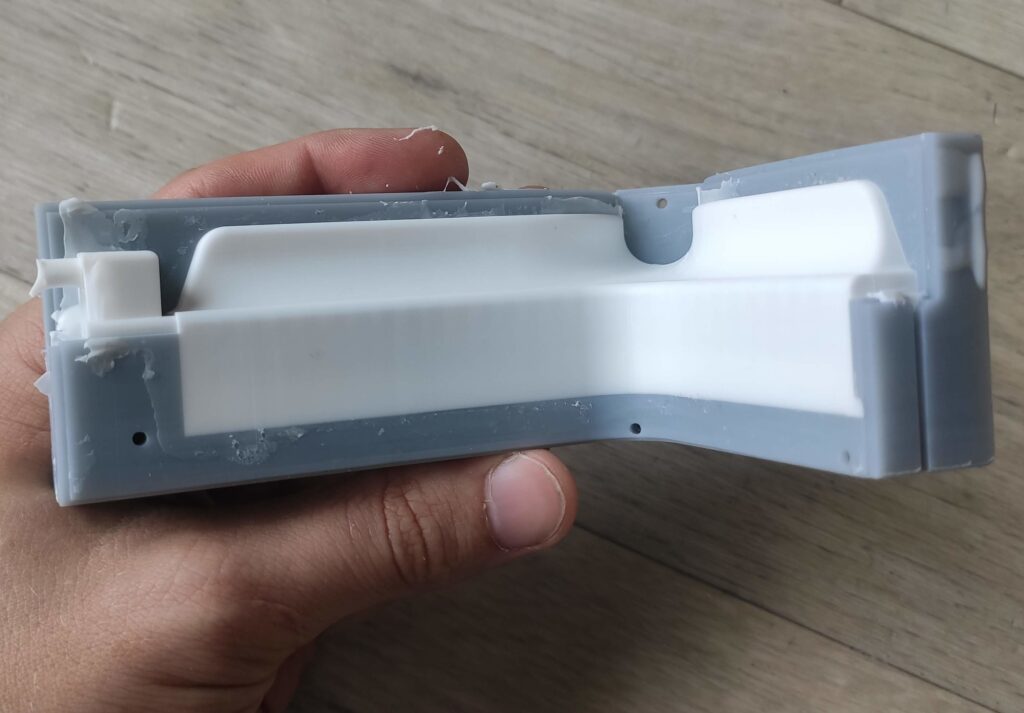
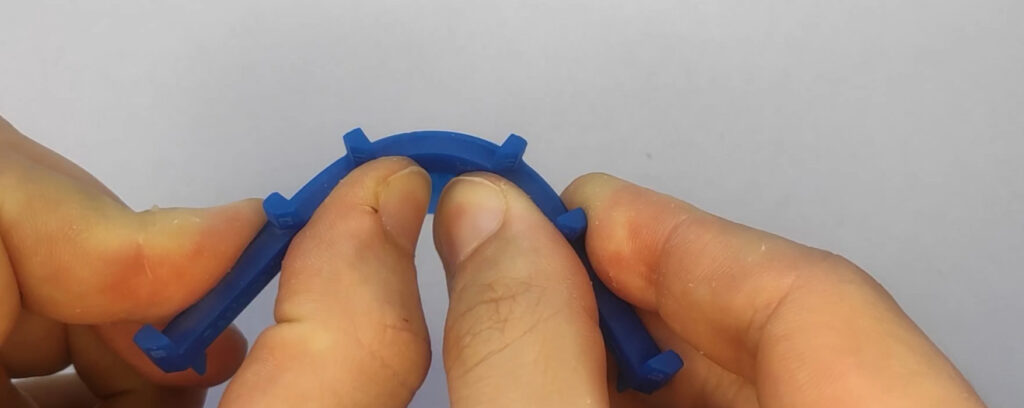
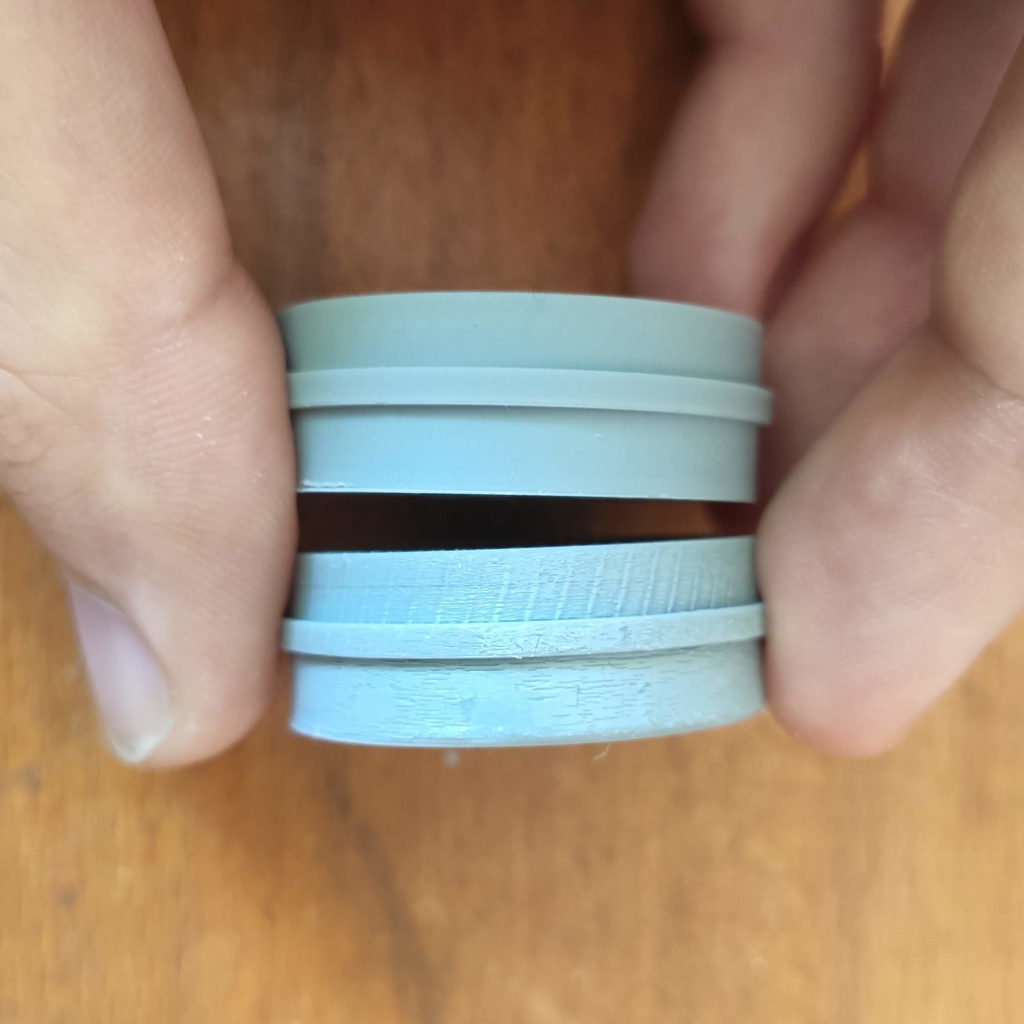
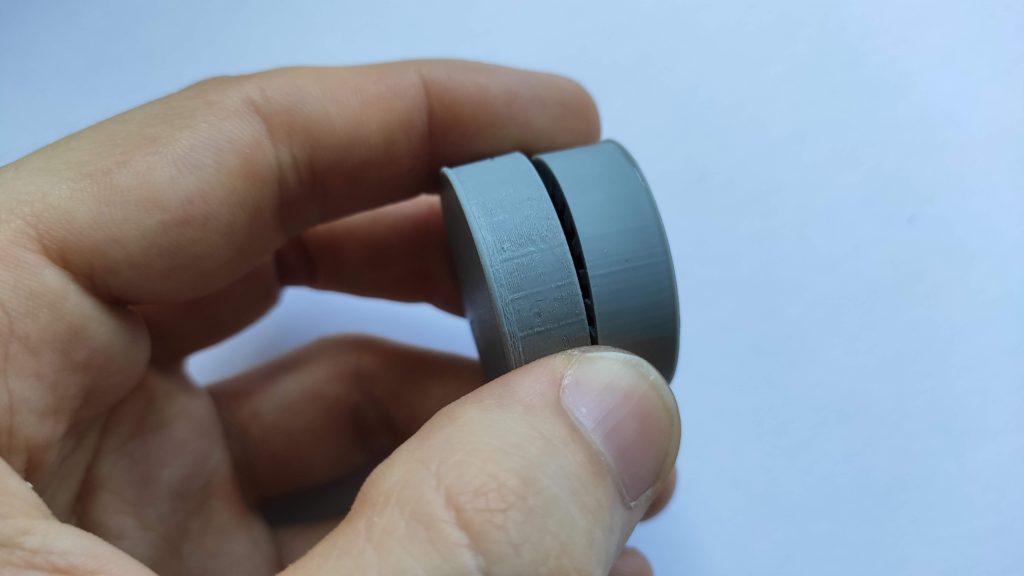
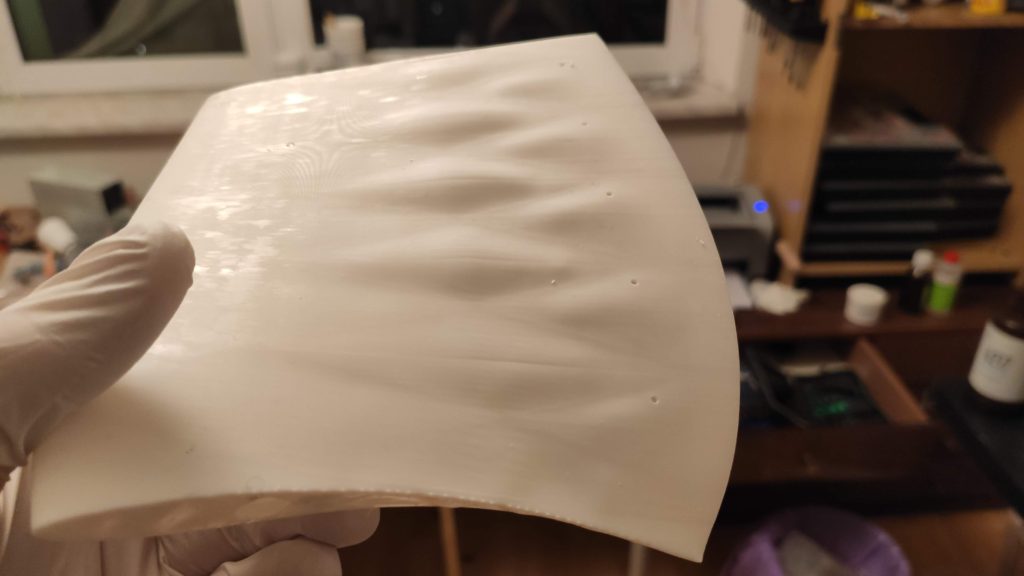
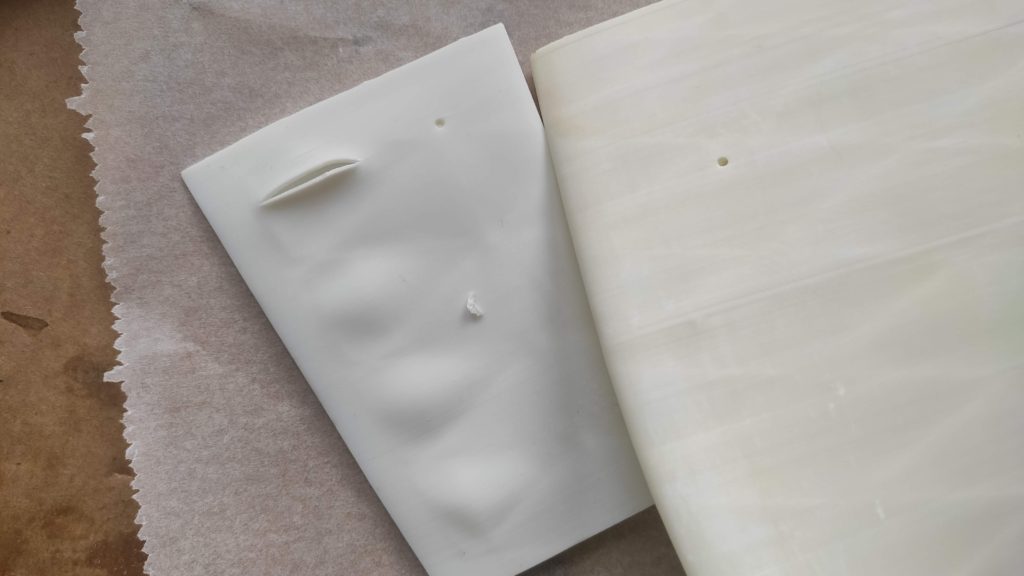
No cure inhibition after applying simple post-processing